Remove the pages you do not need
Add the PDF, select only the unwanted pages, delete those page copies from the arrangement, then export all remaining pages as a new PDF. The source file is unchanged.
Start with a clear keep-and-remove list
Before opening the page menu, decide what the final document should contain. A short list such as “keep the introduction, the signed schedule, and the final diagram” is more reliable than remembering only a collection of page numbers. Printed numbering can differ from the counter in the workspace, especially after you add a cover or combine several files.
Keep the original in its current location while working. Choose a distinct output name, such as report-review-copy.pdf, so you can recognize the result later. There is no benefit in moving the source halfway through an editing session: doing so can require source recovery and interrupt the arrangement you are checking.
If the document is signed or has features that prevent the requested export, take the app’s warning seriously. Removing a page changes the document. A visible signature image does not establish that an earlier digital signature validates the edited output. Retain the signed original and use the recipient’s required workflow for any changed copy.
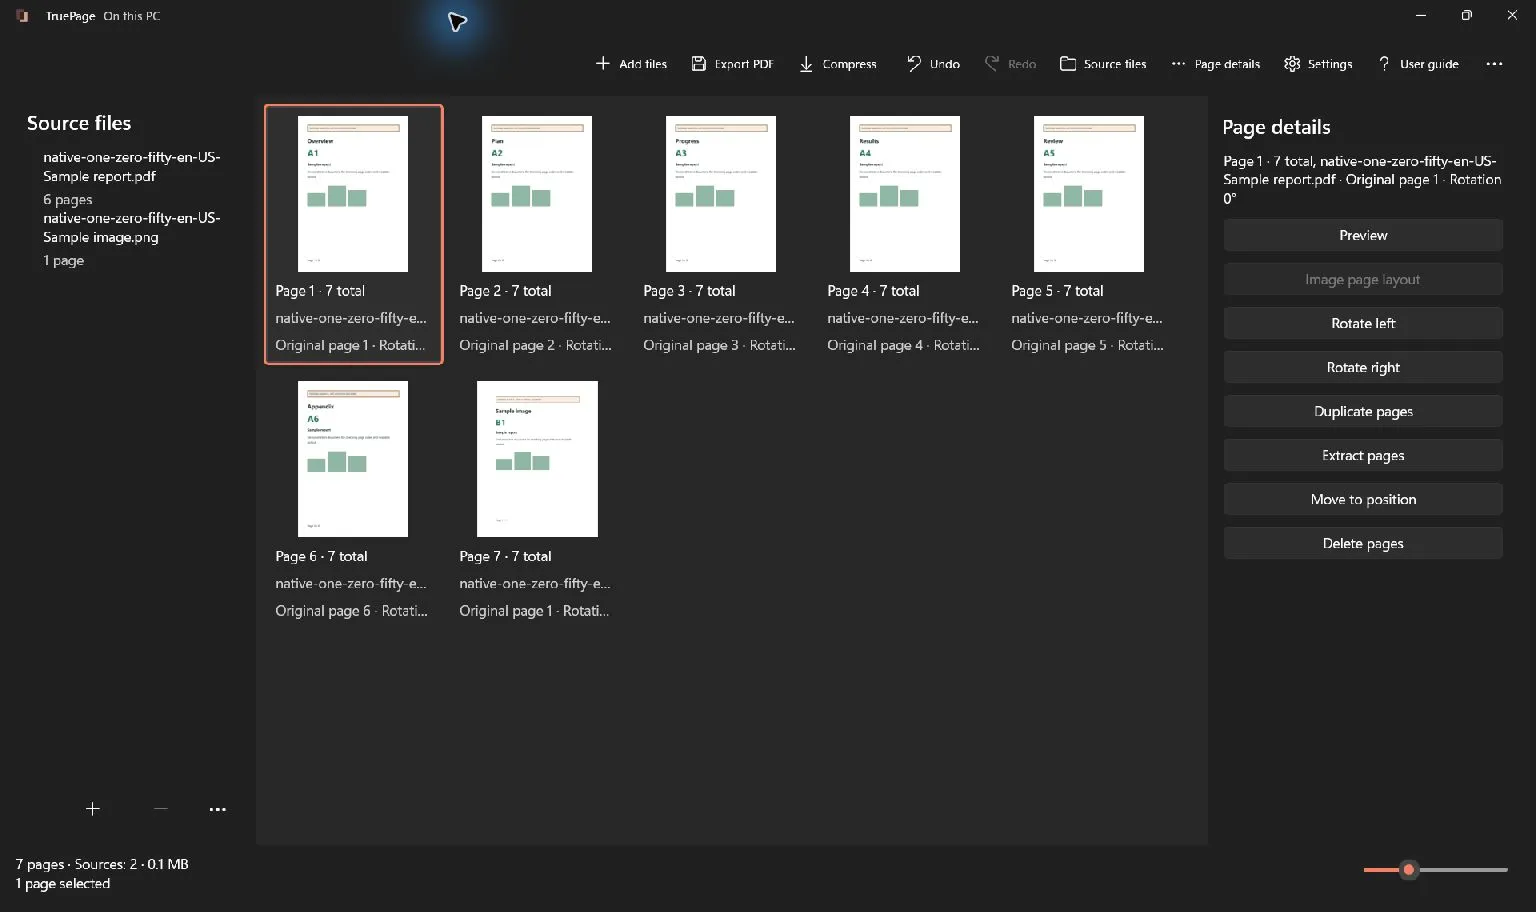
Import the PDF and inspect the page board
- Choose Add files, or press Ctrl+O.
- Select the PDF you want to organize.
- Wait for its pages to appear and check the total count.
- Open Source files if you need to confirm the imported filename.
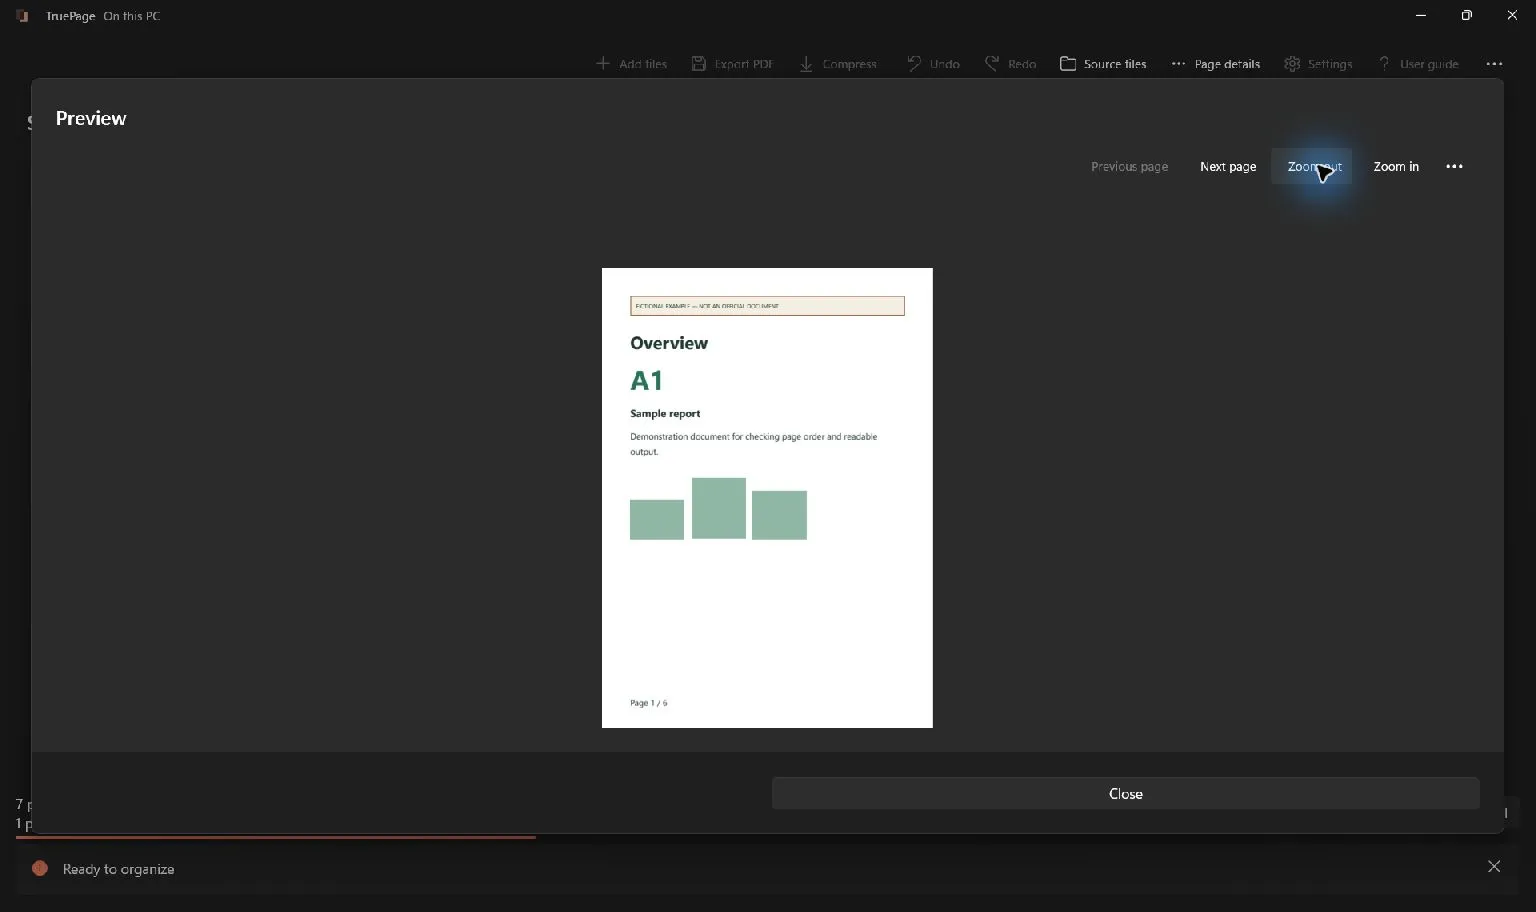
- Inspect the pages you intend to remove, using Preview when a thumbnail is insufficient.
In the example, the visible sequence is content page 01, a blank back, content page 02, another blank back, and content page 03. The unwanted occurrences therefore occupy output positions 2 and 4. Those positions identify the current arrangement, not the numbers printed on the three content pages.
Read the neighboring pages too. An apparently redundant page might be the second half of a table or an explanatory note for the following diagram. The purpose of inspection is to establish what should remain, not simply to make the page count smaller.
Select one page or several pages deliberately
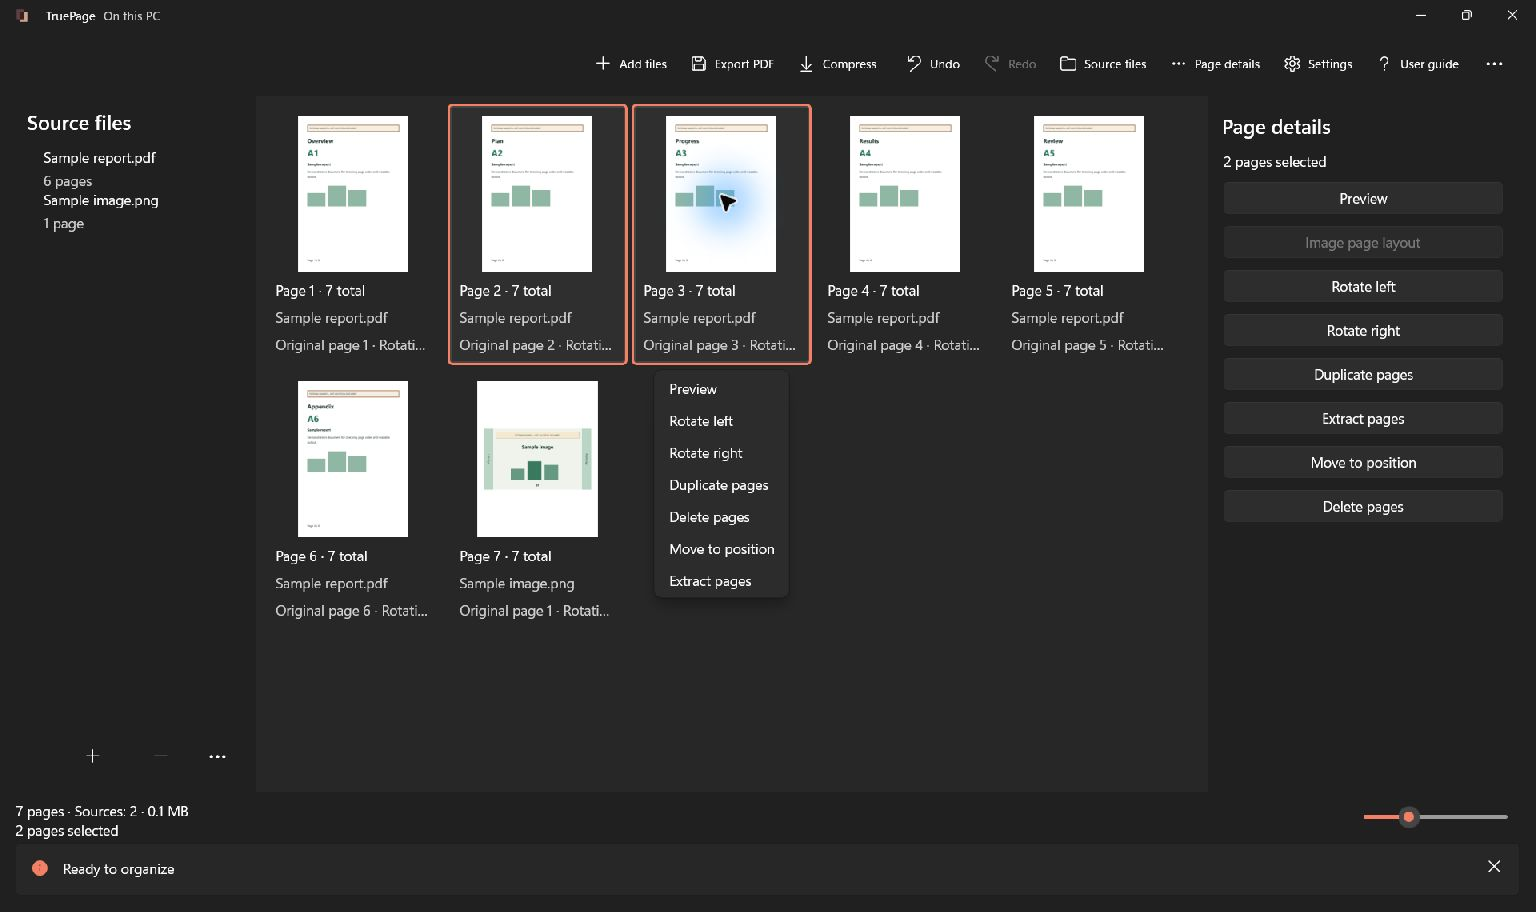
Click a page to select it. For separate unwanted pages, use Ctrl+click to adjust the selection. For a continuous range, select the first page and use Shift+click on the last. Watch the highlights and selected-page count before opening a command that acts on the selection.
For the five-page example, select the blank backs at output positions 2 and 4 together. A range from 2 through 4 would also select the content page between them, so it would be the wrong selection. This is a useful example of why a correct first and last position do not necessarily describe the correct group.
If you previously selected a whole source or used Select all, clear that selection before starting a smaller edit. Do not infer selection from keyboard focus alone. The page under the pointer, the page with focus, and the full selected group can represent different things.
Touch users can enable Touch multi-select and tap the intended pages. The final check is the same regardless of input method: every highlighted occurrence must be one you intend to remove, and the count must match your list.
Delete the selected occurrences
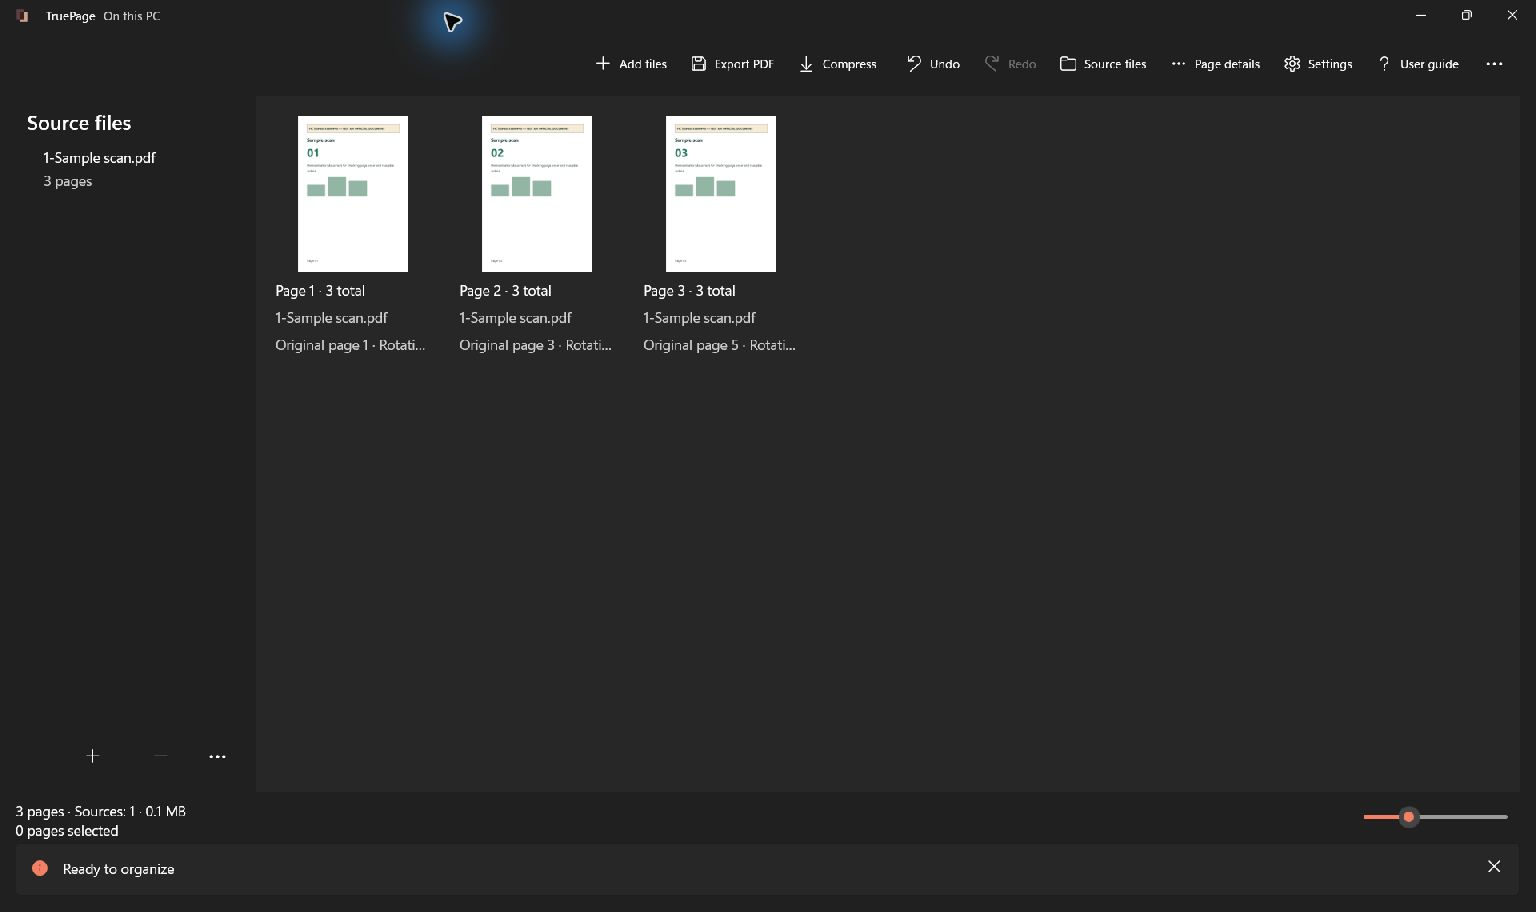
Choose Delete pages from the page actions, or press Delete with the intended pages selected in the workspace. Inspect the board immediately afterward. In the sample, removing two blank backs reduces five occurrences to three, preserving content pages 01, 02 and 03 in that order.
Selection by occurrence matters if the same source page appears more than once. Removing one duplicate occurrence does not automatically remove every copy of that source page from the arrangement. Check each retained occurrence and make a deliberate decision about it.
Deleting in separate steps requires extra care with positions. If you first remove output page 2, the page that previously occupied position 4 moves to position 3. Do not then remove the new page 4 just because your original note said “2 and 4.” Either select both intended pages before deletion or identify the second page again after the first removal.
This operation also differs from Remove source. Removing a source removes its contributed pages from the workspace; deleting selected occurrences is the more precise choice when you want to retain other pages from that PDF.
Undo a mistake before continuing
If the wrong page disappears, use Undo or Ctrl+Z. Check the restored arrangement, clear any unintended selection, and try again. Redo is available through Ctrl+Y or Ctrl+Shift+Z, but a new edit after undoing changes the redo path.
Suppose the page count drops from five to two when you expected three. Stop there. Count the selection you actually removed and inspect the restored page content rather than adding a duplicate page to make the number look correct. A matching count can conceal the wrong document.
Undo applies to arrangement edits. It does not retract a PDF already exported to disk, and it does not undo a message containing that file. A confirmed reload of changed source contents also clears the workspace’s undo and redo history. Keep ordinary cleanup separate from external changes to the source while you work.
Check what remains, including the joins
After removing pages, read the new sequence from beginning to end. For a short document, preview every retained page. For a longer one, check all edited boundaries carefully and complete a review appropriate to the document’s purpose.
Look for references that no longer make sense. A contents page may still mention a removed appendix, and printed page numbers may have gaps. TruePage does not rewrite those references when you change the arrangement. If they must be updated, prepare corrected source pages in the authoring application before building the final packet.
A blank page can be intentional in a document prepared for duplex printing. Removing it can change which side the next section starts on. Consider whether the output is primarily for on-screen review, printing, or a recipient with a specific format requirement. The right cleanup decision depends on that use.
Export the complete cleaned document
Choose Export PDF and review the scope. Select All pages when you want the whole cleaned arrangement. The last retained page or another group may still be selected; exporting only Selected pages would produce a partial result even though the board itself looks complete.
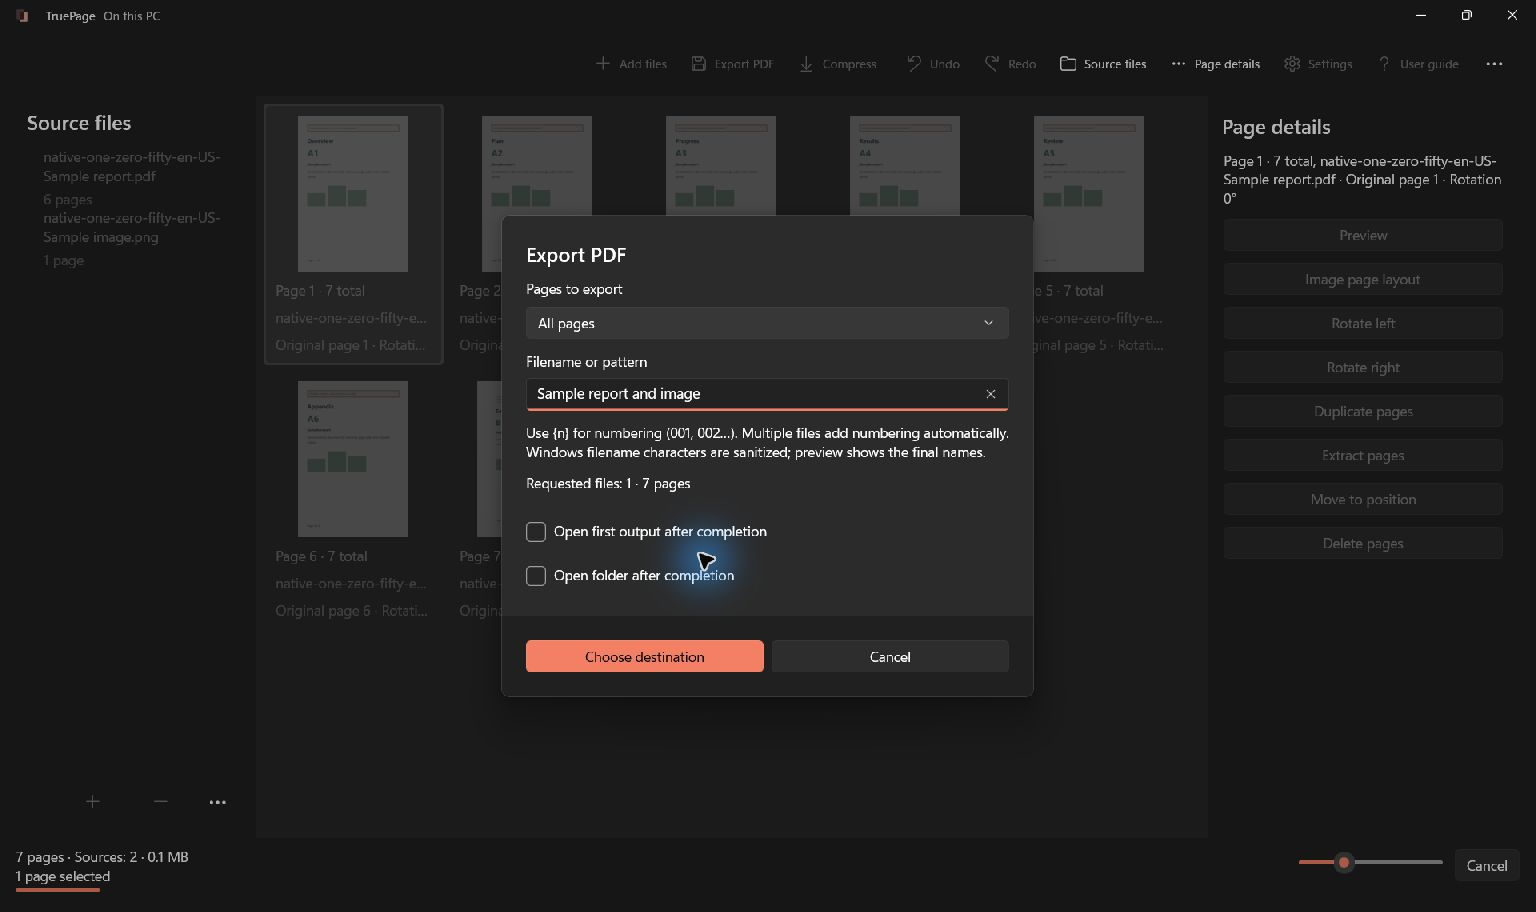
Choose the destination folder and a recognizable name. Review the filename before confirming, especially if the folder already contains several revisions. Existing-name handling is separate from page removal: an arrangement change does not tell you which older output is safe to replace. Keeping a distinct copy is useful when comparing versions.
Wait for export to complete and check the exact saved file. Confirm its page count, first and last pages, and each boundary where content was removed. Reopening the output matters because a correct workspace does not prove you selected the intended export scope or attached the intended file.
Resolve common surprises
The original still contains the deleted pages. That is expected. The source remains unchanged; share the newly exported copy. Keep filenames and folders clear enough that the two are difficult to confuse.
The output contains only one page. Revisit the export scope. A lingering selection can explain why Selected pages produced a smaller file than the complete board. Export again with All pages after confirming the arrangement.
The page numbers now have gaps. Numbers printed inside page content do not change when pages are removed. Decide whether gaps are acceptable for a review copy or whether the source needs revised numbering.
The file is still large. Removing a few pages does not guarantee a particular size reduction. If the complete output remains too large, inspect its content and use a separate compression workflow on that exported PDF. Read why compression may save little before reducing image quality repeatedly.
If your goal is to keep just a small part of a long document, saving selected pages may require fewer edits. For scanner-specific decisions, use the companion blank-page removal walkthrough. Both approaches end with the same essential check: inspect the exact output you intend to send.
For a worked example, see: How to Duplicate a Page in a PDF.

Your pages. Your space.
Available now for Windows 11