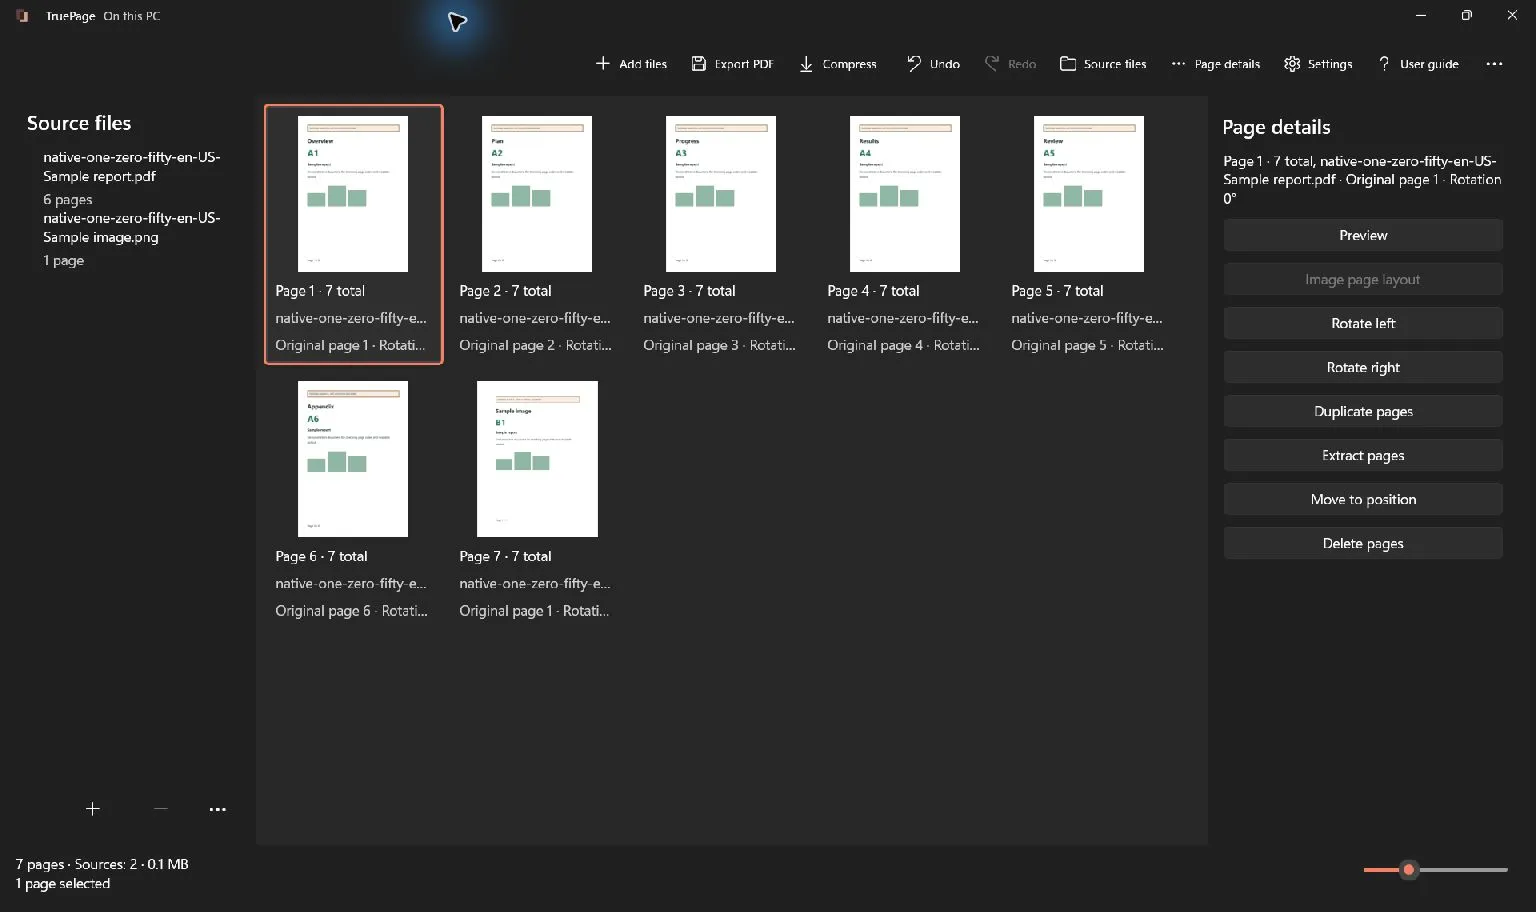
To insert a PDF into PowerPoint as a clear image, export the page you need as a PNG, then add that PNG to your slide through Insert → Pictures → This Device. In TruePage on Windows, select the PDF pages, open Export pages as images, explicitly choose Selected pages, and use PNG at 150 or 300 DPI. Save separate image files so you can place each page on its own slide.
This approach is useful for a report page, chart, diagram or handout whose appearance matters more than editing its individual elements. It gives you a normal picture that PowerPoint can position, resize and crop. It does not convert the PDF into editable PowerPoint text or shapes.
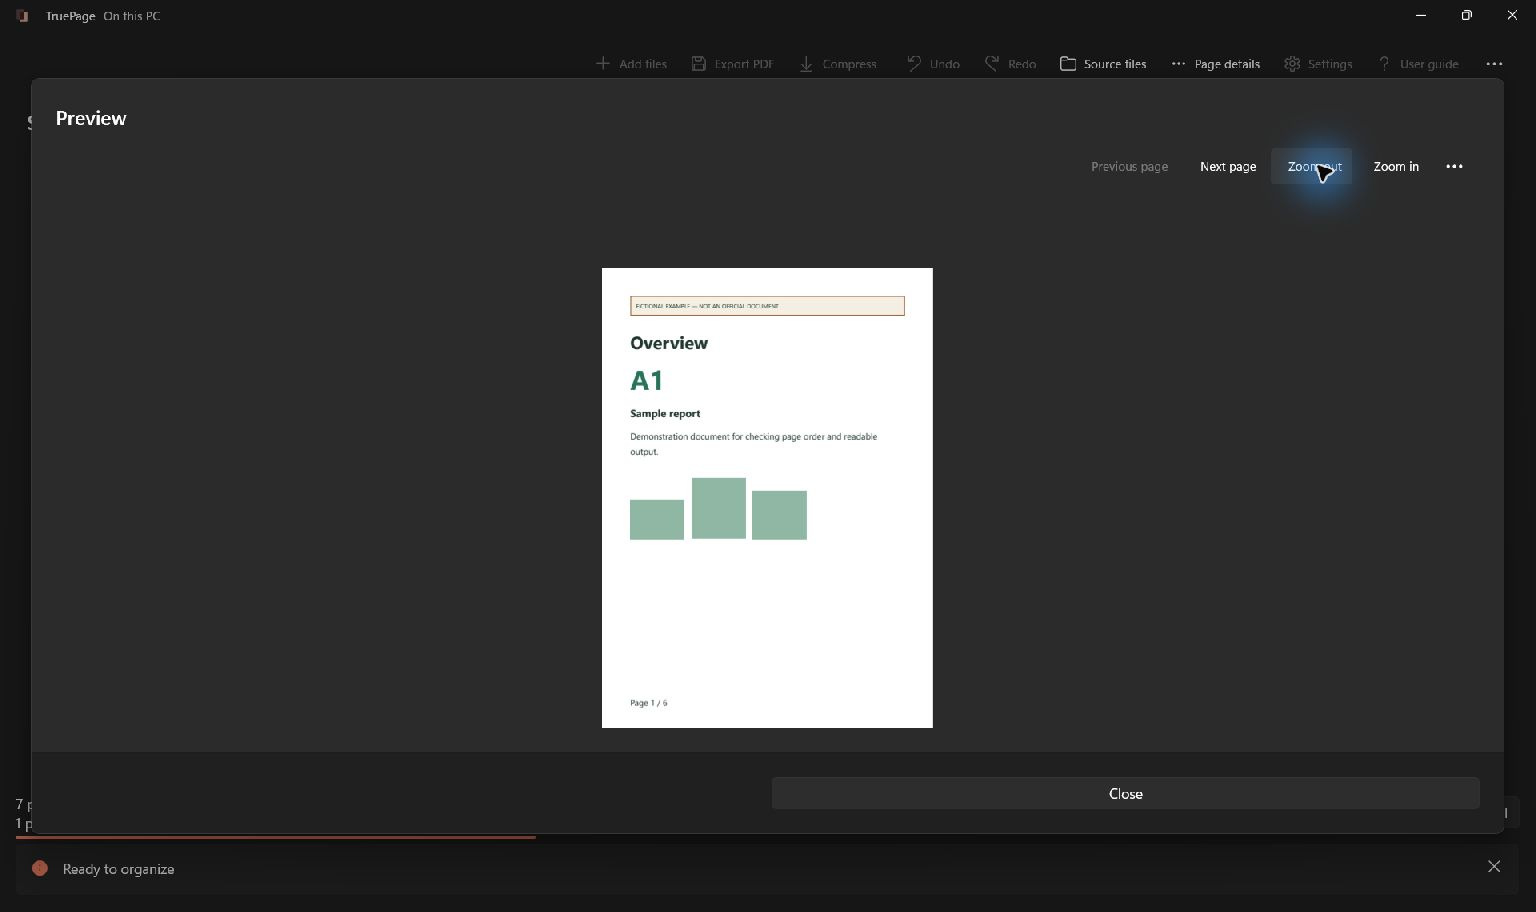
The walkthrough uses a synthetic three-page landscape report. We export pages 2 and 3, leaving out the overview, and prepare two slides. The illustrations show the native interface with separate fictional guide documents; they do not show this three-page slide example. Your PDF can have a different size or page count; the same selection and quality checks apply.
Choose a picture or an embedded PDF
Before inserting anything, decide what your audience should see. Microsoft distinguishes displaying PDF content as a picture from embedding the entire PDF as an object. Those serve different purposes.
| What you need | Suitable approach |
|---|---|
| A page or chart visible directly on a slide | Export a PNG and insert it as a picture |
| A quick capture of a small visible region | PowerPoint’s screen-clipping workflow |
| The complete PDF available to open from a presentation | Embed the PDF as an object in supported desktop PowerPoint |
| Text and shapes you can rewrite independently | Recreate the relevant content or use a separate conversion workflow |
A PDF object is not a substitute for a readable slide image. Likewise, a PNG does not contain the full document’s searchable text, forms or working PDF links. Keep the original PDF available if people need to read the whole report afterward.
Microsoft’s PDF guide describes taking a screen clipping. The method here exports the page directly with a chosen resolution instead. That avoids making the output depend on how large you happened to display the PDF on your monitor.
1. Add the PDF and select the pages you need
Open TruePage and choose Add files. Select your PDF, then find the pages containing the material for your presentation. For our example, click page 2 and use Shift + Right Arrow to extend the selection to adjacent page 3. Check the selected-page count before continuing.
Open the toolbar’s … menu and choose Export pages as images. This operation works with PDF-source pages. If your workspace also contains imported JPG or PNG files, exclude those image-source pages from this export.
In the export dialog, change Pages to export to Selected pages. Do this even when the thumbnails are already selected: the dialog can initially offer All pages. For this example, the requested count must show two files and two pages, not three.
You can also use Extract by ranges when typing page numbers is easier. Ranges refer to positions in the current arrangement, starting at 1, rather than page labels printed inside the document. If you reorder pages first, check those positions again.
2. Choose PNG and enough resolution
Set Image format to PNG. PNG is a strong starting point for text, tables, charts and diagrams because its encoding does not add JPEG compression artifacts around lettering and thin lines. For a mostly photographic page, JPG can be smaller; see our PNG-versus-JPG comparison.
TruePage offers 96, 150 and 300 DPI. Start at 150 for ordinary placement; choose 300 when you need fine labels or a close crop. Higher resolution increases the number of pixels, but it cannot recover detail missing from a blurry scan.
The useful calculation is page size in inches multiplied by export DPI. Our 10 × 5.625-inch sample produces a 3000 × 1688-pixel image at 300 DPI, with rounding in the vertical dimension. At 150 DPI, it would be approximately 1500 × 844 pixels. Doubling DPI creates about four times as many pixels, although compressed file size does not necessarily quadruple.
For a 1920 × 1080 presentation display, an image covering the entire slide ideally has enough pixels for that displayed area. A smaller image can still look acceptable, but enlarging it beyond its available detail can reveal softness. Conversely, exporting at 300 DPI does not make tiny table text comfortable to read across a room.
Preview zoom and export resolution are different settings. Zooming the PDF preview does not change the saved PNG’s pixel dimensions. Choose the DPI in the export dialog, then judge the output at its intended slide size.
3. Save separate PNG files and review the names
Choose Separate image files as the output format. If the option is below the visible area, scroll within the dialog. A ZIP is useful for transporting a batch, but you would need to extract it before inserting the individual images into PowerPoint.
Use a recognizable filename pattern containing {n}, or keep the suggested pattern. Choose Choose destination, select a folder you can find again, and review the output list. TruePage shows both the proposed filenames and the page range behind each image.
In our example, the first output ends in 001.png and comes from page 2; the second ends in 002.png and comes from page 3. The sequence number identifies the exported batch, so do not assume it is the original PDF page number. Check the page ranges before confirming Export pages as images.
At completion, verify that two files were saved and two pages were exported. Open the output folder and inspect each PNG for the correct content, orientation and edges. TruePage produces new files; exporting does not replace the source PDF.
4. Insert the PNG into PowerPoint
In desktop PowerPoint on Windows, open the presentation and select the destination slide. A blank slide is convenient for a full-page image; a title-and-content layout works when you want a separate heading above it.
- Choose Insert → Pictures → This Device.
- Browse to the PNG output folder.
- Select the first image and choose Insert.
- Move the picture into place and resize it using a corner handle, keeping its proportions.
- Add another slide and repeat with the second PNG.
Microsoft documents this picture-insertion workflow. Button names can vary slightly with the PowerPoint version. Insert the exported PNG itself, rather than taking a screenshot of that PNG in an image viewer.
Selecting several images for insertion may put them on the current slide. For a predictable one-page-per-slide result, add each image to its intended slide separately. Then inspect the slide sorter to confirm the reading order.
PowerPoint for the web also supports inserting pictures from your device. That is different from inserting a PDF object directly. TruePage performs the PDF-to-PNG step on Windows; you can subsequently use the image in the presentation environment available to you.
5. Fit the page without distorting it
A landscape PDF with the same proportions as a widescreen slide is easy to place. A portrait A4 or Letter page will leave unused space on either side when shown in full. Preserve that space or use it for a title and explanation; stretching the page sideways distorts text and charts.
If the full page becomes too small, select the picture and use Picture Format → Crop to focus on the relevant chart or paragraph. Keep axis labels, units, legends, footnotes and source information needed to interpret the content. A tighter crop is useful only if it still communicates the evidence accurately.
Another option is two slides: show the complete page for context, then a larger detail on the following slide. This often works better than packing a dense report page beside several paragraphs of commentary.
Check the slide in Slide Show, not only in the editing canvas. Look at the smallest label that the audience must read. If the image is sharp but that label is physically too small, enlarge the relevant region or divide the material across slides. Increasing DPI alone will not solve a layout problem.
Keep PowerPoint from reducing useful detail
If the exported PNG looks clear in an image viewer but soft after insertion or saving, check PowerPoint’s picture settings. On Windows, go to File → Options → Advanced and find Image Size and Quality for the current presentation. Microsoft’s compression instructions explain the Do not compress images in file option. Keeping more image data can increase presentation size.
Microsoft also documents High fidelity resolution, which is already the default in PowerPoint 2016 and newer. Check the actual presentation settings instead of assuming every soft image needs a different default.
Changing a setting cannot restore pixels already discarded from an image. Keep the original exported PNGs and reinsert them if a prior compression step reduced their detail. Save, close and reopen the presentation, then check the final slide again before sharing.
Troubleshoot blurry or oversized slide images
| Symptom | What to check |
|---|---|
| Both the PDF and exported PNG are blurry | Inspect the original scan; obtain a clearer source if possible |
| The PDF is sharp, but its PNG has jagged small text | Try 300 DPI and compare the same region |
| The PNG is clear, but PowerPoint looks soft | Check image compression and how far the picture was enlarged |
| Text is sharp but too small to read | Crop thoughtfully, enlarge the content, or split it across slides |
| The slide image is stretched | Restore the original aspect ratio and resize proportionally |
| The presentation becomes too large | Export only needed pages and compare 150-DPI output before reducing quality further |
For more source-quality diagnosis, see why a PDF looks blurry. Avoid repeated conversion from PNG to JPG and back as a repair strategy: changing the format cannot recreate lost information.
For large decks, test one representative page first. A simple chart and a detailed photograph can produce very different file sizes at identical DPI. Choose the smallest result that preserves the information your audience needs, then apply that choice to the relevant pages.
Make the image useful to every reader
Add meaningful alternative text to the picture in PowerPoint. Describe the information it contributes, such as the result shown by a chart, rather than only writing “PDF page.” Put essential conclusions in actual slide text so they are not available solely as pixels inside the image.
For a dense table or long report extract, provide an accessible source document alongside the slides when appropriate. A page rendered as PNG loses selectable text and document structure even if its appearance is excellent. Add any required clickable source link as a separate PowerPoint element.
Frequently asked questions
Can I insert just one page of a PDF into PowerPoint?
Yes. Select that page in TruePage, choose Selected pages in the image-export dialog, save a PNG and insert it as a picture. Confirm the requested count is one before exporting.
Will the PDF text be editable on the slide?
No. The PNG is one picture. You can resize and crop it, or place new text boxes beside it, but the original words and chart elements do not become editable PowerPoint objects.
Is 300 DPI always better than 150 DPI?
It provides more pixels for the same PDF page, which helps with fine detail and cropping. It also requires more memory and can create larger files. Use the actual slide size and the smallest necessary text as the decision criteria.
Can I use an encrypted PDF?
You need to open it with the correct password. Follow TruePage’s acknowledgement for unprotected image output: the exported PNGs are not password-protected PDFs. Share them according to the document’s intended use.
Does this change my original PDF?
No. TruePage exports new image files. Keep the original PDF for reading, searching and future exports. For the broader workflow, see converting PDF pages to PNG or JPG on Windows and the image-export guide.

Your pages. Your space.
Available now for Windows 11