Decide what the image needs to do
Select PDF-source pages, choose image export, set PNG or JPG and resolution, then save and inspect the images. Imported image pages are not eligible for PDF-page image export.
Start with PNG for text, tables and line drawings; try JPG for photographic pages when size matters. Compare a representative page at its intended display size, and choose resolution separately.
Keep a PDF copy when its features matter
An exported image is a rendered picture of the page. It does not carry selectable PDF text, working links, editable form fields or the original document’s other interactive behavior. If a recipient needs to search, copy text, follow links or work with forms, a PDF may still be the appropriate deliverable.
For example, a picture of a completed form can show the visible entries, but it is not the same thing as the form with its fields intact. A picture of a page containing a link does not retain that link as a clickable PDF object. Keep the source PDF and choose the image only for the use that actually calls for one.
Image conversion also does not add OCR. A scan that was already a photograph of text remains a photograph of text. Increasing its output resolution may create more pixels, but it cannot recover letters that were blurred or missing in the source. If the goal is a searchable document, see why scans are not automatically searchable.
Select the pages before opening export
Start by adding the source PDF to the workspace. Inspect the page thumbnails and identify the pages you need. Selecting a few relevant pages is usually easier to verify than exporting a long document and later searching through a directory full of images.
Click a page to select it. Use Ctrl+click for separate pages and Shift+click for a continuous selection. Check the highlighted pages and selected count before continuing. A page can have keyboard focus without being the complete selection you intended, so do not rely solely on the position of the focus outline.
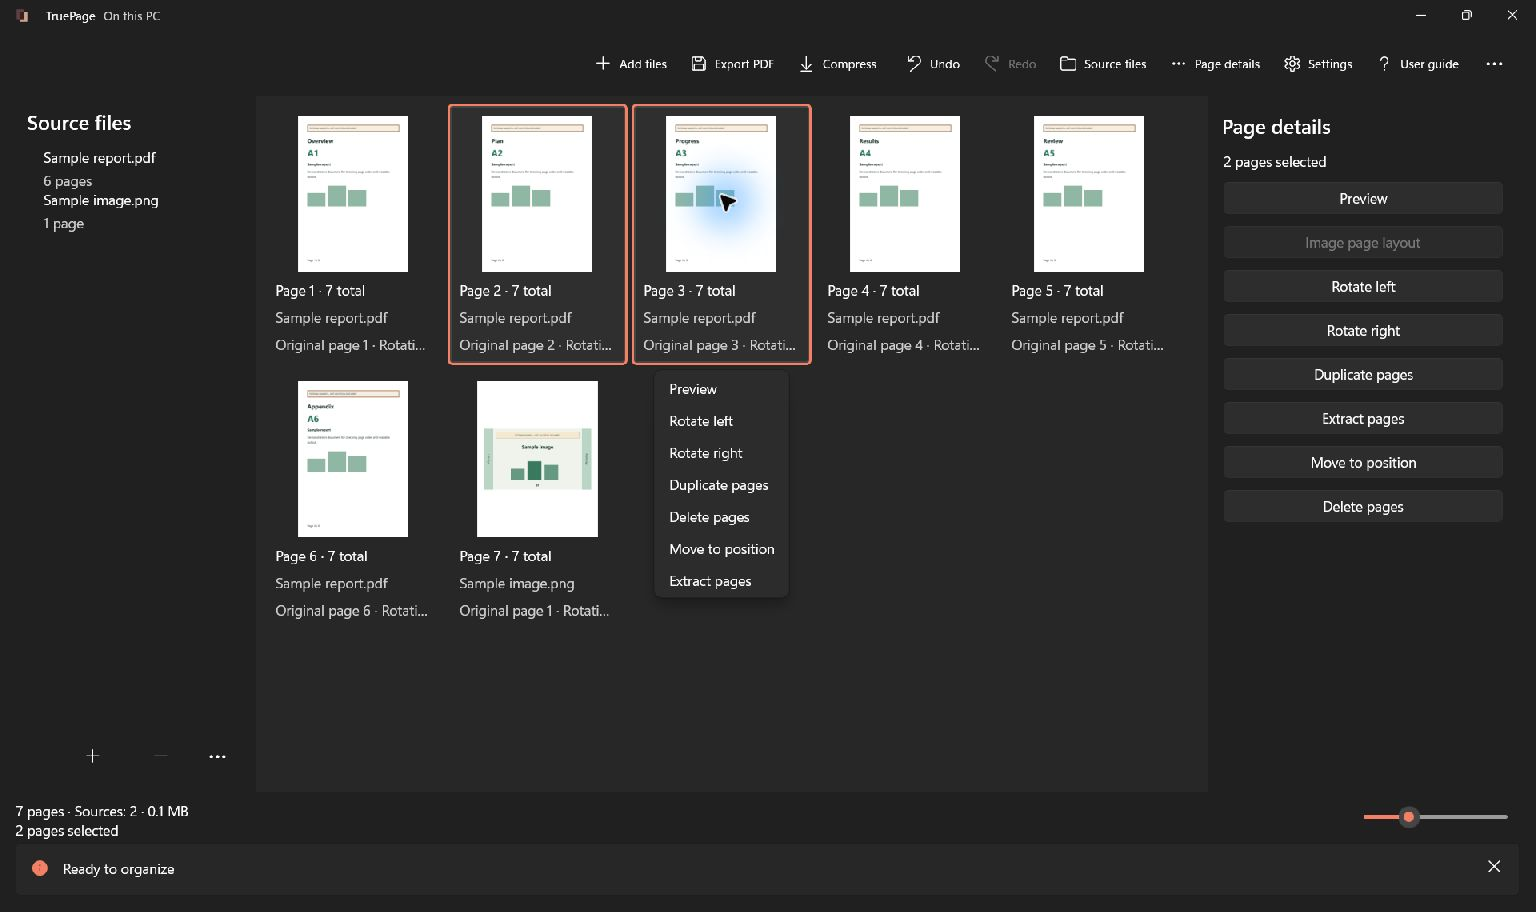
In a mixed workspace, select only pages that came from PDFs. This operation does not re-export imported JPG or PNG source pages. A PDF containing a scanned image is still a PDF source; an image file added directly to the board is an image source. That distinction explains why two similar-looking thumbnails can have different eligibility for this operation.
Inspect orientation and page boundaries
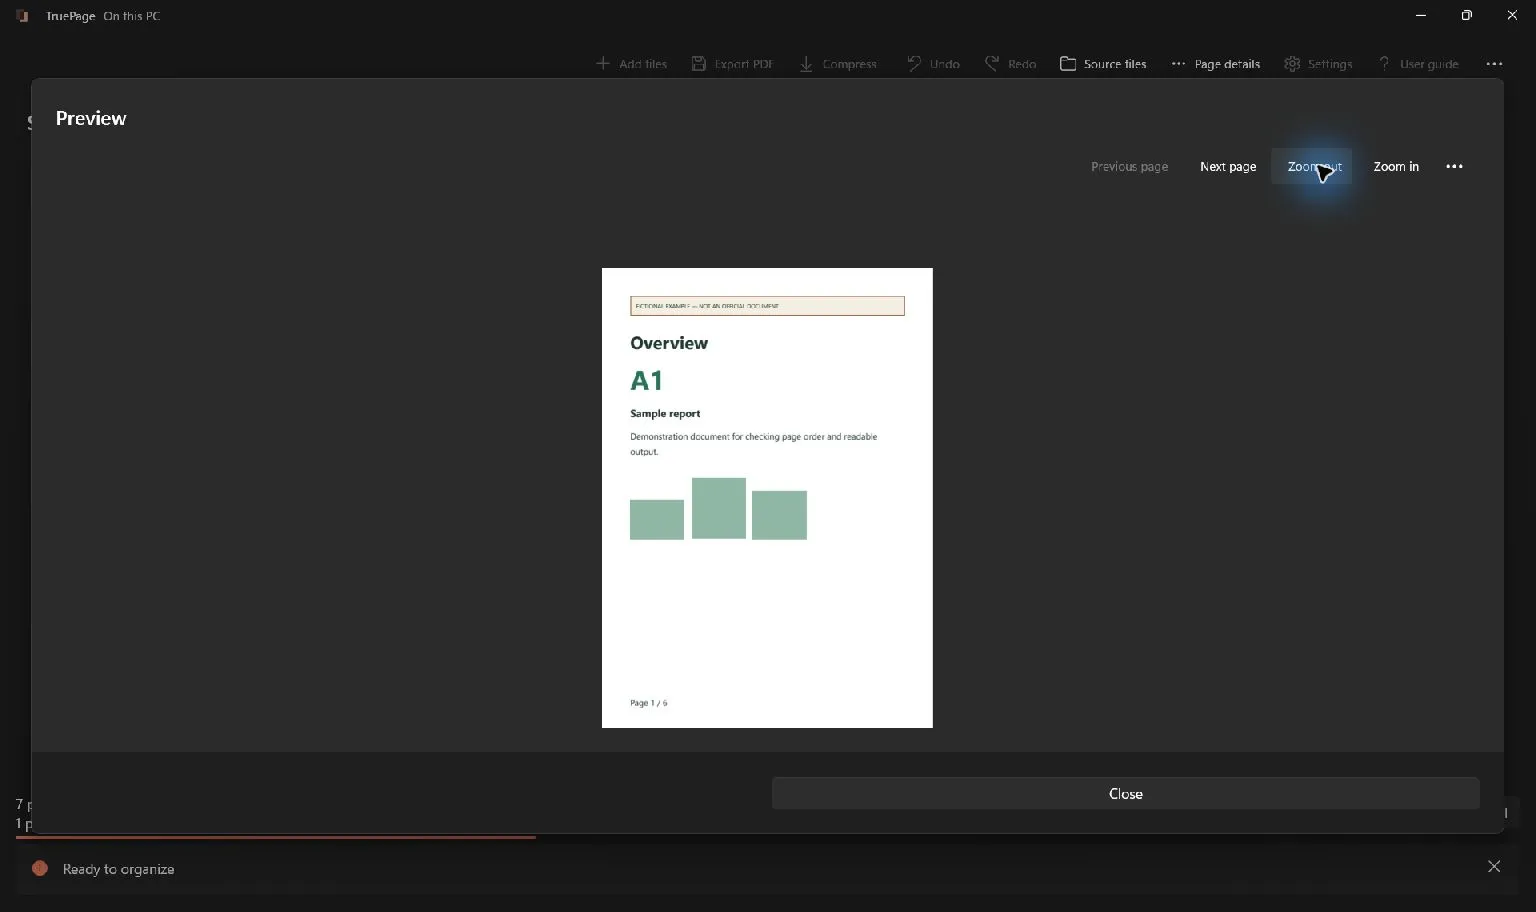
Open the selected page in Preview before converting it. Look at the top and bottom of the content, the orientation, and any small information that must be legible. A thumbnail is useful for finding the right page, but it is a poor place to judge a small date, reference number or diagram label.
If a page is sideways, rotate it in the workspace before export. The arranged rotation is reflected in the image. Rotation from the preview is also a workspace edit, so undo it if you only changed the view temporarily while reading.
Preview zoom is not an export-quality control. Enlarging the preview does not request a higher-resolution JPG, and a small preview does not force a low-resolution PNG. Use the resolution setting in the export dialog for that purpose. Close Preview once the content and orientation are correct.
Open image export and confirm its scope
Open the toolbar’s … menu and choose Export pages as images. In the dialog, choose the scope that matches the task:
- All pages uses the complete arrangement and requires every included page to be a PDF-source page.
- Selected pages uses the current selection, which is useful for a few known pages.
- Extract by ranges lets you specify positions in the current arrangement.
Ranges use output positions starting at 1. They do not use a printed page label, such as a report’s Roman-numeral introduction or the page number printed in its footer. After reordering or removing pages, check the current arrangement again before entering a range copied from earlier notes.
For a six-page arrangement, 2-4, 6 identifies pages 2, 3, 4 and 6. Use ordinary digits, commas and hyphens, and correct any range error before proceeding. For more detail about selection and numbering, use the extraction and splitting guide.
Choose PNG or JPG deliberately
PNG avoids JPEG compression artifacts and is a useful starting point for text, line drawings, diagrams and screenshots. A clean edge in the rendered page can remain clean in the PNG. This does not repair artifacts already present in an embedded photograph or an earlier scan.
JPG is often useful for photographic material and situations where file size matters. It has a quality setting from 1 to 100; the initial value is 90. Higher quality generally retains more detail and uses more space, but the exact result depends on the page. Lowering quality too far can introduce visible noise around lettering and other sharp boundaries.
Do not infer the best format from the filename of the original document. A PDF can contain photographs, vector graphics and text on the same page. Judge the rendered output at the size where it will actually be used.
File size depends on the content. A clean page with large uniform regions may encode differently from a detailed photograph. Do not assume that every PNG will be small, or that a PNG must always be larger than every JPG regardless of settings and content.
Look closely at small text, edges between dark and light regions, and flat colored areas. A photograph may tolerate a moderate reduction that makes a thin diagram label look poor. A page containing both photographs and text needs a compromise that preserves the text you actually need to read.
The quality number is not a percentage of the original information retained, nor a promise about the resulting file size. Quality 90 does not mean the output will be 90 percent of the source size. Compare saved files when the size target is strict.
Set resolution for the destination
TruePage offers 96, 150 and 300 DPI for PDF image export. A practical starting point is 150 DPI; use 300 when fine detail matters and the destination can accept the larger image. A small on-screen reference may be adequately served by 96 DPI, but check the actual text instead of assuming it is enough.
For an approximate example, an 8-by-10-inch page at 150 DPI produces 1,200 by 1,500 pixels. At 300 DPI it produces 2,400 by 3,000 pixels. Doubling the DPI doubles both dimensions and creates about four times as many pixels.
Encoded file size does not have to increase by exactly four times. Compression and content affect the result. The larger image nevertheless has more pixels to render, hold in memory and display, which matters for unusually large pages or demanding batches.
This distinction is especially useful for unusually large PDF pages. An oversized drawing at 300 DPI can require much more memory than an ordinary document page. If export reports a raster memory limit, reduce the DPI. Dividing a batch into smaller selections may simplify the workflow, but it does not reduce the pixel dimensions of an individual oversized page.
Compare one representative page before a large batch
Choose a page containing the difficult material: small labels, photographs, thin lines or a mixture. Export it once as PNG and once as JPG at the same DPI. Use distinguishable filenames and the same destination so you can compare the outputs directly.
If JPG is too soft, increase its quality or try PNG. If both are too low in detail, inspect a higher DPI while keeping the original source fixed. If the source itself is blurry, recognize that output settings cannot reconstruct the missing content.
If both are visually adequate, compare file sizes and the destination’s requirements. The smaller acceptable output may be easier to use, but do not sacrifice required information merely to minimize bytes. Record the settings you chose before exporting the remaining pages.
For a mixed document, one setting may not suit every page. You can export selected groups with different formats or settings when the destination allows that. Keep naming and page order clear so the resulting files remain understandable as a set.
Choose separate images or a ZIP
Choose Separate image files when you want to insert, attach or inspect each page individually. Choose ZIP archive when the batch should travel as one package. A ZIP contains the images; it is not a single long image and does not turn them back into a PDF.
Choosing ZIP does not change the selected DPI or JPG quality. Treat packaging as a delivery decision. It can make a multi-page batch easier to transfer, but the recipient must still open the archive to use its images.
Enter a filename pattern such as reference-{n}. The {n} token provides numbering; multi-file output receives numbering automatically when necessary. Preview the resulting names rather than relying on assumptions about how a file manager will sort them.
Select Choose destination, choose the folder, and review the final names before confirming. If files with those names already exist, consider the displayed collision choice carefully. Keep both retains the existing files. Use a new destination or a distinctive name when you want an unambiguous set for this particular export.
Allow the operation to finish before opening outputs manually. If you cancel a batch, wait for cancellation and cleanup to complete, then inspect the reported saved-file count. Files already published can remain available; cancellation is not a rollback of every output. Before retrying, distinguish those saved images from missing pages so the next attempt does not leave a confusing mixture of duplicate and incomplete sets.
Verify the saved images
Open at least the pages that contain the smallest text, the busiest graphics and any important edges. Check pixel dimensions as well as apparent size in the image viewer: some viewers automatically enlarge small pictures or shrink large ones to fit the screen.
For a ZIP, open the archive and check the page images inside it. The app’s saved-file count refers to published outputs, so one ZIP can be one saved file while containing several page images. Confirm the expected contents rather than treating that count as the number of converted pages.
Finally, try the image in its intended destination. A diagram that looks clear at full size may become unreadable when reduced to a narrow column. If that happens, reconsider its display size, page selection or resolution. Keep the source PDF so that a revised export starts from the original instead of repeatedly recompressing a JPG.
For authenticated protected PDFs, review the app’s explicit unprotected-output acknowledgement: the exported images and ZIP are not password-protected PDFs. The original remains unchanged. The PDF image-export guide covers the controls and related restrictions in one place.
For a practical presentation workflow, see how to insert a PDF page into PowerPoint as a clear image, including page selection, PNG resolution and slide placement.

Your pages. Your space.
Available now for Windows 11