If IRCC asks you to provide supporting documents through your IRCC secure account, prepare one complete file that is less than 4 MB. When several pages belong in the same requested-document slot, combine them before uploading. Check the saved file itself: the total shown beside your source documents is not necessarily the size of the PDF you will submit.
This guide covers ordinary supporting-document PDFs on Windows 11. It does not cover every IRCC account, every immigration program or the preparation of interactive application forms. Start with the request in your own account. Its document list, submission route and deadline determine what you must provide.
Confirm that the 4 MB instruction applies
IRCC’s instructions for submitting requested information, checked on October 12, 2026, distinguish the secure account from other portals and submission routes. The secure-account section allows one file for an upload and requires it to be smaller than 4 MB. Do not carry that number over to a web form or another IRCC portal just because the organization is the same.
Before editing anything, read the document name, the detailed instructions and the “Required by” date beside the request. Identify which pages belong together. One requested item may consist of several related records, but that does not mean you should combine every document in your application into a single packet. Each available upload slot has a purpose.
The instructions also distinguish uploading a file from transmitting it. This article prepares the document; it cannot confirm that IRCC has received anything. Return to the official submission steps after checking your PDF, and keep the confirmation produced by the account.
Build a page checklist before combining
Make a short checklist outside the PDF. Record the source filename, number of pages and intended position for each item. If the request calls for a document and its translation, keep the relationship clear and follow the request’s instructions about translations and accompanying material. Do not remove a required certification page simply because it looks repetitive.
For a fictional exercise, imagine a three-page supporting packet. The first page begins a record, the second continues it, and the third supplies a related attachment specifically requested in the same slot. The illustrations use separate fictional guide documents to demonstrate the controls. It is not an immigration form or an example of sufficient evidence for any application.
Check both sides of scanned documents. A page that appears blank at thumbnail size may contain a faint endorsement, a number or text near the edge. The checklist should describe the complete record you need, not just the pages that seem visually interesting. Keep the original downloads and scans in a separate folder while you prepare the submission copy.
Choose a practical output name such as requested-documents.pdf. A name helps you identify the file, but it does not replace the portal’s document classification. Avoid adding identifiers to filenames unless they are useful or requested. You will be checking the name again in the upload picker.
Arrange the supporting documents in TruePage
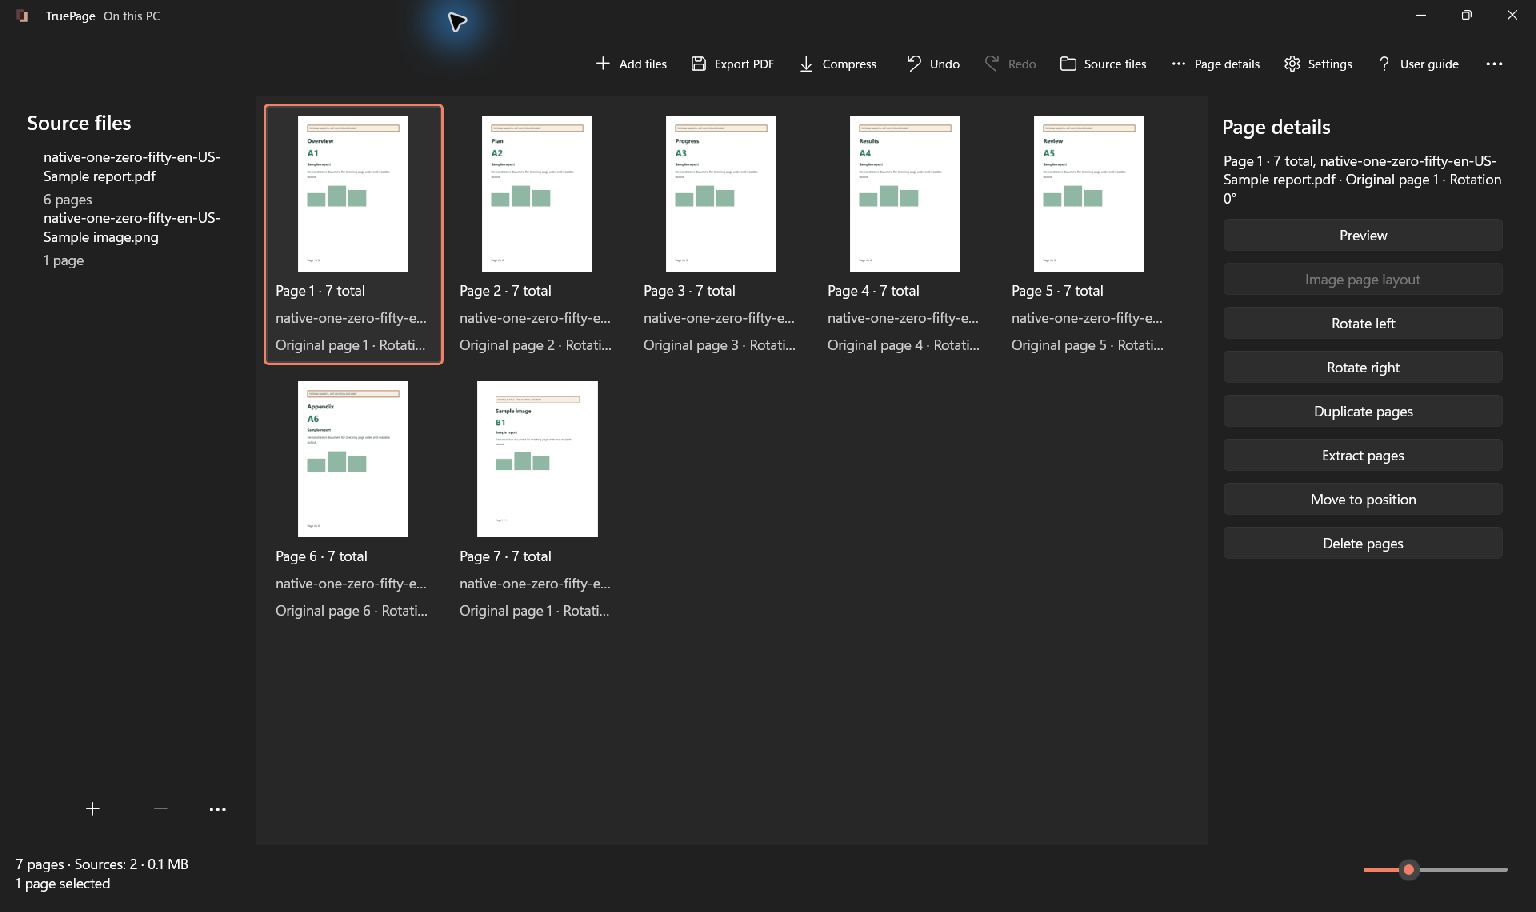
Open TruePage and choose Add files. Add the PDFs or supported JPG and PNG scans that belong to the requested item. The source list and page thumbnails show what entered the workspace. Compare their page count with your checklist before making changes.
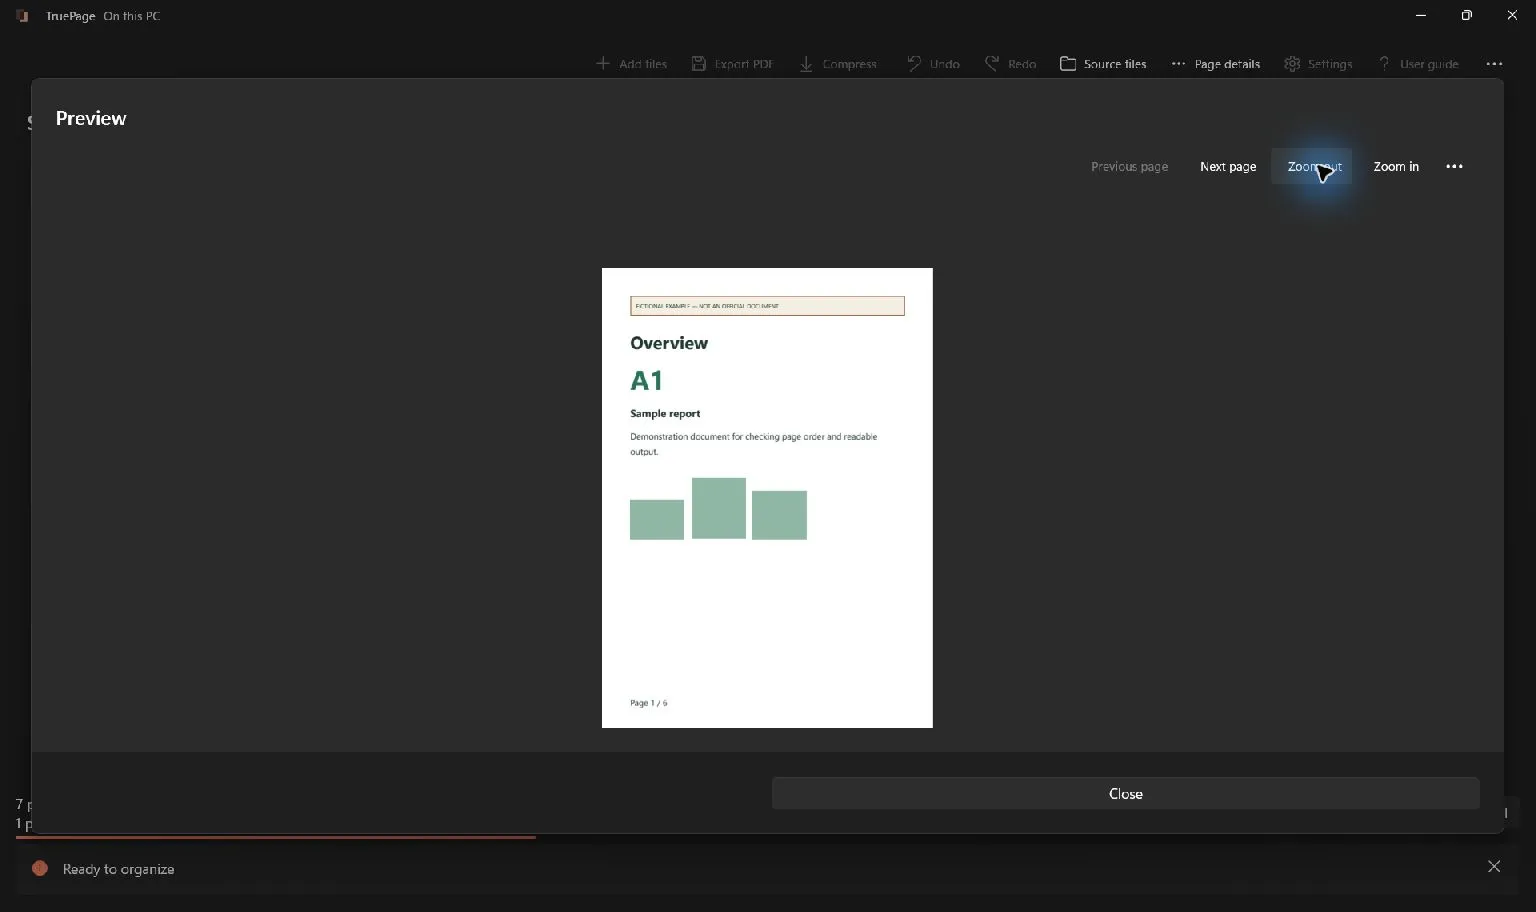
Arrange the pages in reading order. Keep a record’s continuation pages together and rotate sideways scans so that the text reads normally. A thumbnail is useful for recognizing a page, but it is too small to establish whether fine print is readable. Open the preview when two pages look similar or a signature sits close to an edge.
Remove an accidental duplicate from the arrangement only after comparing it with the original. Two pages with the same heading can contain different dates, signatures or continuation text. If the requested document has an attachment, preserve the attachment even when its layout differs from the main record.
TruePage keeps source documents unchanged when exporting. Nevertheless, work from copies you can identify and retain the original files. A clean workspace containing only this requested item reduces the chance of including a page intended for another upload slot. The organizing guide explains the page controls in more detail.
Export the complete arrangement first
Choose Export PDF and save the arranged pages as a new file. Verify the export scope rather than assuming that all pages are included. If you have selected only part of the workspace, check the dialog carefully before confirming the output.
This step matters because Compress operates on a complete source PDF. It does not automatically apply the ordering, rotation or deletion you performed on the board. To compress a combined packet, first export the packet, then choose that exported PDF as the compression source. Compressing one original input will not produce a compressed version of the whole arrangement.
Wait for the export to finish and note the actual destination. Open the saved file and compare the first page, last page and total page count with the checklist. If a page is missing, fix the arrangement and export again before spending time on compression. A smaller incomplete PDF is not a successful result.
Check size in bytes, not just a rounded label
In Windows File Explorer, open the saved file’s properties and inspect its size. A rounded display can make a file close to the boundary look acceptable when it is not. The storage allocated on disk is also a different measurement from the file’s content size. Use the file-size value when judging an upload limit.
For a conservative local check, keep the PDF below 4,000,000 bytes and leave some room rather than aiming at the exact boundary. This is a preparation convention, not an assertion that IRCC defines every displayed megabyte using the same calculation. The account’s current validation remains the final technical check.
Suppose your combined PDF is 4.6 MB. Renaming it, putting it in another folder or dividing the filename into parts does not reduce its size. Splitting it into two PDFs also does not solve a slot that accepts one file. You need a smaller complete PDF, a better source scan, or guidance through the official help route if the complete readable document cannot fit.
Choose a compression mode deliberately
Select Compress and choose the exported packet. Confirm the filename in the source selector. Begin with Safe optimization when maintaining visual detail is the priority. It reduces structural overhead without intentionally reducing image resolution or JPEG quality. Some PDFs have very little redundant material, so the result may barely change.
If the file still exceeds the limit, try Smaller file. This mode may recompress eligible images and can change their appearance. It preserves searchable text, but searchable text and readable scan pixels are separate things. A search can find a word while the visible scanned word is too blurred for a reviewer to read.
Choose a distinct output filename and destination, then let TruePage prepare its comparison. The proposed output path is not proof that the file has been saved. Review the actual size and previews before choosing the save action. If the result is not smaller, the app reports that rather than guaranteeing a reduction.
Do not compress the same degraded result repeatedly. Return to the exported packet or original scan when trying a different approach. Successive lossy changes can accumulate artifacts around letters and numbers without delivering enough extra savings to justify them. The compression guide describes the available modes and review controls.
Inspect the details a reviewer needs
Compare original and candidate at the same zoom level. Start with the smallest text, then examine dates, reference numbers, signatures and any stamps present in your own documents. A large heading staying sharp is not enough: the small content often carries the information needed to understand the record.
Read a few digits from the candidate without looking at the original first. Then compare them. This avoids mistaking recognition from memory for genuine readability. Look for merged characters, broken thin lines, pale text disappearing and dark backgrounds obscuring writing. Review a page with the worst scan quality as well as the clearest page.
The screenshots demonstrate controls with a small fictional packet. They are not a benchmark promising that a particular immigration document will fall below 4 MB. Your result depends on page dimensions, image content, existing compression and the quality of the original capture.
If Smaller file damages essential detail, decline that candidate. Try a clearer scan with tighter physical framing, or export again from the application that created the document if you have that source. Reducing an oversized photograph before creating a PDF can be more effective than repeatedly rewriting a poor PDF scan.
Reopen the final saved copy
After saving an acceptable candidate, open that exact file from its destination folder. Check the total pages and their sequence again. Inspect every page, including the last page and any continuation sheets. Ensure no accidental empty page or unrelated item entered the packet.
Check its final size once more. The file you measured must be the same file you select in the account. Similar names such as requested-documents-final.pdf and requested-documents-final-2.pdf are easy to confuse; use a dedicated submission folder containing only the checked candidate and keep working files elsewhere.
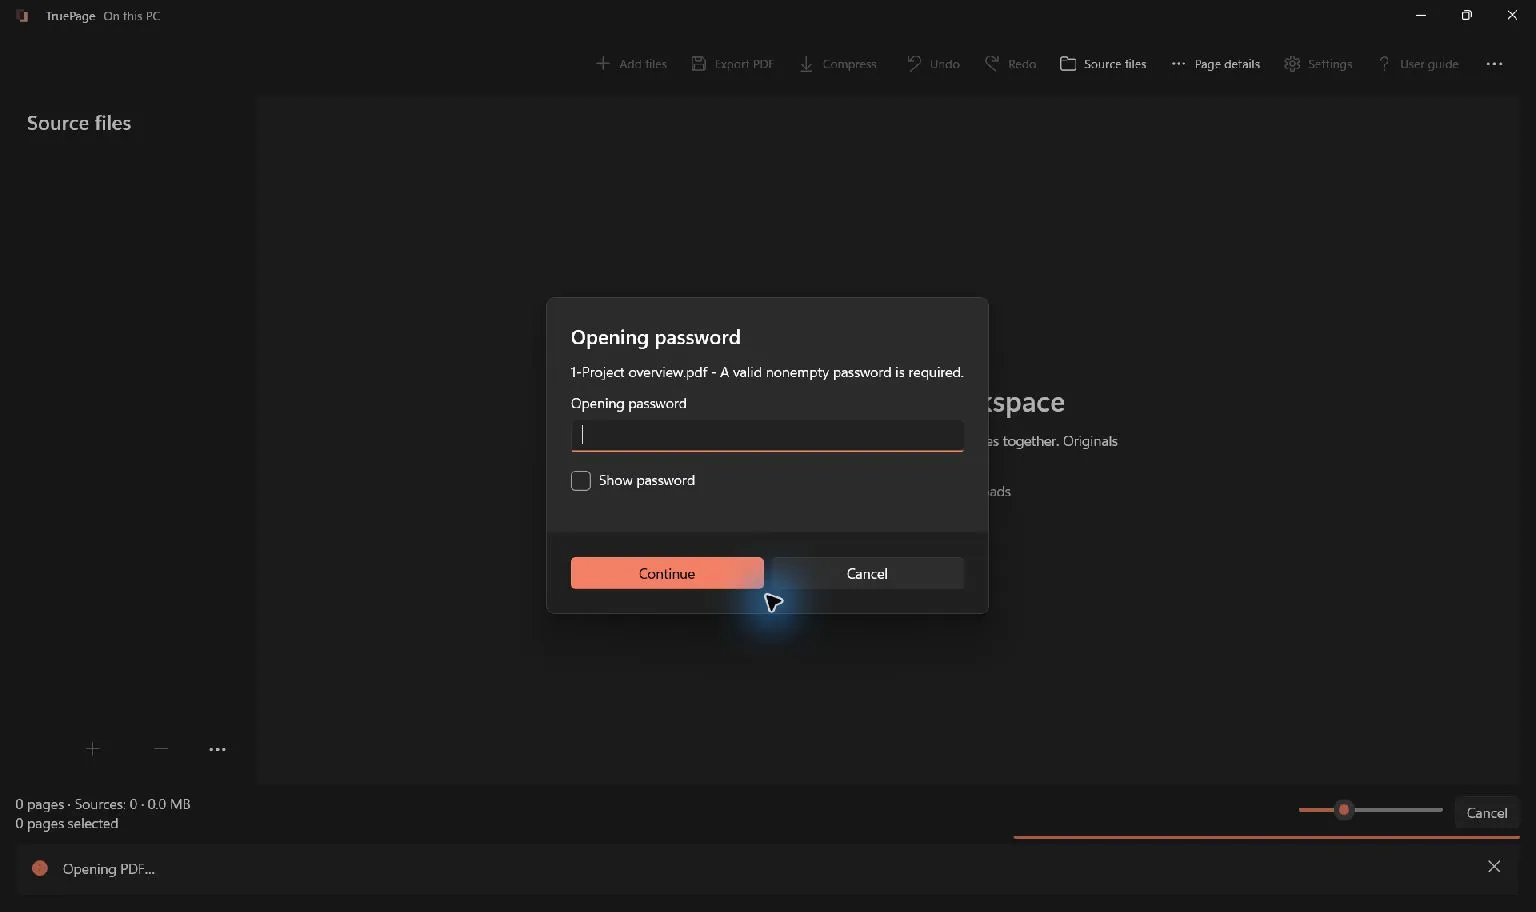
If the PDF is password protected, follow the account’s requirements for readable attachments. Compression of a protected source preserves its protection; it should not be treated as a password-removal tool. When you know the password and need an unprotected copy, the separate known-password removal tutorial explains that workflow. Recheck the resulting file afterward.
Interactive or digitally signed forms deserve separate handling. Organizing pages or rewriting a PDF can change features beyond visible page appearance. Use the official form workflow when IRCC requests a validated form; do not flatten it into screenshots merely to apply this supporting-document tutorial.
Upload errors need different responses
If the account explicitly reports a size problem, compare the selected file’s byte size with the requirement. If the file is already comfortably below the limit, read the exact error instead of compressing it again by habit. A wrong format, protected file, unavailable slot or account problem may need a different response.
If pages look wrong only after upload, inspect the local candidate and the portal preview separately. A readable local PDF does not prove that the portal processed it correctly. Keep a record of the filename and error message so that any official help request describes the actual failure.
If the complete readable document cannot fit, stop discarding information to chase the number. Follow the request letter and IRCC’s current instructions for technical problems. Do not invent extra submissions through a different account or assume that several uploads will append themselves to the same slot.
Final check before returning to the account
- The request actually names the IRCC secure account and the intended document slot.
- One PDF contains all required supporting pages in the correct order.
- The saved file is less than the stated limit, with a practical margin.
- Small text and essential details remain readable on every page.
- The filename and destination match the file you will select.
- Any required account steps after upload are completed and the confirmation is retained.
The useful stopping point is a complete, readable, checked file. TruePage prepares that local copy; the account’s confirmation establishes submission. Keep both the original documents and the exact submitted PDF so that later correspondence can refer to the same version.

Your pages. Your space.
Available now for Windows 11