Need to combine several protected files? Follow merging password-protected PDFs and protecting the combined file, including verification of the final output.
You can remove a PDF’s opening password on Windows 11 when you know a valid password: open the protected document in TruePage, choose Remove password, save an unprotected copy, and reopen that copy to check it. The processing happens on your PC. You do not need to upload the document to a website.
The important detail is the word copy. Entering a password to read a PDF does not remove its encryption. This walkthrough creates a separate PDF that opens without a password while keeping the protected source unchanged. It covers a password you already know; it does not recover a forgotten password.
Before you begin
Have the protected PDF, its valid password, and a destination folder ready. Use a document you own or are authorized to process. Choose a filename that clearly distinguishes the new copy from the original, such as “Report — unprotected.pdf.” Keep the original until you have checked the result.
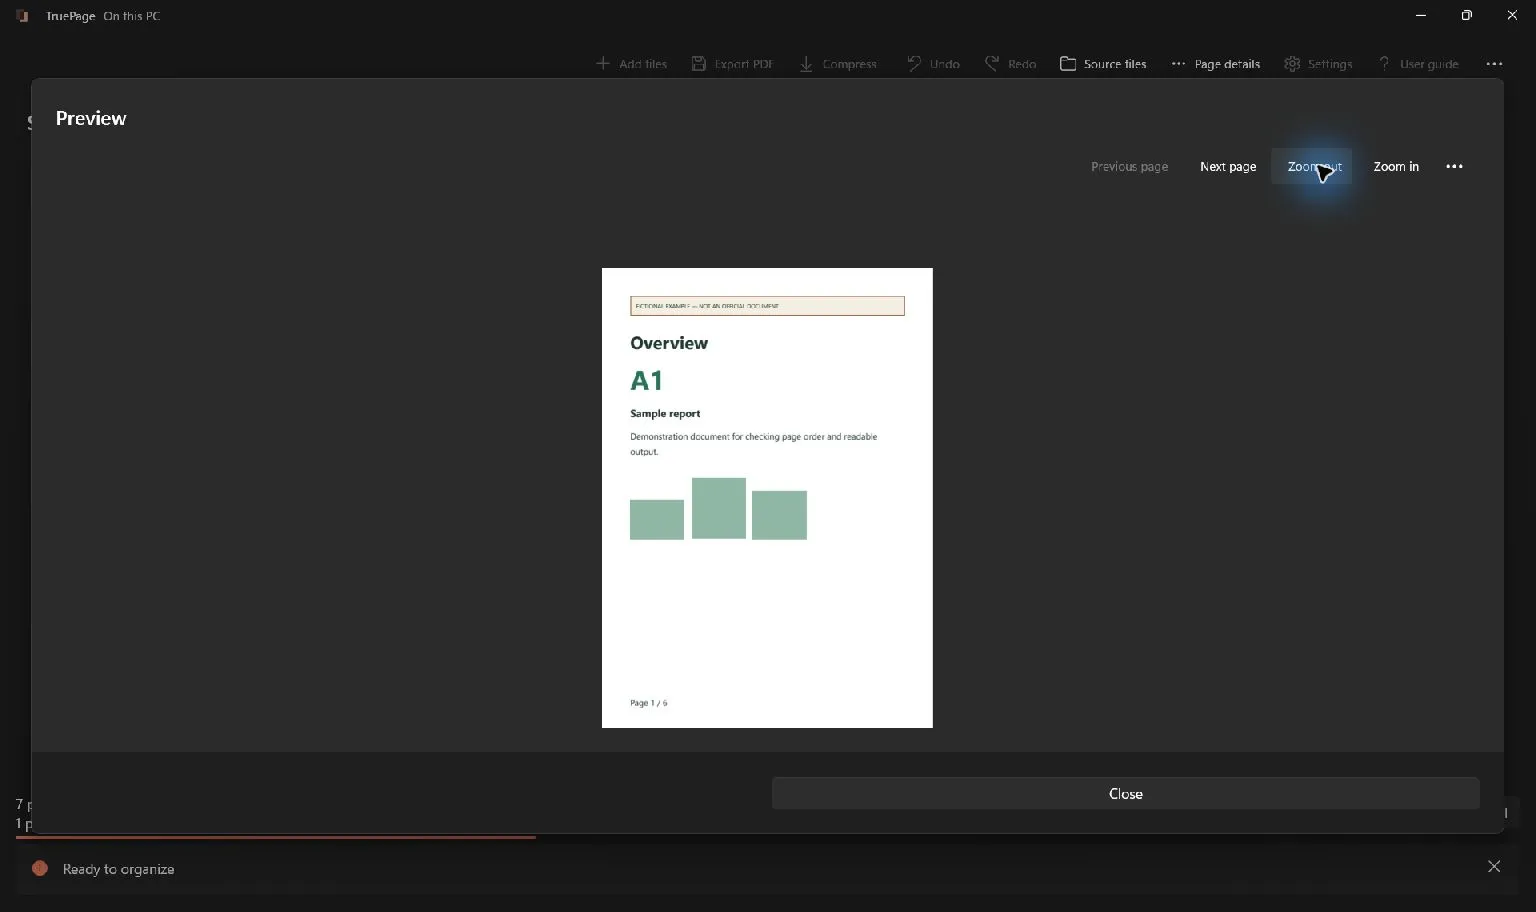
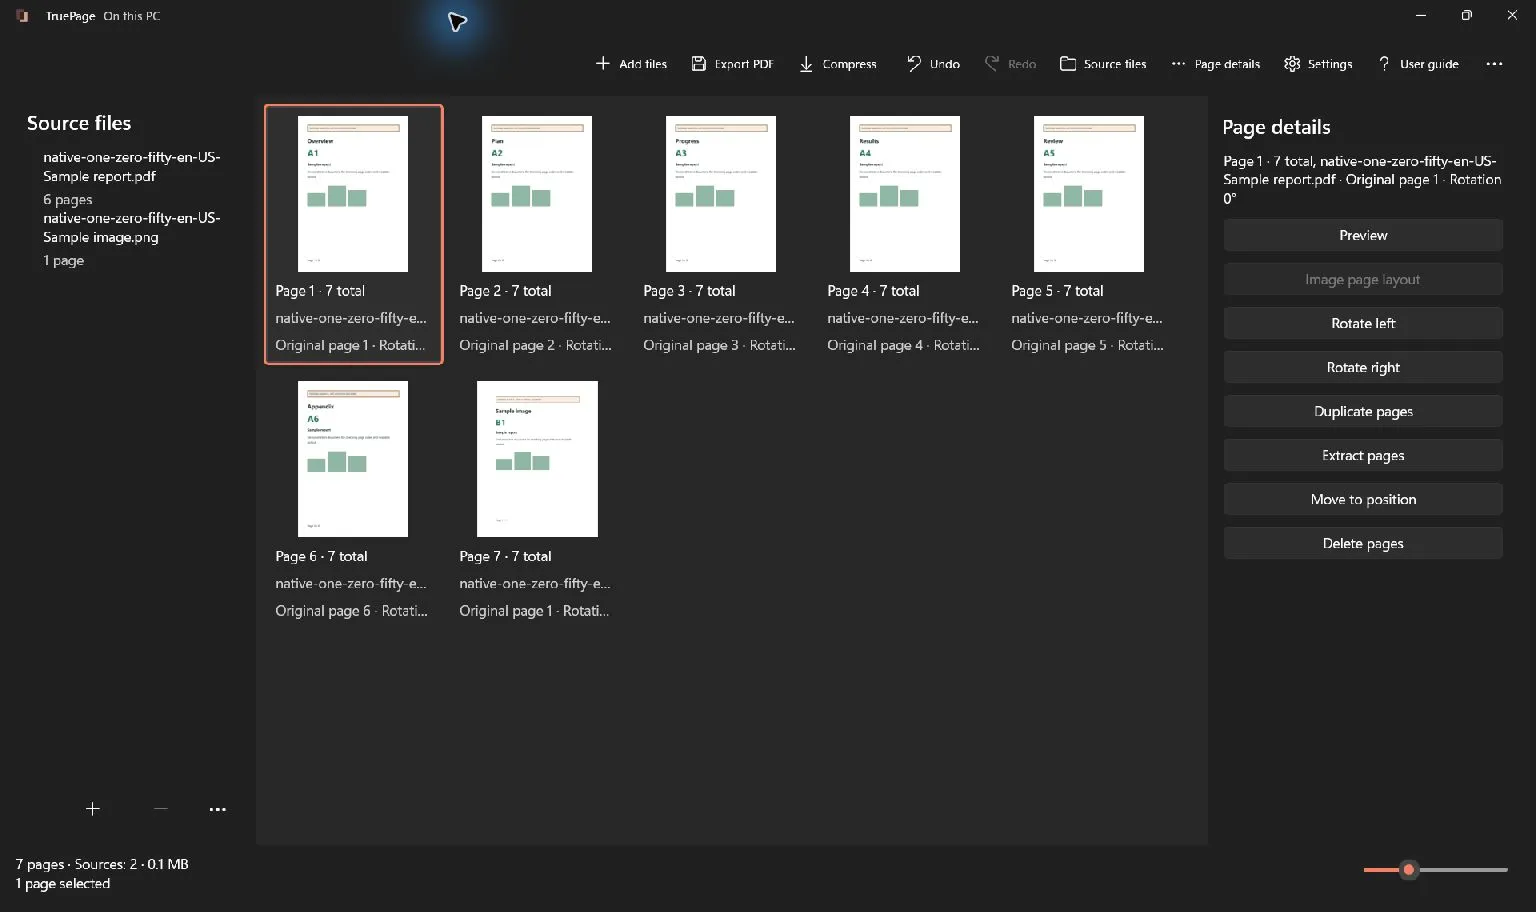
The illustrations show the native TruePage 1.0.50.0 interface with fictional sample documents. They illustrate controls rather than every step or output of this example.
For a first attempt, work with one PDF in the workspace. That makes it easier to see which source the password operation will use. If you need an introduction to adding files and previewing pages, read the getting-started guide.
The short version
- Add the protected PDF and enter its opening password.
- Open the toolbar’s … menu and choose Remove password.
- Enter an output filename, choose a destination, and review the source and output path.
- Confirm Create unprotected copy and authenticate the source again when asked.
- Wait for the completion result, then reopen the saved PDF in a fresh workspace.
Do not stop after the first step. A visible page thumbnail proves that TruePage can read the source in that session, not that a new unprotected file exists on disk.
1. Open the protected document
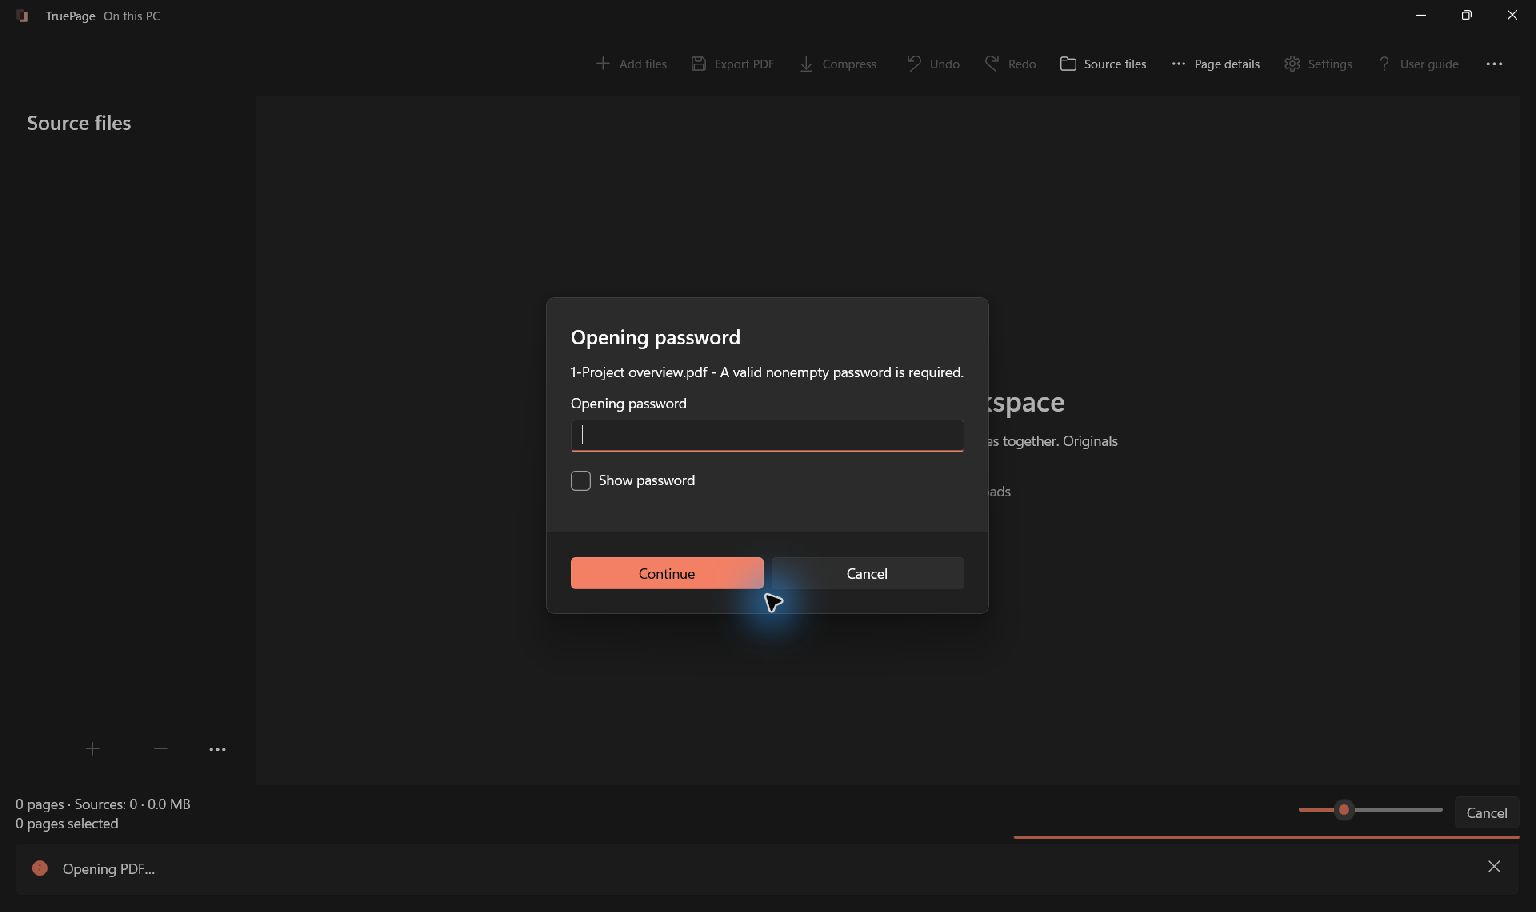
Start TruePage and choose Add files. Select your protected PDF. When the Opening password dialog appears, enter the password for that document and select Continue. A valid user or owner password can authenticate a supported encrypted PDF.
If the password is rejected, check capitalization, keyboard layout, and any spaces introduced while copying it. The password for a website, account, or downloaded ZIP is not necessarily the password for the PDF inside it. Ask the sender to confirm which password applies if you are unsure.
The Show password option can help you inspect what you entered, but it also makes those characters visible on your screen. You do not need to reveal the password for this procedure. Our screenshots use a demonstration password and never show a real document credential.
After the pages appear, briefly check that this is the intended document. Look at the source filename and the page count, and preview a recognizable page. This small check helps prevent saving an unprotected version of a different PDF with a similar name.
2. Choose Remove password for the correct source
Open the toolbar’s … menu and select Remove password. If several PDF sources are loaded, choose the intended source when prompted. Do not assume that selecting a page thumbnail limits the operation to that page.
Password operations apply to a whole source PDF, rather than the page arrangement currently on the board. If you removed pages, rearranged a packet, or combined several documents, those edits are not automatically the input to this command. Export the intended arrangement first, then use that saved PDF as the source of any subsequent protection operation.
This distinction is especially useful when you only want a few pages from a protected document. Decide whether your goal is an unprotected copy of the original file or an export of a new arrangement. Follow the corresponding workflow instead of treating password removal as a selected-page export.
3. Name the new copy and choose where to save it
The removal dialog asks for an Output filename. TruePage suggests a name with an unprotected suffix. You can keep that name or enter another clear name ending in .pdf. Then choose Choose destination and select the output folder.
Use a location you can find again. For a local-only example, choose a folder that is not synchronized by another application. A file saved inside a synchronized folder can be uploaded by that service even though TruePage performs the PDF operation locally.
Next, review the source filename and the complete destination path shown by TruePage. Confirm that the output is separate from your protected original. If the destination already contains that filename, review the available choice carefully. Keep both avoids replacing an existing output; if you deliberately choose replacement, read the additional confirmation.
The filename is only a label. Calling a file “unprotected” does not change its encryption, and renaming the original in File Explorer cannot remove its password. The new file becomes unprotected only after the removal operation completes successfully.
4. Confirm removal and authenticate the save
TruePage displays an Unprotected copy warning. Read it and choose Create unprotected copy if that is the result you intend. The saved PDF will no longer require the opening password. The protected original remains unchanged.
The warning refers generally to PDF, image, and ZIP outputs. In this walkthrough you are using Remove password to create a PDF. You are not converting the pages to pictures or creating a ZIP archive.
TruePage then asks you to authenticate the export. Enter the known source password again and select Continue. Being asked twice is expected here: opening the document for preview and authorizing a saved output are separate steps. Re-enter the existing password, rather than inventing a new password for the copy.
Wait for the result. Check that one requested file was saved and that the exported page count matches your source. If the operation reports a failure, do not infer success from the earlier preview or the filename you entered. Read the error and check the destination before trying again.
5. Reopen the saved copy without its password
On the completion screen, note the exact saved path. For a clear verification, choose Start another project, then Add files and select the new output. Make sure you choose the copy with the unprotected suffix, not the original file next to it.
The copy should open without an opening-password prompt. Preview a page and check the page count, orientation, text, and any important diagrams. In the example, the saved copy opens in a fresh workspace and still contains both report pages.
A screenshot of a page by itself cannot prove that encryption is absent. The useful test is what happened when you opened the saved file: no password was supplied, and its pages became readable. For a further check, close and reopen the file in your normal PDF reader as well.
Keep the original protected PDF separate. It should still ask for its password when opened in a fresh session. Do not delete it merely because the first page of the copy looks correct. Finish checking the document you actually plan to use or share.
If something does not work
The opening password is rejected. Check the exact password, keyboard layout, capitalization, and copied whitespace. If you do not have a valid password, ask the document’s owner or sender. This workflow does not bypass an unknown password.
The app says there is no protection to remove. You may have selected an already-unprotected PDF, including a copy created earlier. Check the source filename. A document that is difficult to edit or that contains scanned pages does not necessarily have an opening password.
The saved file still asks for a password. First compare its full path with the completion screen. Accidentally reopening the original is easy when filenames are similar. If the exact saved output still prompts, stop and retain both files and the error details for investigation.
The output does not contain my page edits. Remove password operates on the whole source. Export your intended page arrangement first. Do not repeat the same removal operation expecting the page selection to change its scope.
Saving fails. Read the displayed message and check that the destination is available and writable. Preserve the source, and use a separate output name for another attempt. A completion message showing zero saved files is not a usable result.
What stays local, and what changes after removal
TruePage processes the document in the app and its local worker processes. No TruePage account or document upload is required for this workflow. That statement concerns document processing; it does not mean that Windows, backups, Store updates, or other applications make no network requests.
An unprotected copy needs appropriate storage and sharing. Anyone who can obtain and read that file no longer needs the opening password. Removing encryption is not redaction: confidential names, figures, and page content remain in the document. Choose the destination and recipients accordingly.
Rewriting a digitally signed PDF does not preserve its valid signature status. Keep the signed original if you need that record. Password removal is also not OCR or existing-text editing; it will not make a scanned page searchable or turn a PDF into a word-processing document.
Frequently asked questions
Can I remove the password just by opening the PDF?
No. Entering the password allows reading in that session. You must complete the removal operation, save a new copy, and test that copy without entering a password.
Does this change the protected original?
This workflow saves a separate output and leaves the source unchanged. Keep distinct filenames and review any existing-file replacement prompt so you do not overwrite another output unintentionally.
Can I remove a password I have forgotten?
Not with this procedure. You need a valid password. Ask the sender or retrieve an authorized unprotected original instead of assuming that a password-removal command performs password recovery.
Can I protect the copy again later?
Yes. Use the saved PDF as the source for Add password, create a protected copy, and test that result before sharing it. See how to password-protect a PDF on Windows 11 for the full procedure, or the password-protection guide for related behavior.

Your pages. Your space.
Available now for Windows 11