Clean up a scan without losing faint content
Inspect each apparently blank page in Preview, remove only confirmed unwanted pages, and export all remaining pages. TruePage does not automatically detect blanks; faint marks and intentional separators need review.
Decide whether the blank pages belong in the output
Before removing anything, think about how the PDF will be used. For on-screen review, empty scanner backs may add unnecessary navigation. For a document intended for duplex printing, a blank can keep a new chapter on the correct side of a sheet.
Some pages explicitly say they are intentionally blank. Others contain only a stamp, handwritten note, faint reverse-side mark, or a small footer. Those may matter to the recipient even when most of the page is white. A nearly empty page is not necessarily an unwanted page.
Follow the recipient’s requirements when a complete scan is requested. A cleaned reading copy can be useful without replacing the complete original. Keep the original scan and give the derivative a name that makes its purpose clear, such as scan-reading-copy.pdf.
Do not treat page removal as redaction or sanitization. It removes selected page occurrences from the exported arrangement; it is not a review of every kind of information a PDF may contain. If a document requires a separate disclosure or redaction process, complete that process with suitable tools and checks.
Import the scan and establish its original sequence
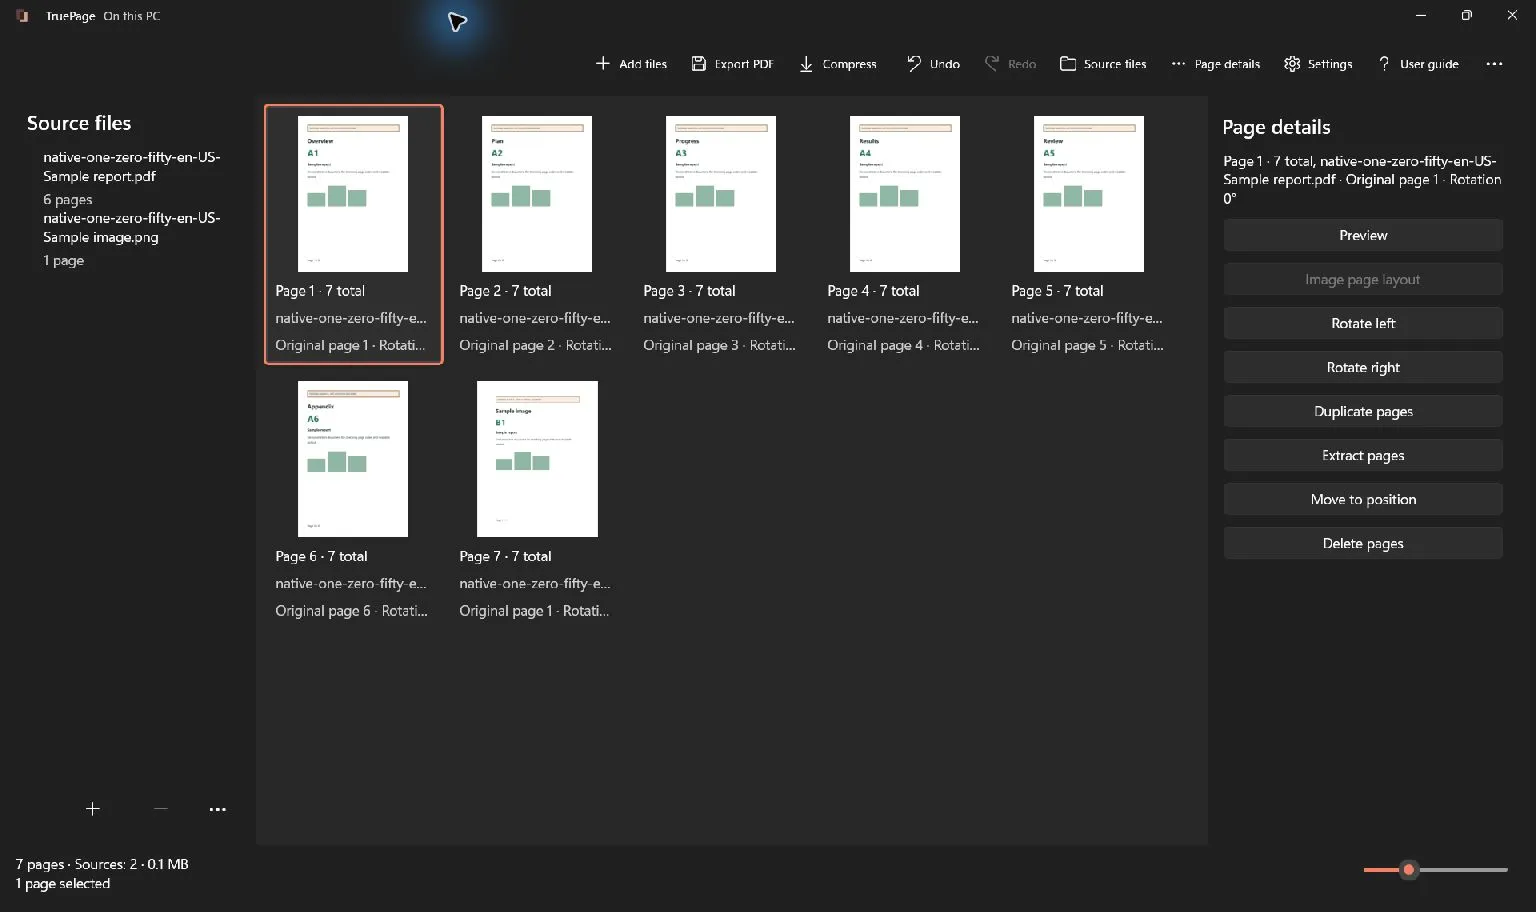
Choose Add files or Ctrl+O, select the scan, and wait for all pages to appear. Check the page count and identify the source in Source files. If you imported other documents already, distinguish this source’s original page numbers from the positions it occupies in the combined arrangement.
Read through the thumbnails to identify candidates for inspection. In the five-page sample, the blank backs occupy current output positions 2 and 4. The numbered pages occupy positions 1, 3 and 5. Those positions describe this arrangement at this moment.
Write down the pattern if it helps, but do not assume that every even-numbered page is blank. A scanner may have skipped a back, captured a double-sided sheet, or inserted a separator. A regular-looking pattern is a starting point for inspection, not a safe rule for deletion.
If a page appears missing or out of order already, resolve that problem before cleanup. Removing blank backs from an incomplete scan cannot recover a missing content page. Check the original paper or obtain a complete source when necessary.
Preview every page you are considering removing
Select a candidate and open Preview. Inspect the full page, including its corners, margins, and bottom edge. Zoom in enough to look for faint text or marks, then return to a view that shows how those details relate to the complete page.
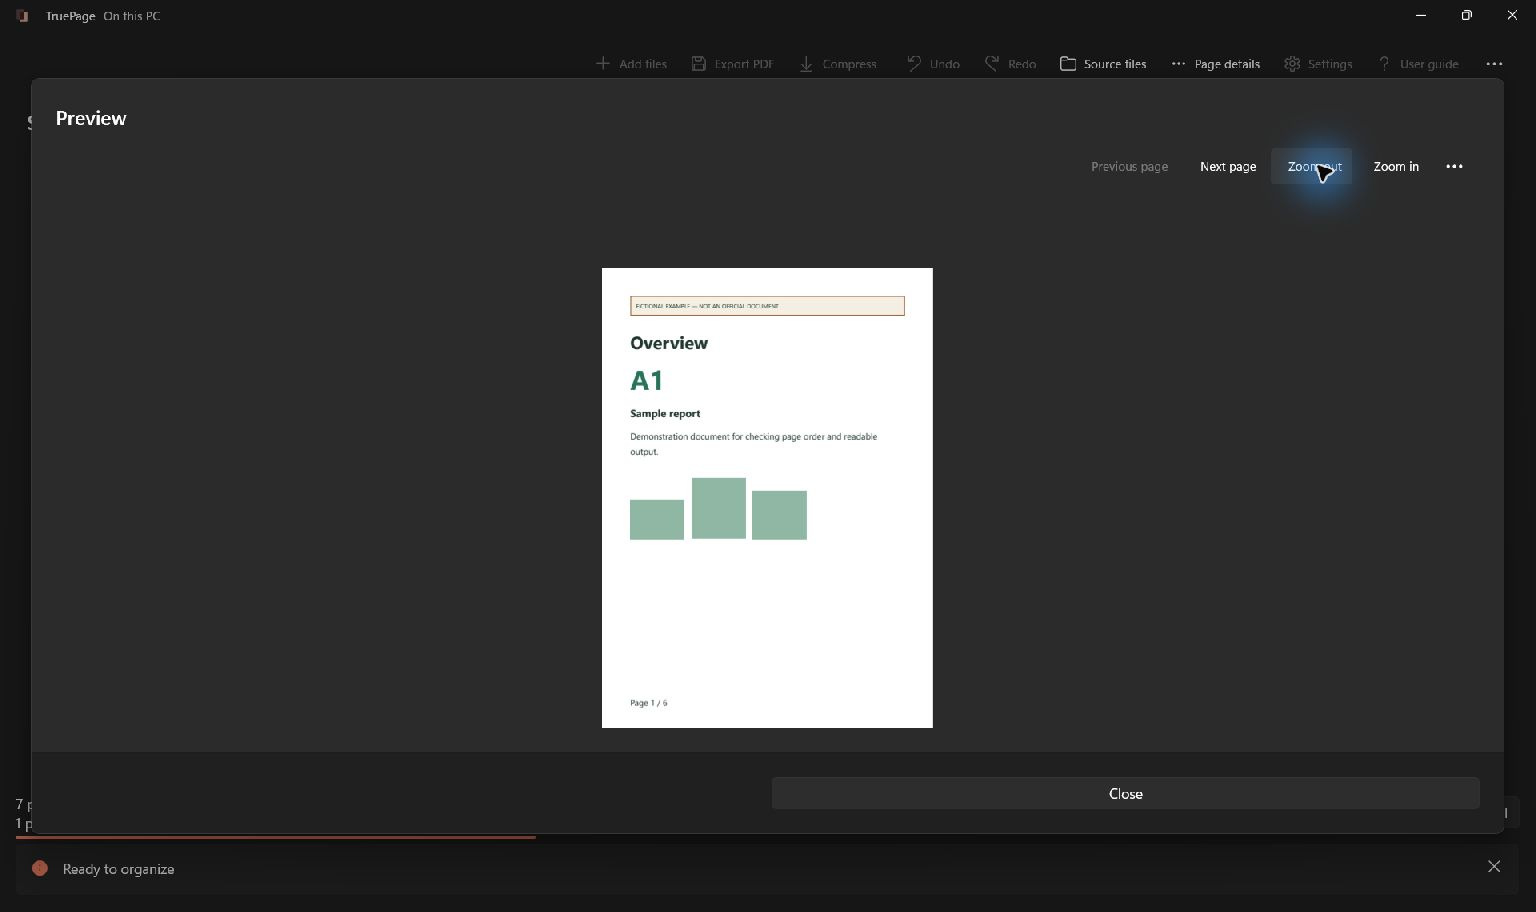
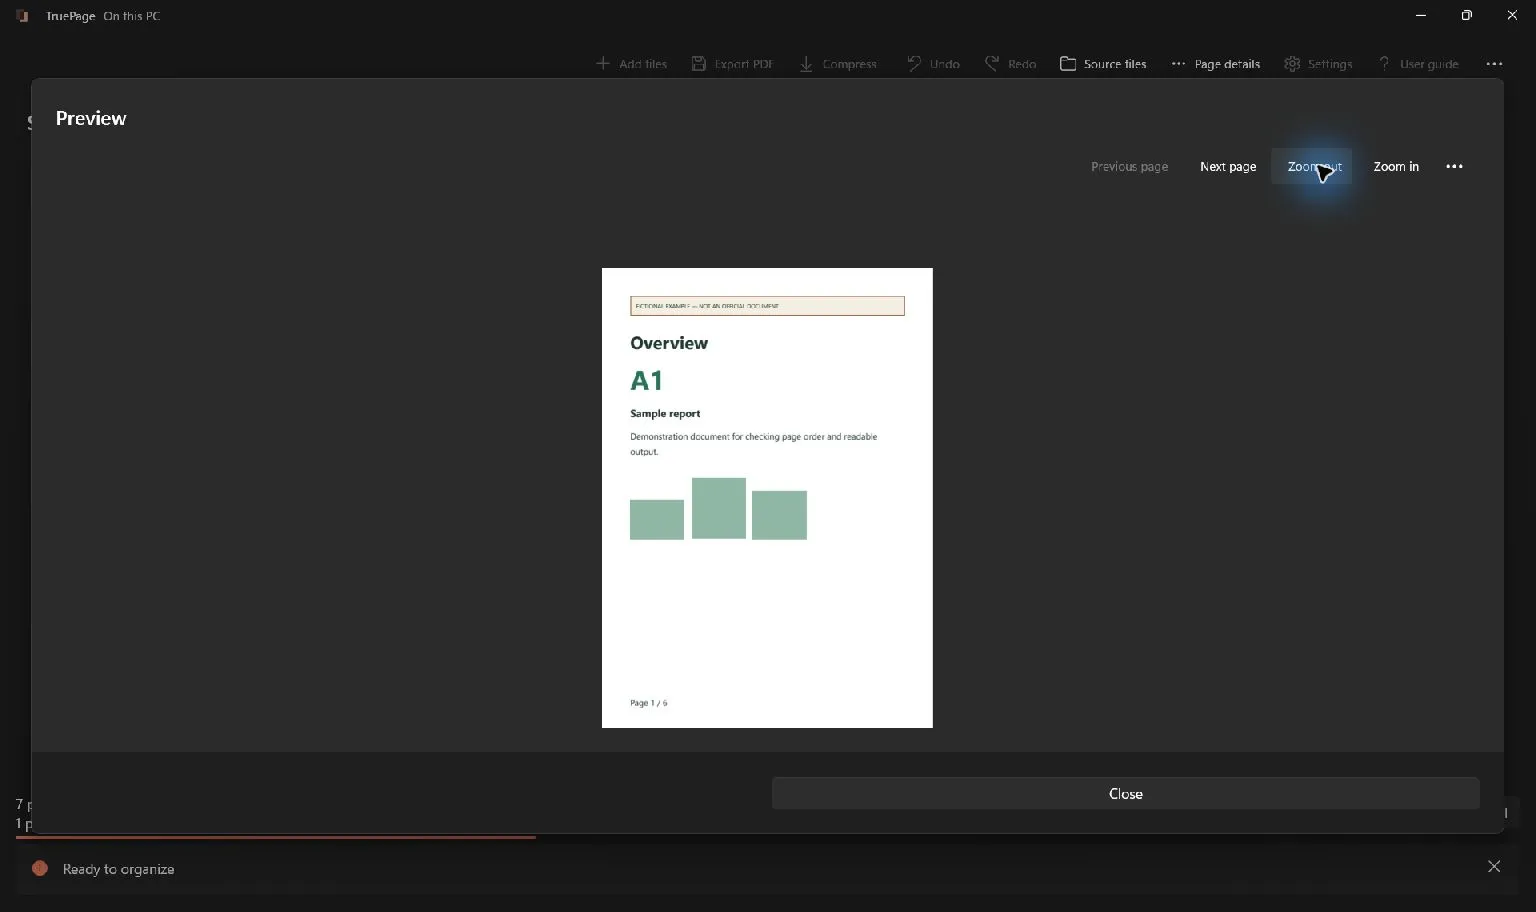
The retained screenshot illustrates the native Preview workflow with a generic report page. It is not a blank-detection result. For your own scan, inspect the actual blank-looking candidate rather than assuming that a thumbnail’s white appearance establishes emptiness.
Check adjacent pages as well. A faint page might be the reverse side of a form with continuation instructions, or the page before it might refer to a stamp on its back. Understanding the local sequence can change a removal decision.
If you cannot confidently distinguish a faint mark from scanning noise, keep the page in the review copy or obtain a clearer scan. Page arrangement cannot reconstruct source detail that was never captured. Repeatedly zooming a low-quality scan enlarges the same limited information.
Select the confirmed blank occurrences
Return to the board and select only the pages you have decided to remove. Use Ctrl+click for separate occurrences or Shift+click for a continuous range. Inspect every highlight and compare the selected count with your review notes.
In this example, positions 2 and 4 are separate blanks. Selecting the entire range 2–4 would also include content page 02 at position 3. Use a separate-page selection, or remove the two blanks individually while checking the changing positions.
If you selected a whole source earlier, clear that selection before targeting individual blanks. Source selection is useful for some organization tasks, but it is too broad when the same scan contains pages you need to retain.
Touch users can use Touch multi-select to select individual candidates. The input method does not change the decision rule: a selected occurrence must have been inspected and identified as unnecessary for this specific output.
Remove the blanks and account for shifting positions
Choose Delete pages or press Delete for the verified selection. The source scan remains on disk with all of its original pages. The board now represents the cleaned arrangement you intend to export.
If you remove the blanks together, the sample goes directly from five occurrences to three. If you remove them separately, the positions shift after the first deletion. Removing old position 2 brings the next blank from old position 4 to new position 3.
Identify that second blank again before deleting it. Following the original note “remove page 4” after the first edit would remove the wrong current occurrence. Printed page content and neighboring pages are better checks than an outdated positional note.
Inspect the result immediately. A five-page source minus two unwanted backs should leave three content pages in order. If the count or content differs, use Undo before making another edit.
Use Undo to recover a wrong selection
Undo or Ctrl+Z reverses the last arrangement edit. If you removed a group, verify that the group has returned, then rebuild the intended selection. Redo is available through Ctrl+Y or Ctrl+Shift+Z when you deliberately want to reapply the edit.
Do not repair an uncertain deletion simply by duplicating a neighboring page until the count matches. A correct total can still contain a repeated page and omit a required one. Restore the known state and compare the actual content.
A new edit after Undo changes the redo path. A confirmed reload of externally changed source content also clears the workspace history. Keeping the source stable while reviewing the scan makes ordinary Undo a more predictable recovery tool.
Exported files are separate from the arrangement history. Undoing a deletion after export changes the workspace, but it does not retract the previously saved PDF or update a copy that has already been shared.
Review the cleaned document as a reader
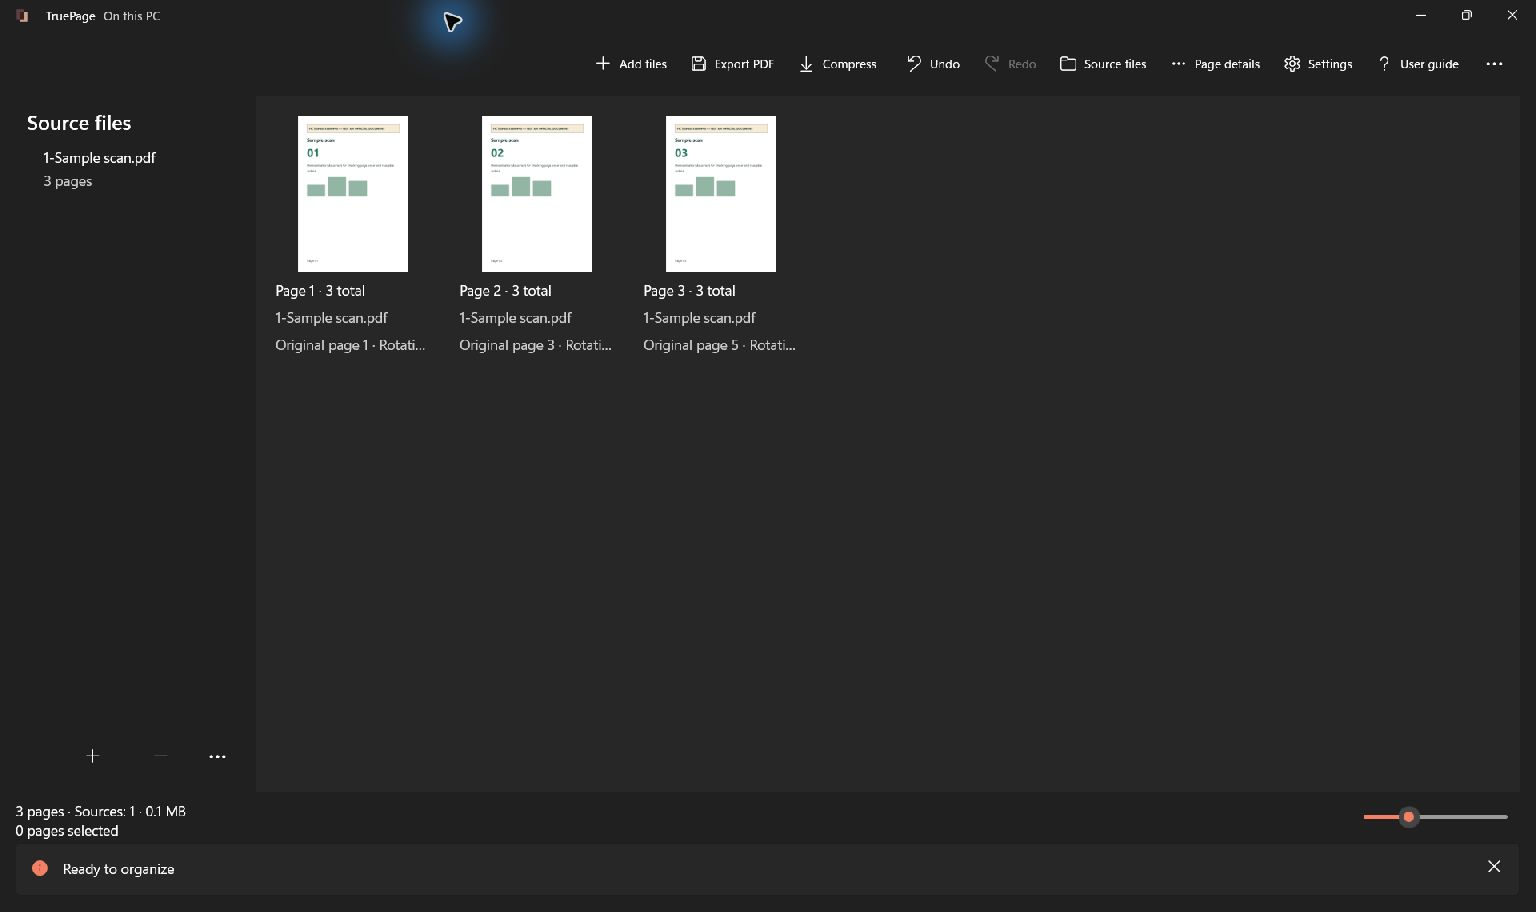
The sample now contains content pages 01, 02 and 03 with no blank backs between them. Preview the first page, each new boundary, and the final page. For a short scan, review the entire output sequence before exporting.
Check continuity: a table should not lose its continuation, a form should retain its instructions, and the final page should be the one you expect. Numbered content helps, but source pages can use repeated or missing printed numbers, so read enough content to establish the sequence.
Decide whether the remaining printed numbering is acceptable. TruePage does not rewrite page numbers or update a contents page when blanks are removed. If an index refers to physical positions in the original scan, it may need to be revised separately.
If the output will be printed, review the effect on front-and-back placement. Removing two blanks at different locations can alter section starts even when the total change is an even number. Check the specific print sequence instead of relying only on the final page count.
Export a distinct cleaned copy
Choose Export PDF and select All pages for the complete cleaned arrangement. Check the scope even if no selection is obvious; exporting a selected subset would create a different result from the cleaned document you just reviewed.
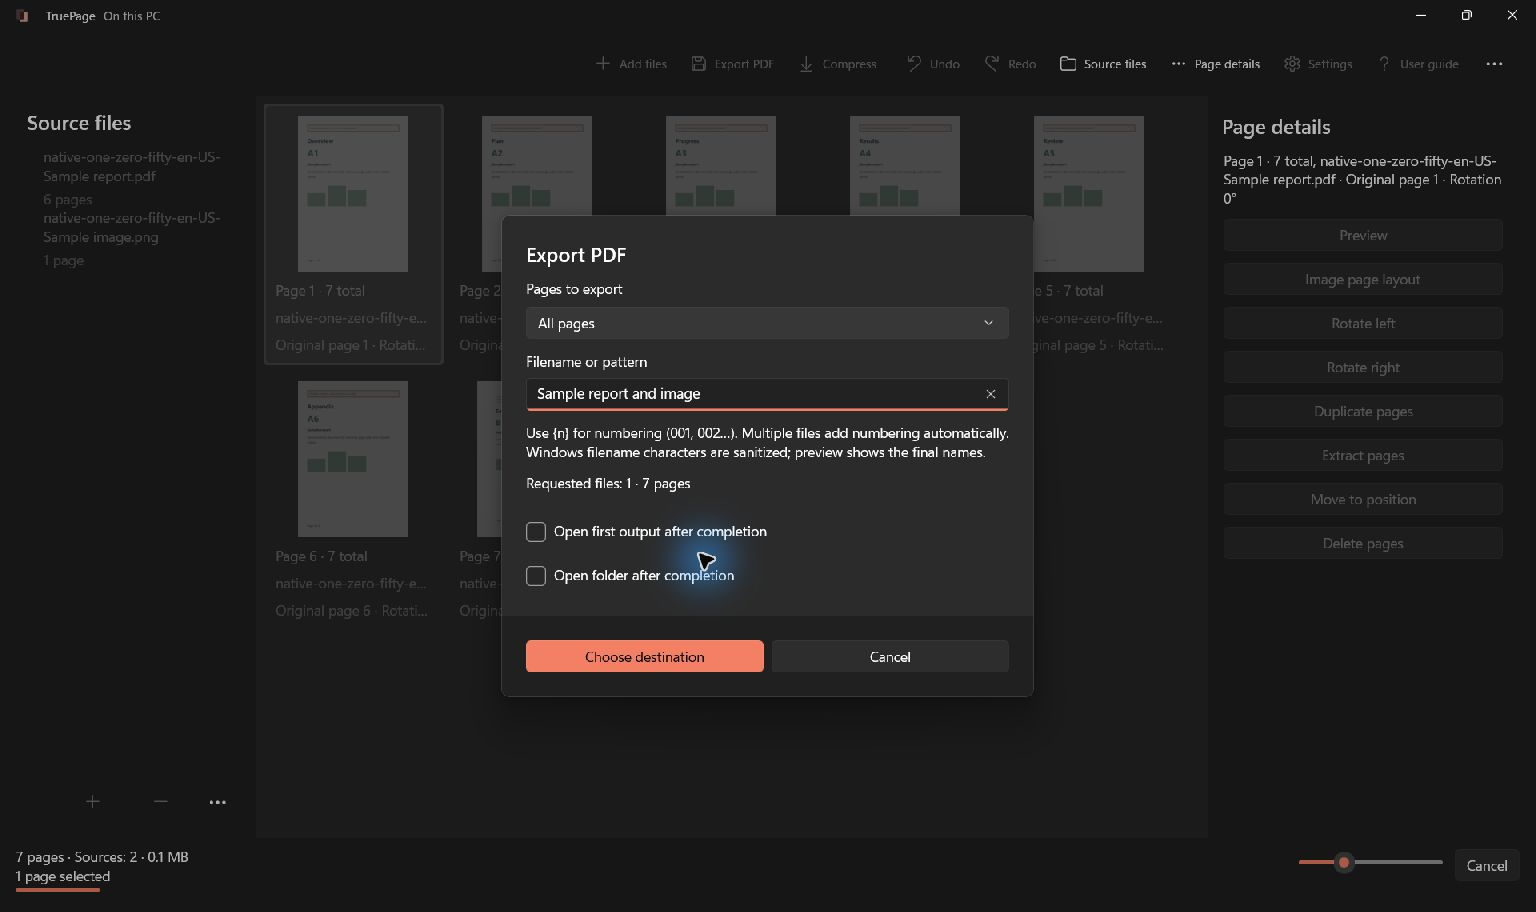
Select a destination and a clear filename. Retain the original scan for reference, and wait for export to complete. Open the saved PDF to confirm its count, order, content, and readability. The correct board is only part of the task; the saved file is what the recipient will see.
Removing mostly empty pages may not reduce the file size very much. File size depends on the stored content and structure, not just the number of pages. If the cleaned result still exceeds a limit, use the separate compression guidance on the exported PDF and compare the resulting readability.
For general unwanted-page removal, see deleting PDF pages. If the scan’s text cannot be searched, read why scanned PDFs are not searchable: deleting blanks and arranging pages do not add an OCR text layer.

Your pages. Your space.
Available now for Windows 11