Insert a missing page without rebuilding the document
To add a page to an existing PDF in TruePage, import the existing document and the PDF containing the extra page, move that page to the required output position, and export a new PDF. The added page can go at the beginning, in the middle or at the end. Your source documents stay unchanged.
This walkthrough starts with a packet containing content pages 1 and 3. Page 2 is in a separate PDF. The intended result is one document ordered 1, 2, 3. The important work is choosing the right source page and placing it between the correct neighbors, rather than merely adding another file to the workspace.
TruePage arranges existing PDF pages and supported images. If the new page still needs to be written, prepare it in your document application and save it as a PDF first. Adding a page does not provide existing-text editing, a blank-page authoring canvas or automatic changes to printed page numbers.
Prepare the two source files
Keep the incomplete packet and the additional page easy to distinguish. For this example they are focused-missing.pdf and focused-insert.pdf, both fictional demonstration documents. Open the additional page and confirm its heading or reference so that you do not insert an outdated revision with a similar filename.
Check whether you are adding missing content or replacing content already present. Inserting a corrected page beside the obsolete one leaves both in the final PDF. If the old page should disappear, follow the page replacement walkthrough instead and check the resulting count carefully.
Also inspect the new page’s orientation and dimensions. A landscape diagram can legitimately sit among portrait pages. A noticeably different page size may come from the source application’s paper settings. If uniform PDF page dimensions are required, prepare the source accordingly before importing it; the image-layout controls do not resize existing PDF pages.
Add the packet, then the missing page
- Choose Add files and open the incomplete packet.
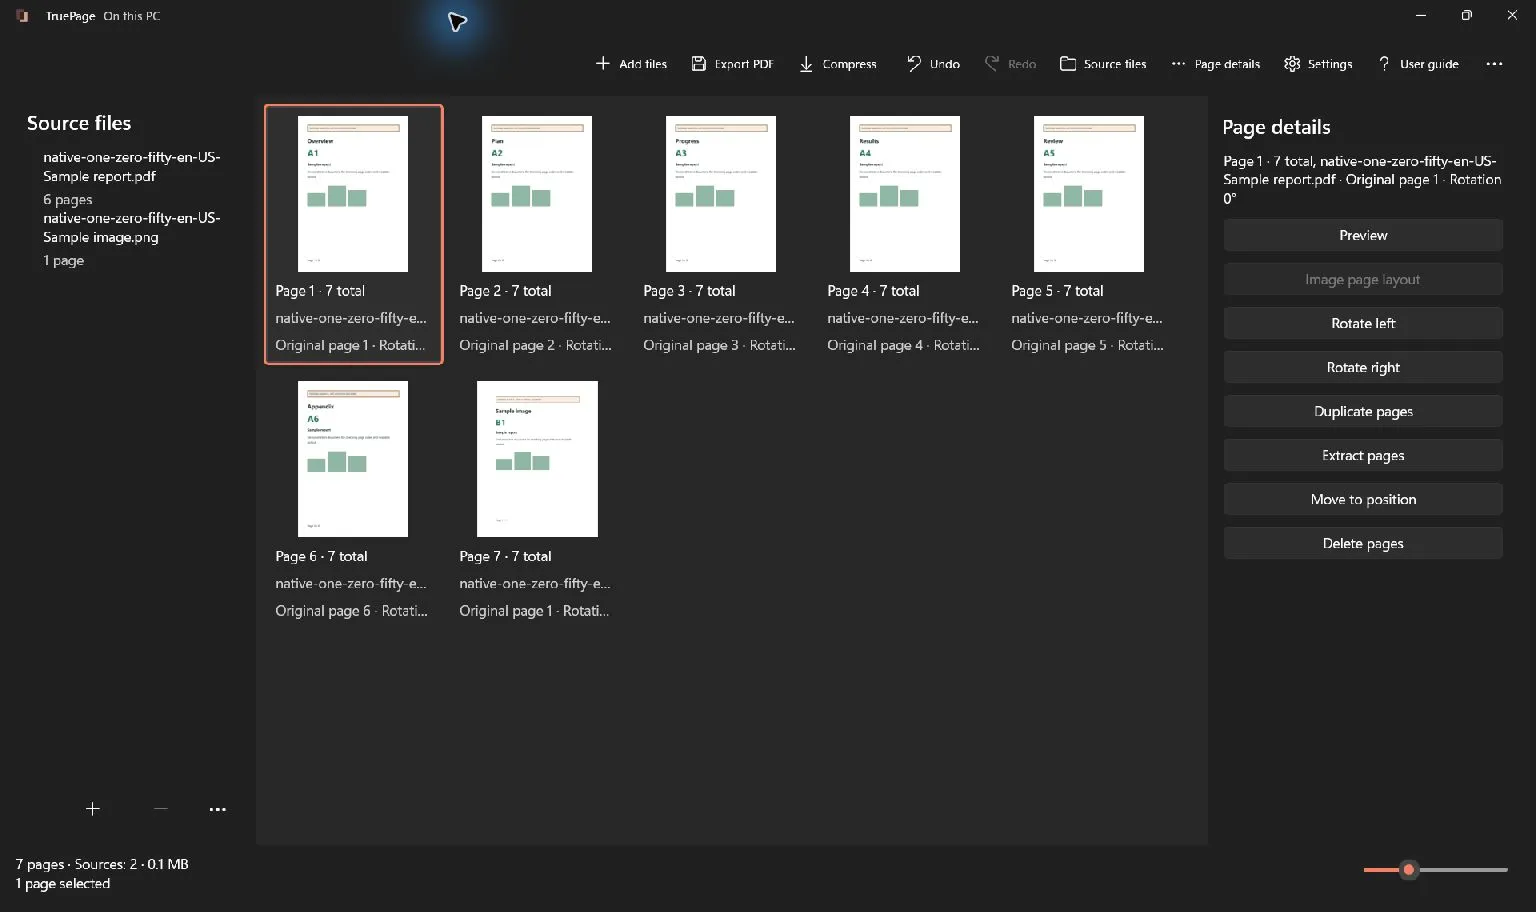
- Confirm that its two thumbnails show content pages 1 and 3. These currently occupy output positions 1 and 2.
- Choose Add files again and open the separate PDF containing content page 2.
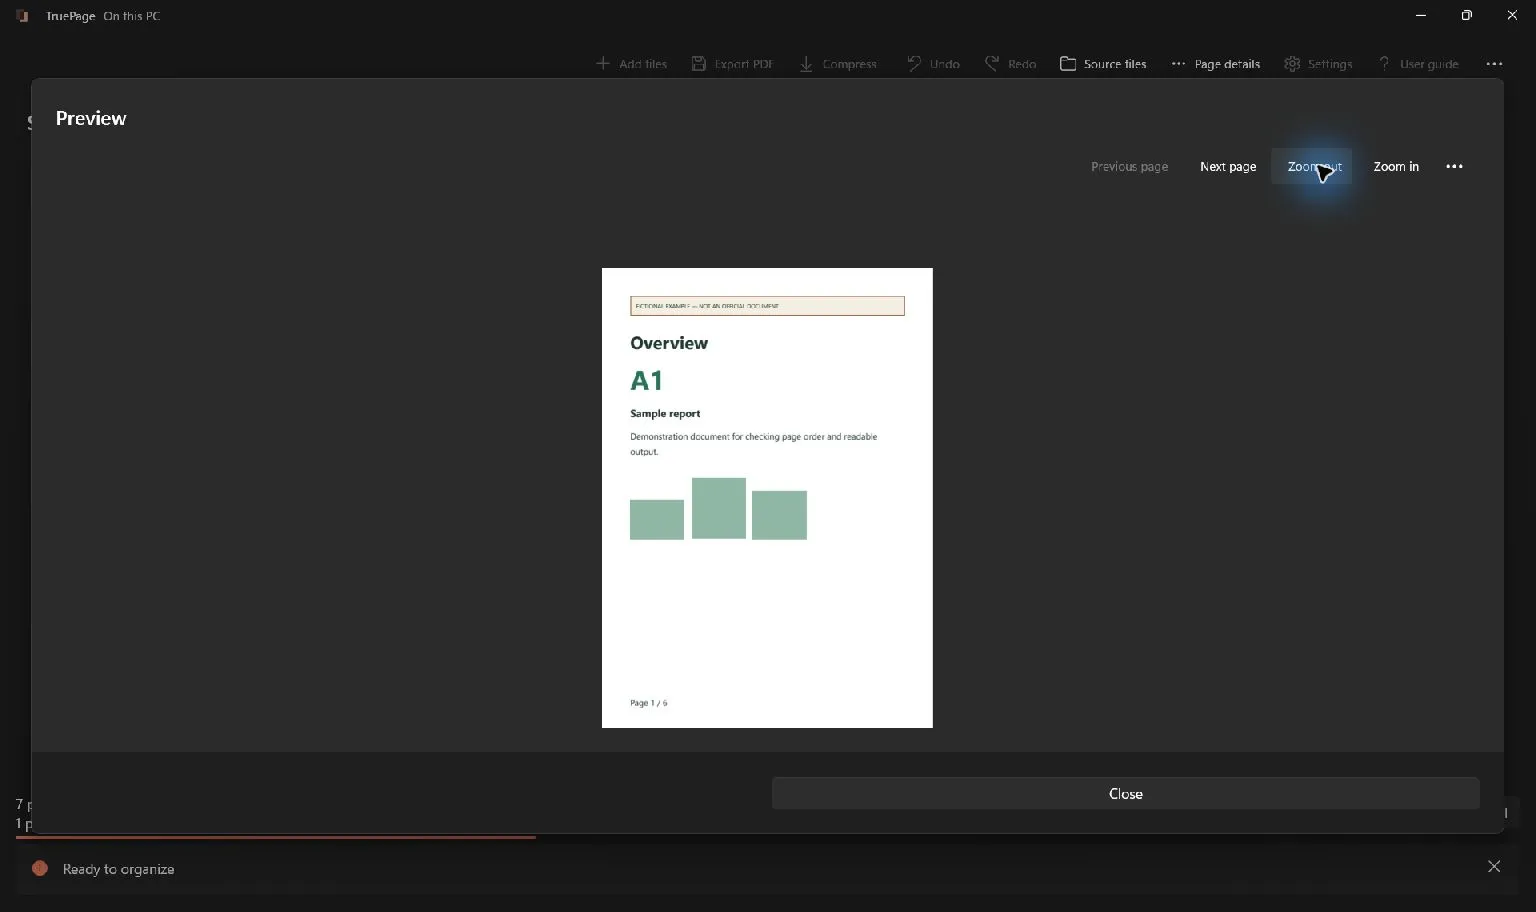
- Inspect the arrangement after import and find the new occurrence by its content and source filename.
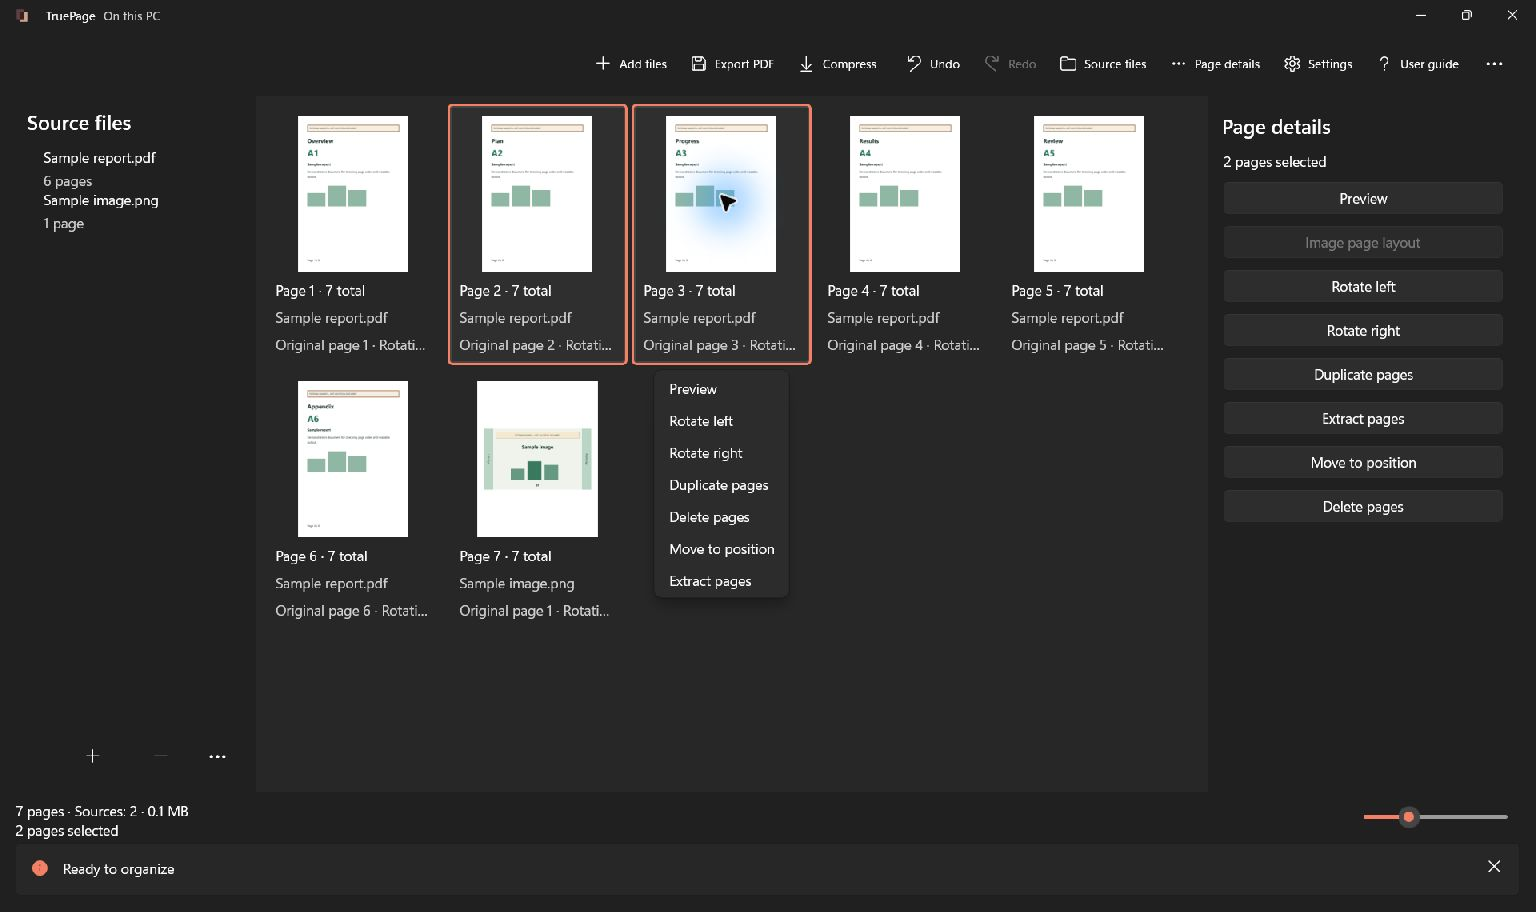
- Select only that page before moving it.
Adding the second source makes its page available in the arrangement; you still need to position it deliberately. Do not confuse the order in which files appear under Source files with the final reading order of their page occurrences.
If the second PDF contains several pages, decide which ones belong in the packet. You can remove unwanted occurrences from the arrangement, or use the selected-page copying workflow to produce a combined output containing only the intended pages. Importing a whole file is not proof that every one of its pages should be shared.
Place the new page in the middle
With content page 2 selected, choose Move to position. Enter 2 as the first output position and confirm Move. This gives the sequence content page 1, content page 2, content page 3. You can also drag the selected thumbnail between its neighbors, using the insertion indicator to confirm the destination before releasing it.
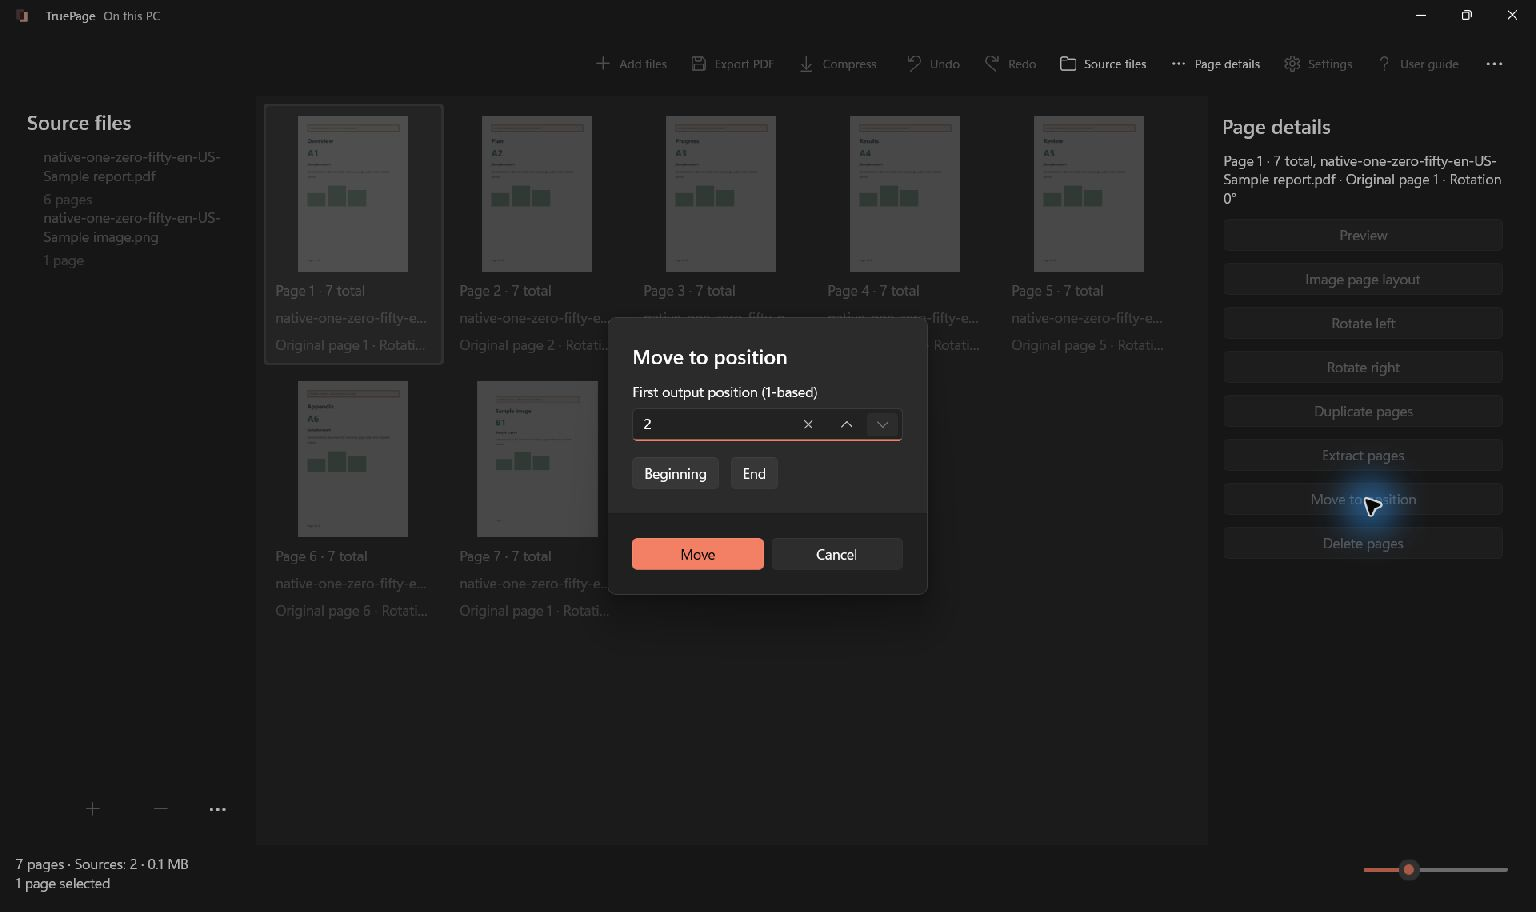
In this worked example, position 2 means the second page of the final arrangement. It is not a command to find a printed number “2” inside the document.
A selected group moves together and retains its internal order. If two pages are highlighted when you intend to move one, clear or adjust the selection first. After any move, read the selected count and the neighboring thumbnails. Undo, or Ctrl+Z, lets you reverse an accidental workspace edit before trying the intended move again.
Export the complete three-page packet
Choose Export PDF and use All pages when the complete arrangement is the desired output. Check that the summary requests one file containing three pages. Leaving the new page selected on the board does not mean you should choose Selected pages: that would export only the selection rather than the entire repaired packet.
Give the result a recognizable filename and choose its destination. Review the output preview before confirming export. Keep the new copy distinguishable from the incomplete original so you can attach the correct document later. Existing destination collisions should be reviewed explicitly; Keep both preserves the earlier file as a separate copy.
Open the saved PDF and read its complete sequence. For the demonstration, confirm that page 2 appears once, between pages 1 and 3, and that no source page was unintentionally omitted. Verify the actual saved file instead of relying only on the workspace, because the export scope determines what leaves the application.
Check numbering and related details
Inserting a page changes output positions but does not rewrite a document’s printed numbering, contents page or cross-references. A document that says “see page 5” may need an update in its authoring application. See printed PDF numbers versus the page counter when introductory pages make these numbers differ.
For signed originals, keep the signed file separately: rewriting a PDF does not preserve its valid signature status. For ordinary packets, finish with a readable orientation, correct content and a clearly identified exported copy. If the new page is a cover rather than a missing middle page, the cover-page tutorial explains that specific arrangement. The page organization guide covers selection, grouping and reversible moves in more detail.

Your pages. Your space.
Available now for Windows 11