Build a document that someone can check
Use readable receipt photos, add them in the required order, choose Fit so dates and totals stay visible, and export one PDF. Replace unreadable source photos rather than enlarging them repeatedly.
Prepare usable photographs first
Open each image before importing it. Check that the merchant or document heading, date, item details, total, and any required footer are visible. A beautifully aligned PDF cannot recover text that was outside the photograph or blurred at capture time.
Look especially closely at long receipts. A narrow strip of missing paper at the bottom can remove the total or payment information. Reflections and shadows may also hide characters even when the overall image looks sharp. Read a few small lines rather than judging only the outer shape.
If a photo needs perspective correction, color adjustment, or cropping around the paper, prepare that source in an appropriate image editor before adding it. TruePage’s page layout controls position the image on a PDF page; they do not straighten the photographed paper inside the image or reconstruct missing content.
Keep an untouched copy of the original photograph. If you prepare a cleaned-up derivative, give it a distinguishable name. This makes it easier to trace a page back to its input and to correct an accidental crop later without taking the photograph again.
Add the images and establish their order
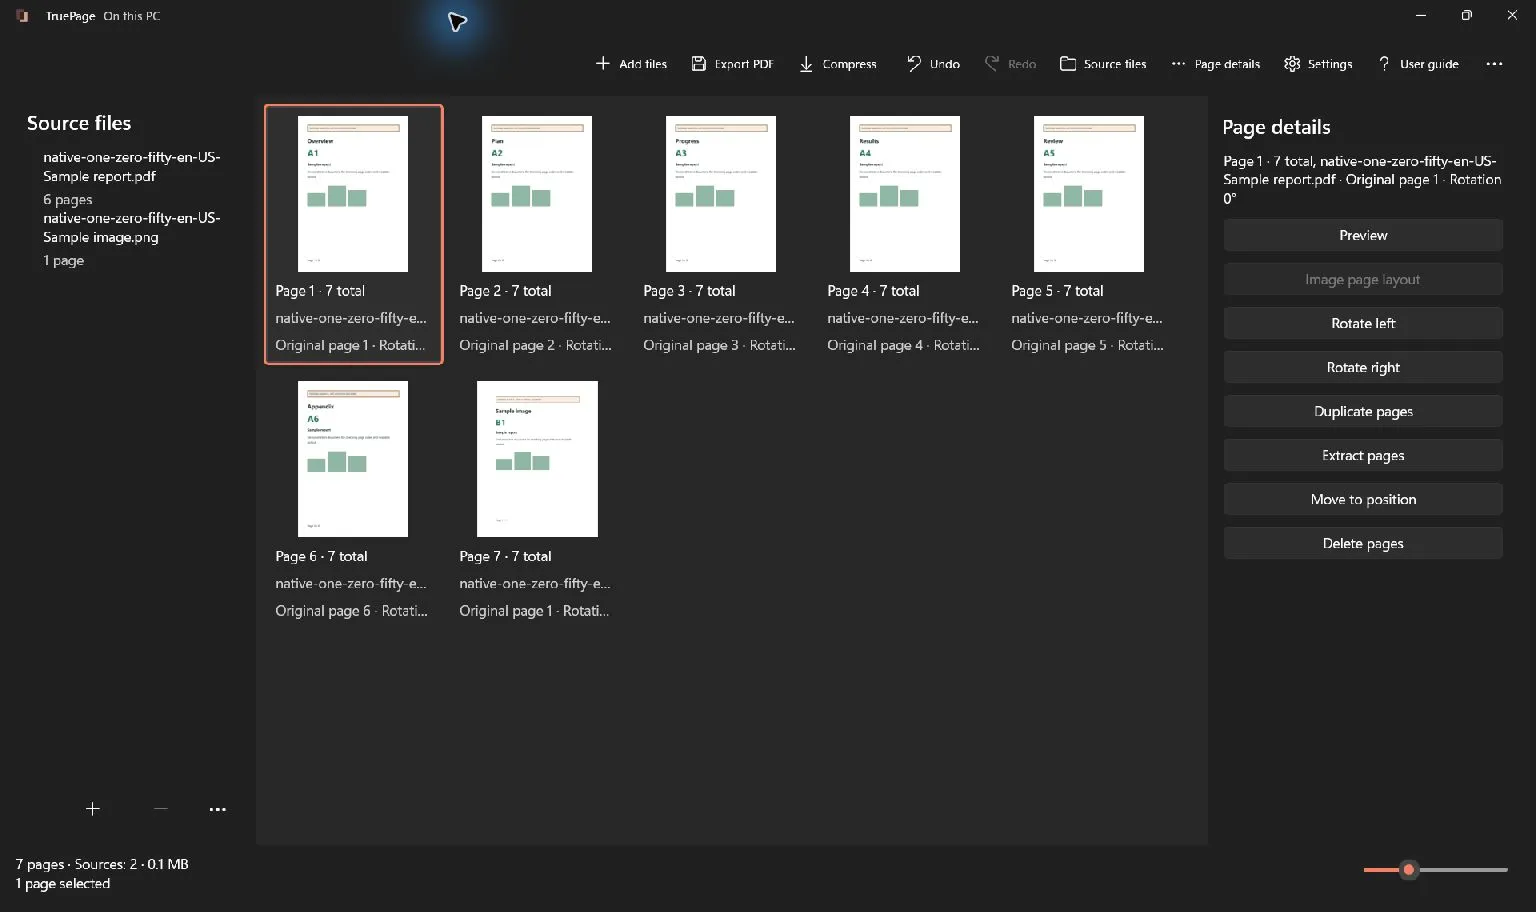
Use Add files to bring the receipt images into the workspace. Each imported image becomes a page occurrence in the arrangement. Check the thumbnail count against the number of receipts you intend to include; several similar images can make a missing or duplicated entry easy to overlook.
Choose an order that matches the recipient’s request. That might be oldest to newest, the sequence in an accompanying list, or a grouping by project. Do not assume the current order is chronological merely because the filenames contain numbers. Camera names and download suffixes often describe file creation rather than the receipt date.
Move a page by dragging it to its intended position or use the page movement controls. Review the neighboring pages after a move. The important question is whether the reader will encounter the intended receipt next, not whether the thumbnail animation looked plausible.
If two photographs show the same receipt, decide whether both are needed. A second close-up might be deliberate, while a duplicate camera shot might add confusion. Select the unwanted occurrence and remove it from the arrangement only after checking its content. The source image is retained on disk.
Check readability in Preview
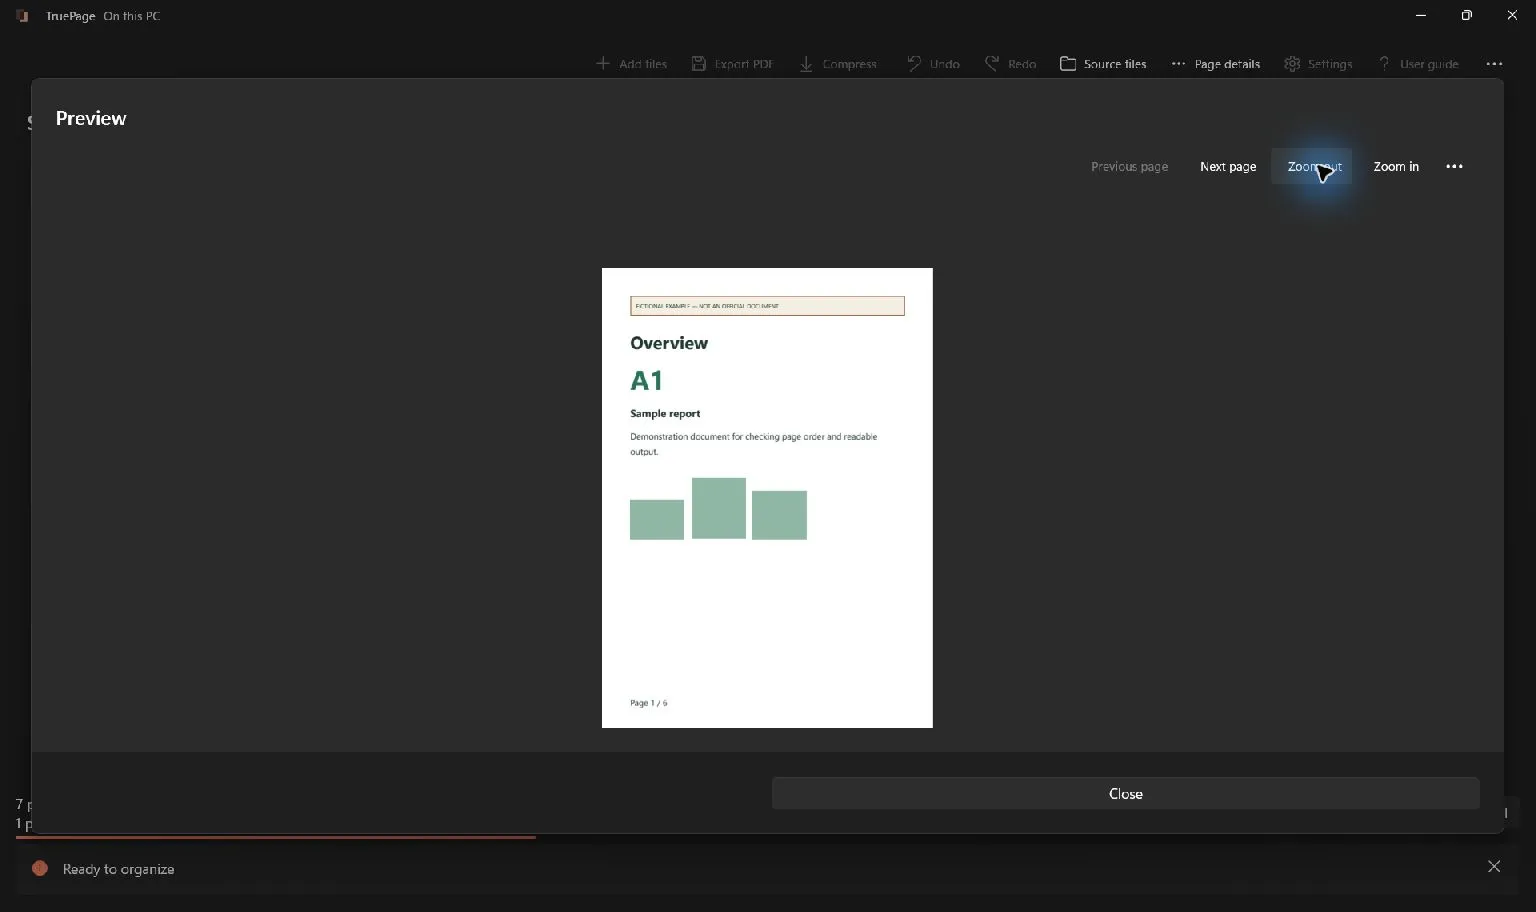
Open Preview for the first receipt. Inspect the complete page and then zoom in to read smaller text. Use the next and previous controls to check each image in the same way. A thumbnail is useful for ordering, but it is too small to establish whether an item description or total is legible.
If the receipt is sideways, rotate the page left or right. In TruePage, rotating from Preview changes the arrangement. Closing Preview does not discard that rotation, so leave the page in the orientation you intend to export.
If enlarging the preview reveals blurred characters, increasing the PDF page size will not restore those characters. Replace the input with a clearer photograph when possible. A readable source is more useful than a larger page containing the same unreadable pixels.
Choose a page size and placement
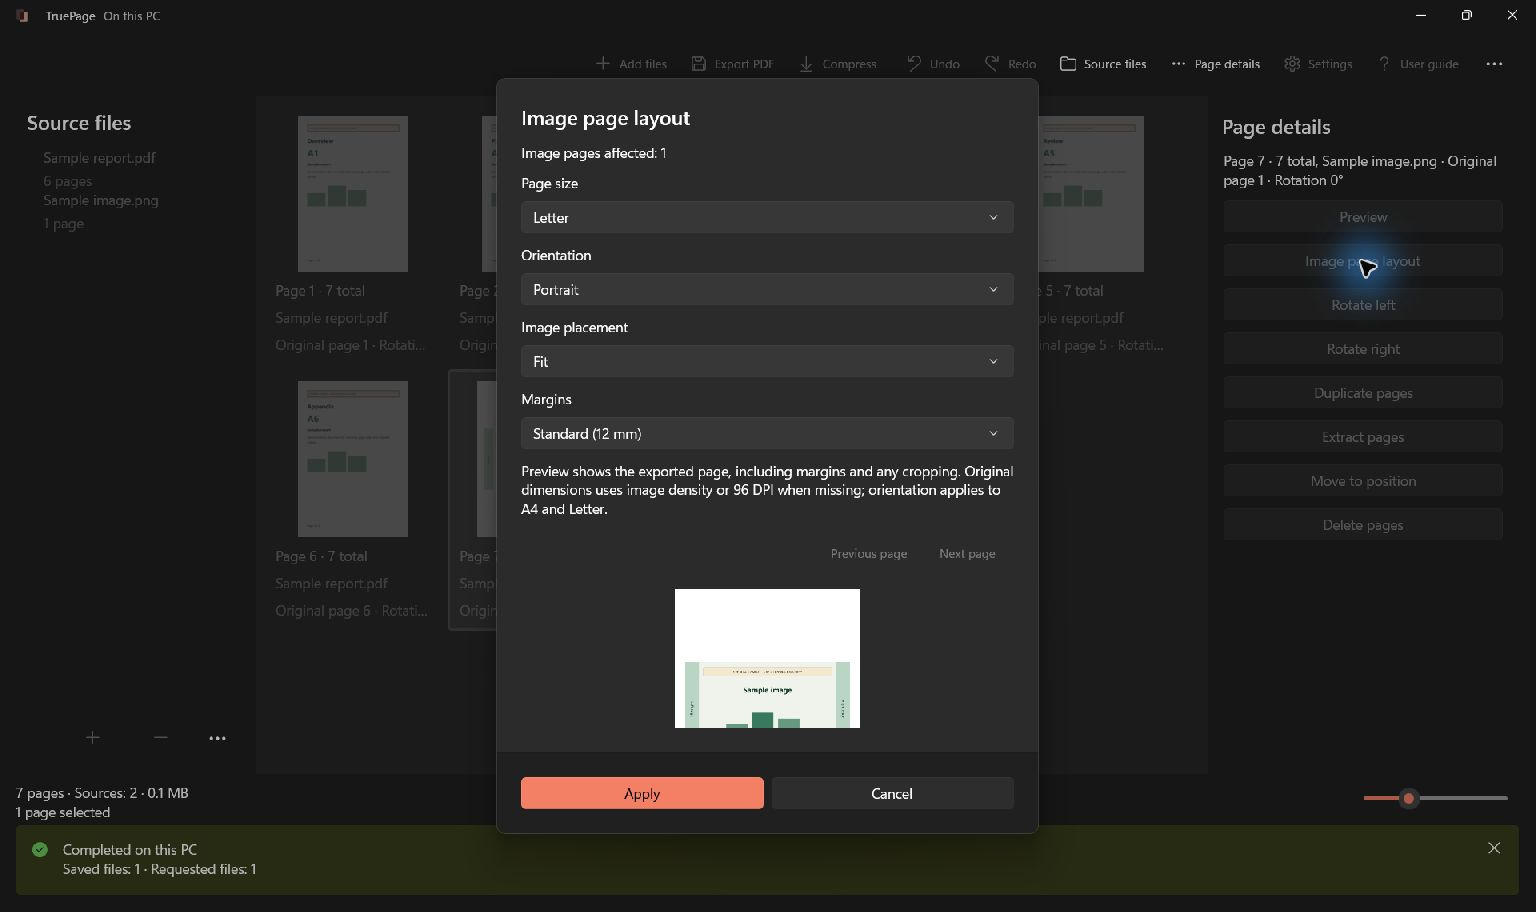
For a selected image page, open Image page layout. You can choose a standard page size such as A4 or Letter, an orientation, margins, and an image placement mode. Use the required paper size if the recipient supplies one. Otherwise, choose a layout that makes the contents easy to read and compare.
Fit preserves the whole image inside the available page area. This is usually a practical starting point for receipts because their edges can contain relevant information. Blank space alongside a narrow receipt is expected when the paper page and photograph have different proportions.
Fill (crop) fills the available area and can cut off image edges. That can be useful for decorative imagery, but it deserves particular care with receipts. A full-looking page is not an improvement if it hides a date, total, or footer. Compare the preview with the original photograph before accepting this mode.
Center without enlargement keeps a smaller image from being stretched to fill the page. It may leave more blank space and make a low-resolution receipt appear small. Use it deliberately when you want that behavior; do not choose it expecting TruePage to create extra detail.
Margins reduce the available placement area. None, Small, and Standard correspond to different amounts of space around the content; the small and standard choices are 6 mm and 12 mm. Wider margins can make the same receipt smaller on the page. Check readability after changing them.
Apply consistent settings without hiding exceptions
For several receipts with similar proportions, select the relevant image pages and apply a shared layout. Confirm the selection before making a batch change. The layout controls apply to directly imported image pages; they do not reformat existing PDF-source pages that happen to contain photographs.
Consistency is useful, but a long receipt may need different treatment from a short square image. Inspect each result after applying the common settings. A uniform paper size does not guarantee that every receipt has a comfortable reading size.
Original image dimensions depend on the image’s density information, with a fallback when usable density information is absent. Two files with similar pixel counts can therefore have different physical sizing information. If the intended deliverable requires predictable paper dimensions, a standard page size is easier to review.
Do not use page layout to conceal information. Positioning an image outside the visible area is not a redaction workflow. If a receipt contains information that should not be shared, prepare an appropriately redacted source using a suitable tool and check the resulting file before importing it.
Export one PDF with the intended pages
Choose Export PDF after the arrangement and layout are ready. Use All pages when the whole workspace is the receipt packet. If the workspace also contains unrelated material, choose the intended pages explicitly and verify the scope before proceeding.
Review the output filename and destination. A name such as receipts-september-project-a is easier to distinguish from individual camera files than a generic document name. Follow any recipient naming requirement, and avoid adding unnecessary personal information to the filename.
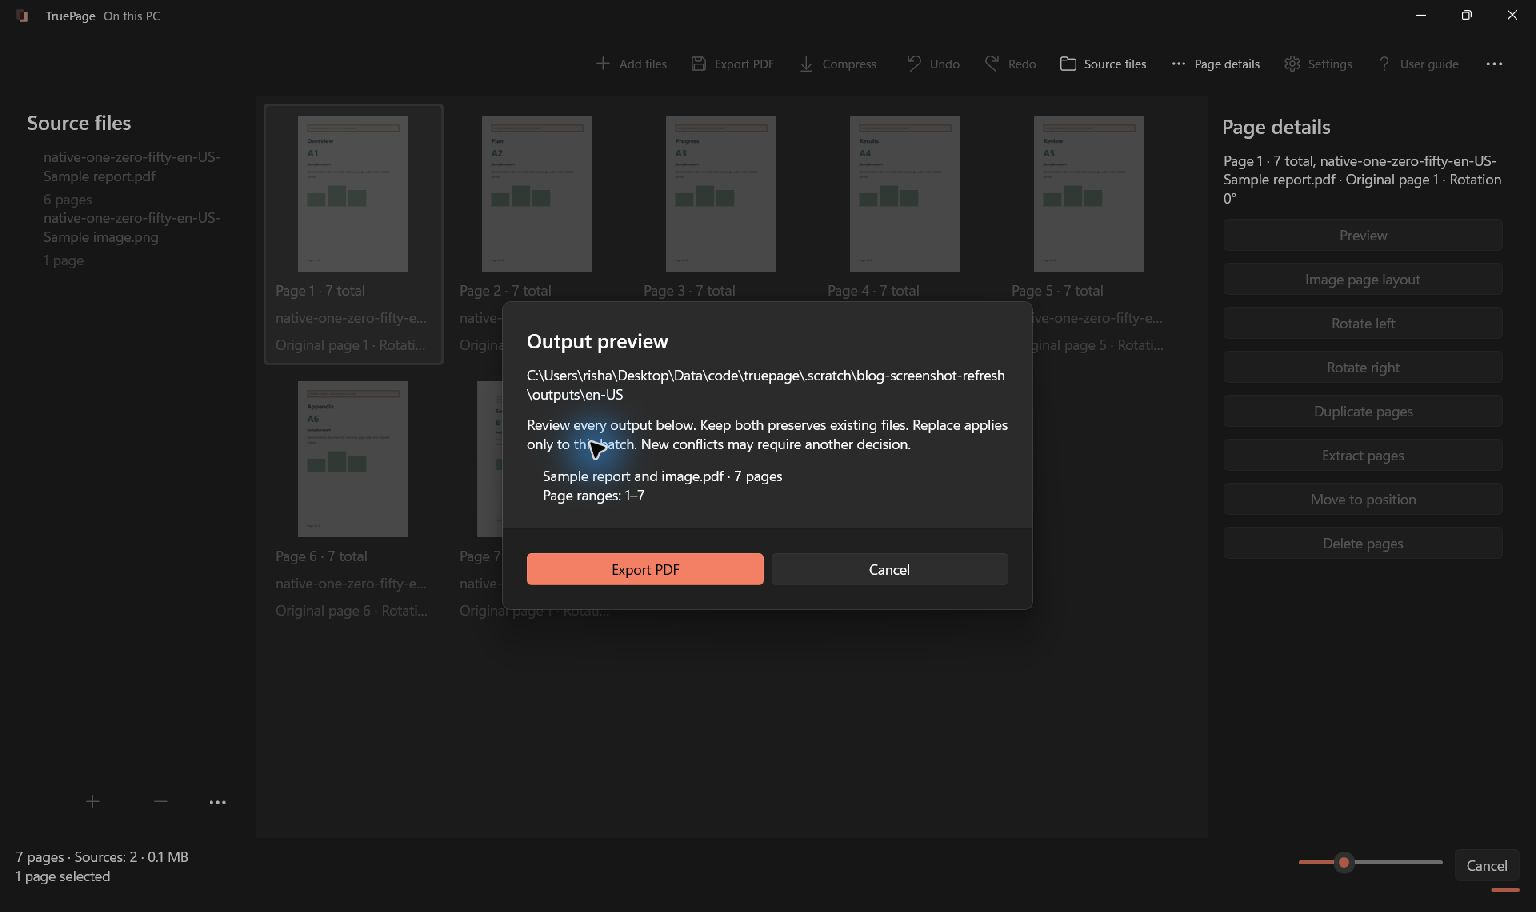
Wait for the export to finish. If a file with the same name already exists, read the displayed collision choices and select the intended outcome. A previously saved file and a new arrangement can coexist, so keep track of which copy is current.
Export creates the PDF from the arrangement; it does not rename or overwrite the source photographs as part of this workflow. Retain those sources until the final document has been checked and you no longer need to revise it.
The export uses the arrangement when the job begins. Finish your page order and layout before starting it, and create another output if you later make a correction. A PDF already saved in a folder does not follow subsequent workspace edits. If you cancel an export, wait for its cleanup and inspect the result before retrying; cancellation should not be interpreted as proof that no output was saved.
Inspect the saved file before sharing
Open the exported PDF from its destination. Count the pages, confirm the order, and inspect every receipt at a useful zoom. Check the first and last lines as well as the total. The saved file is the deliverable, so it deserves its own review even if the workspace looked correct.
Check file size against any upload limit. If the output is too large, avoid repeatedly exporting identical settings and hoping for a different result. Consider whether the input images are unnecessarily large, whether duplicate pages can be removed, or whether compression produces an acceptable copy. Inspect small text after any image-quality reduction.
Photograph pages remain images in this workflow. Combining them into a PDF does not automatically make their words searchable or produce structured receipt data. If searchable text is required, a separate OCR workflow is needed; see why a scanned PDF is not searchable.
For more layout detail, read the images-to-PDF guide and the explanation of why images can appear cropped. Before sharing, verify the exact saved file that you intend to attach, including its page order, readability, size and name.

Your pages. Your space.
Available now for Windows 11