Find out where the missing edge went
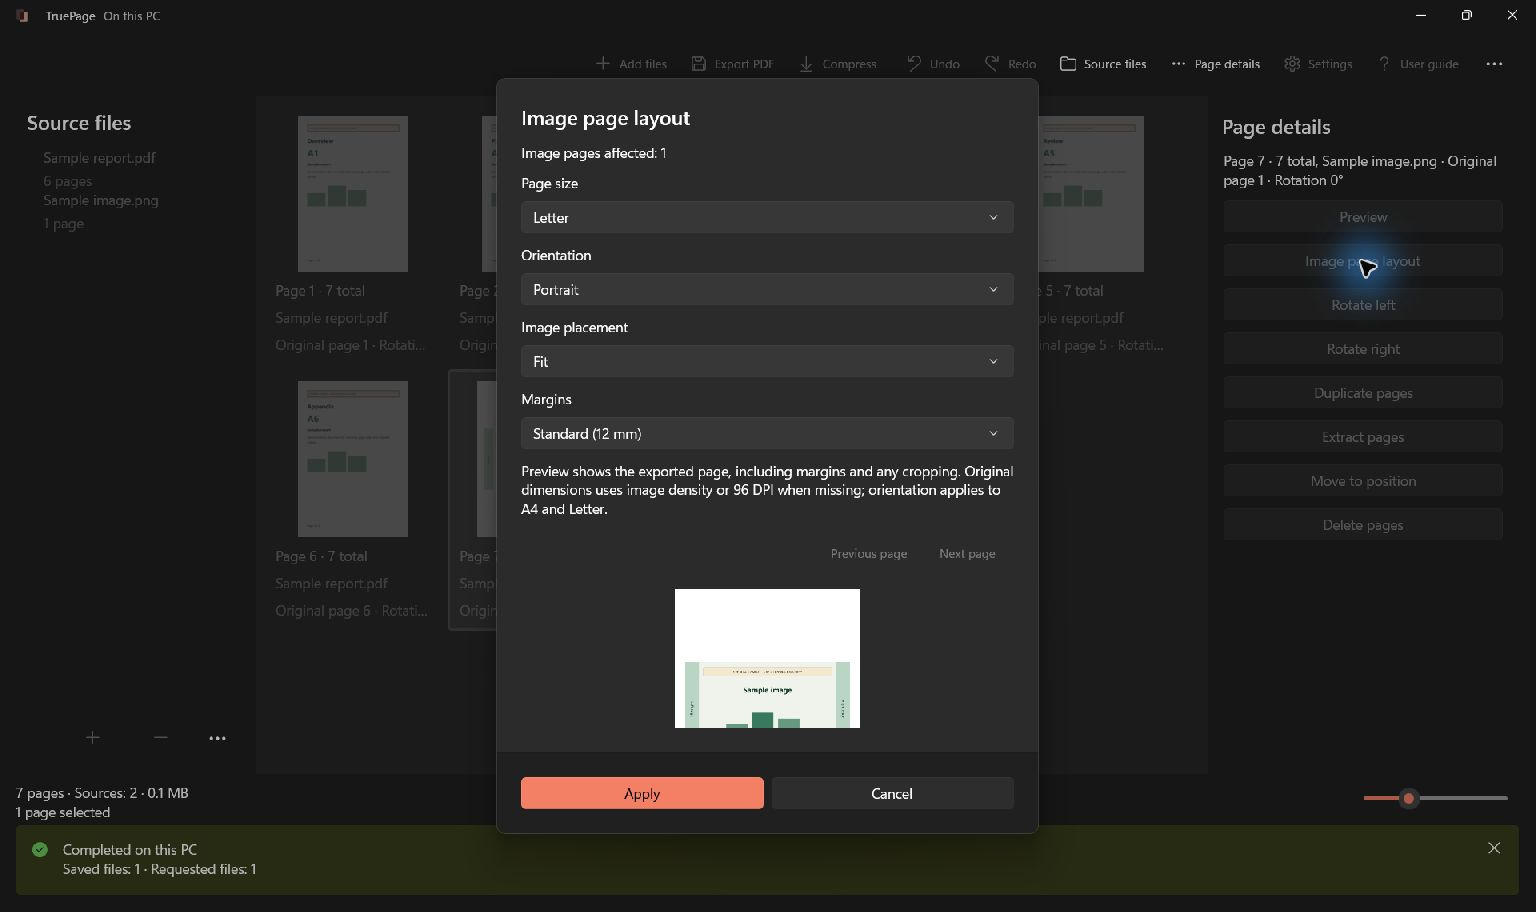
For a complete image, choose Fit in Image page layout and inspect all four edges. Fill (crop) intentionally cuts away edges when the image and page shapes differ.
Compare the original image with the page
First, open the original image and check whether the missing material exists there. If a photographed receipt already ends above the total, no PDF placement setting can recover the missing paper. If a downloaded image was cropped earlier, enlarging the page only gives the same cropped source more room.
Next, identify the exact edge or feature that should be visible. Looking for a specific heading, border, corner or footer is more reliable than deciding that the page somehow feels different. Use the same feature when you compare the image layout preview and the exported PDF.
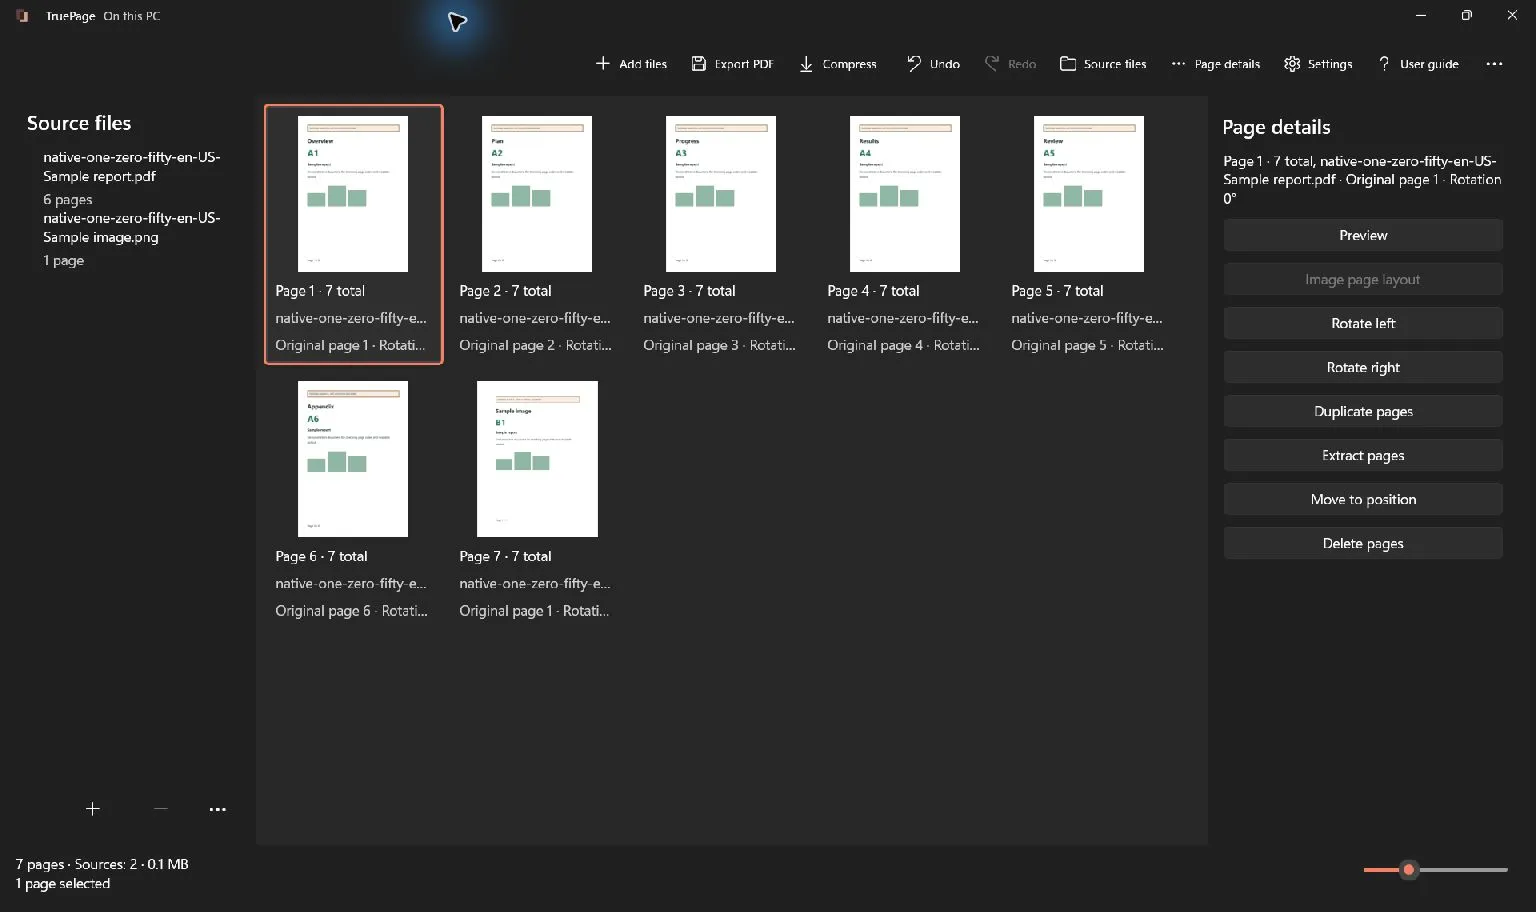
Check that you selected the intended page occurrence. A workspace can contain several similar images or multiple occurrences of the same source. Changing the layout of one occurrence does not establish what happened to another. Page details and the visible image help you keep the comparison anchored to the right source.
Finally, distinguish image content from a border created by the page. White space around an image may belong to the photograph itself, to the selected page margins, or to the mismatch between the image and page proportions. Each has a different cause and responds differently to layout changes.
Understand the shape mismatch
A square image and a portrait sheet do not have the same proportions. If you preserve the square without distortion, it cannot simultaneously reach all four sides of that portrait area. You must allow blank space in one direction or place part of the square beyond the available boundary.
The same issue occurs with a tall receipt, a wide panorama, or a screenshot with an unusual shape. A4 and Letter are standard paper choices, but neither automatically matches every source. Margins make the usable area smaller and can also change its proportions.
TruePage’s placement choices preserve the image’s proportions. They do not stretch a square into a tall rectangle just to remove blank space. That protects the shape of text and photographs, while making the choice between complete content and a filled area explicit.
Before changing settings, decide whether the output must show all the source content. For instructions, receipts, forms and screenshots, the answer is commonly yes. For an intentionally decorative full-page photograph, a deliberate edge crop may be acceptable after inspection.
Use Fit when the complete image matters
Fit scales the image so the complete image fits inside the available page area. When the image and area have different proportions, unused space remains alongside or above and below it. This space is the consequence of keeping the whole image visible.
Start with Fit when diagnosing an unwanted crop. Compare the feature you identified in the original with the preview. If the feature returns, the earlier placement was probably filling the area by extending part of the image beyond its boundary.
Fit does not promise that tiny text will be large enough to read. A very long receipt may fit completely on a single portrait page while appearing narrow and small. That is a separate readability problem. Review the original resolution and intended page size rather than switching to a cropping mode merely to enlarge the center.
Also remember that Fit includes any background already present in the source image. If a small receipt occupies only the middle of a large photograph, the whole photograph is fitted. Prepare a carefully cropped source first if the surrounding background is unnecessary, while preserving all required receipt content.
Use Fill (crop) only after checking the edges
Fill (crop) scales the image to fill the available area. When the proportions do not match, some content falls outside that area. The page can look more visually complete even though less of the original image is visible.
For a wide photo on a portrait page, the left and right regions may be lost. For a tall narrow image in a wider area, the top and bottom may be affected. Do not assume the same edge will disappear for every source; inspect the actual layout preview.
This choice is useful when filling the area is intentional and the remaining composition is acceptable. It is less suitable when every edge carries information. A receipt footer, screenshot toolbar, page number or diagram legend can be essential even if it occupies very little space.
If changing margins seems to change the crop, that is expected: margins alter the area the image must fill. Evaluate the final combination of size, orientation, margins and placement. A placement choice cannot be assessed independently of the area it is placing the image into.
Understand Center without enlargement
Center without enlargement is useful when you do not want a small source image expanded to occupy the available area. It centers the image and can leave substantial empty space. This behavior is different from Fit, which may enlarge a small image as part of fitting it to the page.
Use the preview to decide whether that result serves the reader. A small logo might be appropriate at its natural size, while a small receipt could become inconvenient to read. Avoid choosing this mode solely because the word “center” sounds like a general alignment fix.
Physical sizing can depend on the source image’s density metadata. When usable density information is absent, TruePage uses a fallback of 96 DPI. Pixel dimensions and physical dimensions are therefore related but are not interchangeable labels.
Changing this placement does not create higher-resolution content. If an image looks soft when enlarged, keeping it smaller may make the softness less noticeable, but it does not recover detail. A clearer source is the appropriate input when the document requires more readable small text.
Review size, orientation and margins together
Select an image page and open Image page layout. Choose A4, Letter or Original dimensions according to the intended output. A standard size makes a mixed set of images easier to review as a paper document; original dimensions may suit a workflow that wants the source’s own physical sizing.
Choose portrait or landscape by looking at the source and the required result. Landscape can give a wide image more useful room. It does not guarantee a perfect match, because the image may still be much wider than the chosen sheet.
Review margins next. Small margins are 6 mm and standard margins are 12 mm. Removing margins creates more available area, but it does not eliminate a proportions mismatch. An image can still have blank space under Fit, or lose edges under Fill (crop), with no margins selected.
Apply shared settings to selected image pages only after checking the selection. Existing PDF-source pages are not reformatted by these image layout controls. If the selection mixes sources, inspect the relevant image pages individually after applying the change.
Separate a zoomed preview from a cropped page
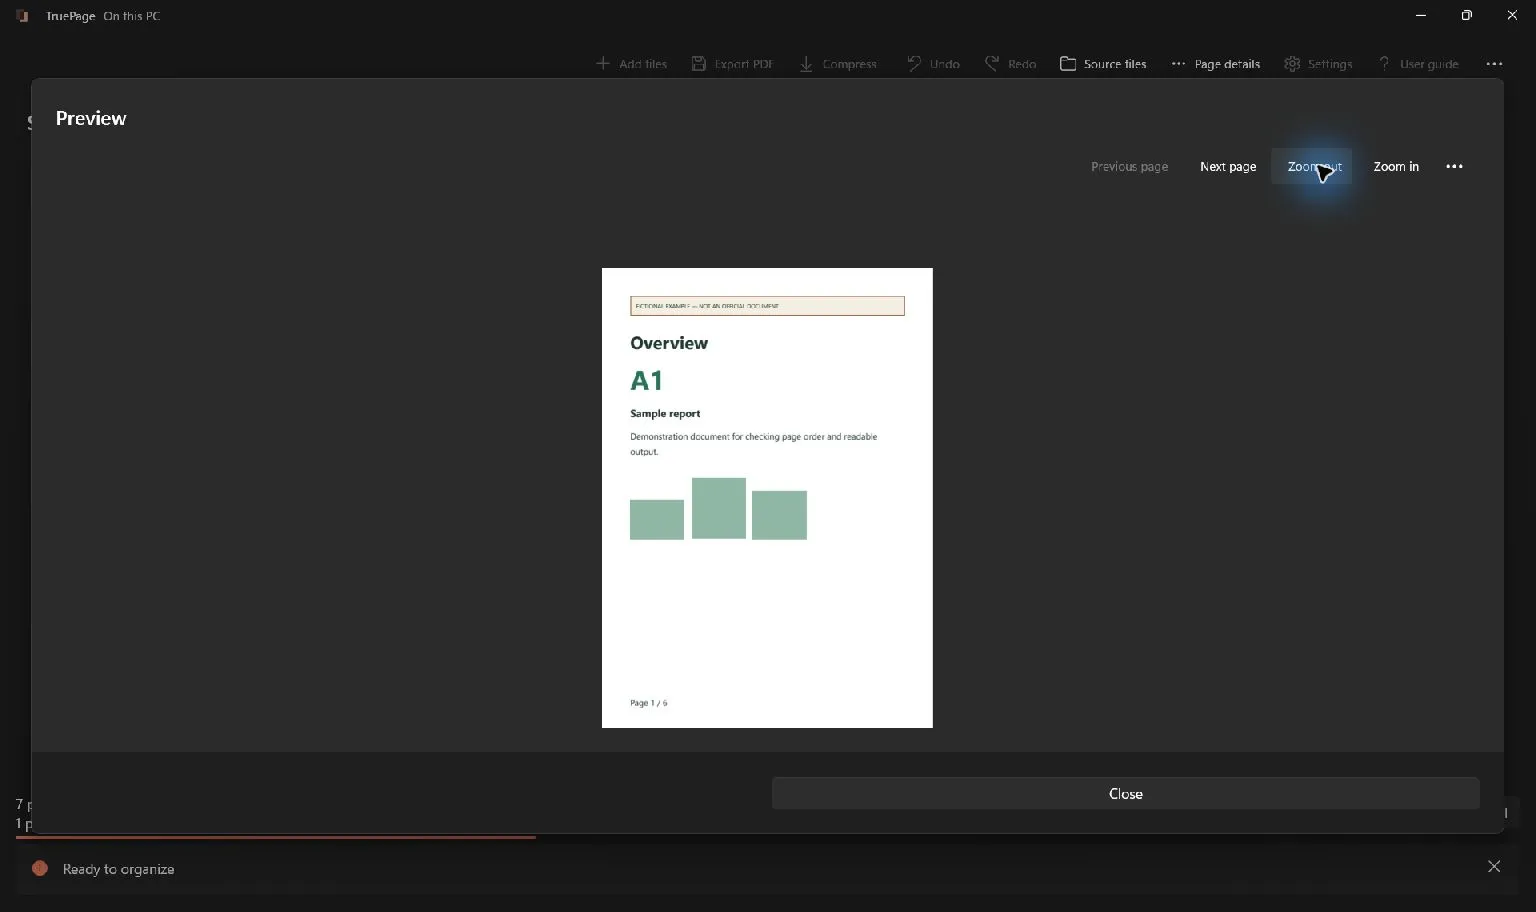
The page preview can be zoomed in far enough that you cannot see its boundaries. That does not necessarily mean the saved page is cropped. Zoom out until you can inspect the whole page, then compare the visible content with the original source.
Use two views for different checks: the full page for edges and placement, and a closer view for readability. Trying to prove both at one zoom level can be misleading. A complete page may look too small to read on screen while containing the expected detail when enlarged.
Preview zoom changes what you see in the viewer. It does not change the physical page dimensions or the layout selected for export. If an edge disappears only when you zoom in, look for the page boundary before modifying the layout.
Export and inspect the actual result
When the layout is correct, choose Export PDF and confirm the scope. Select All pages for the whole arrangement, or the appropriate selection if you are producing a smaller document. Check the proposed output before completing the save.
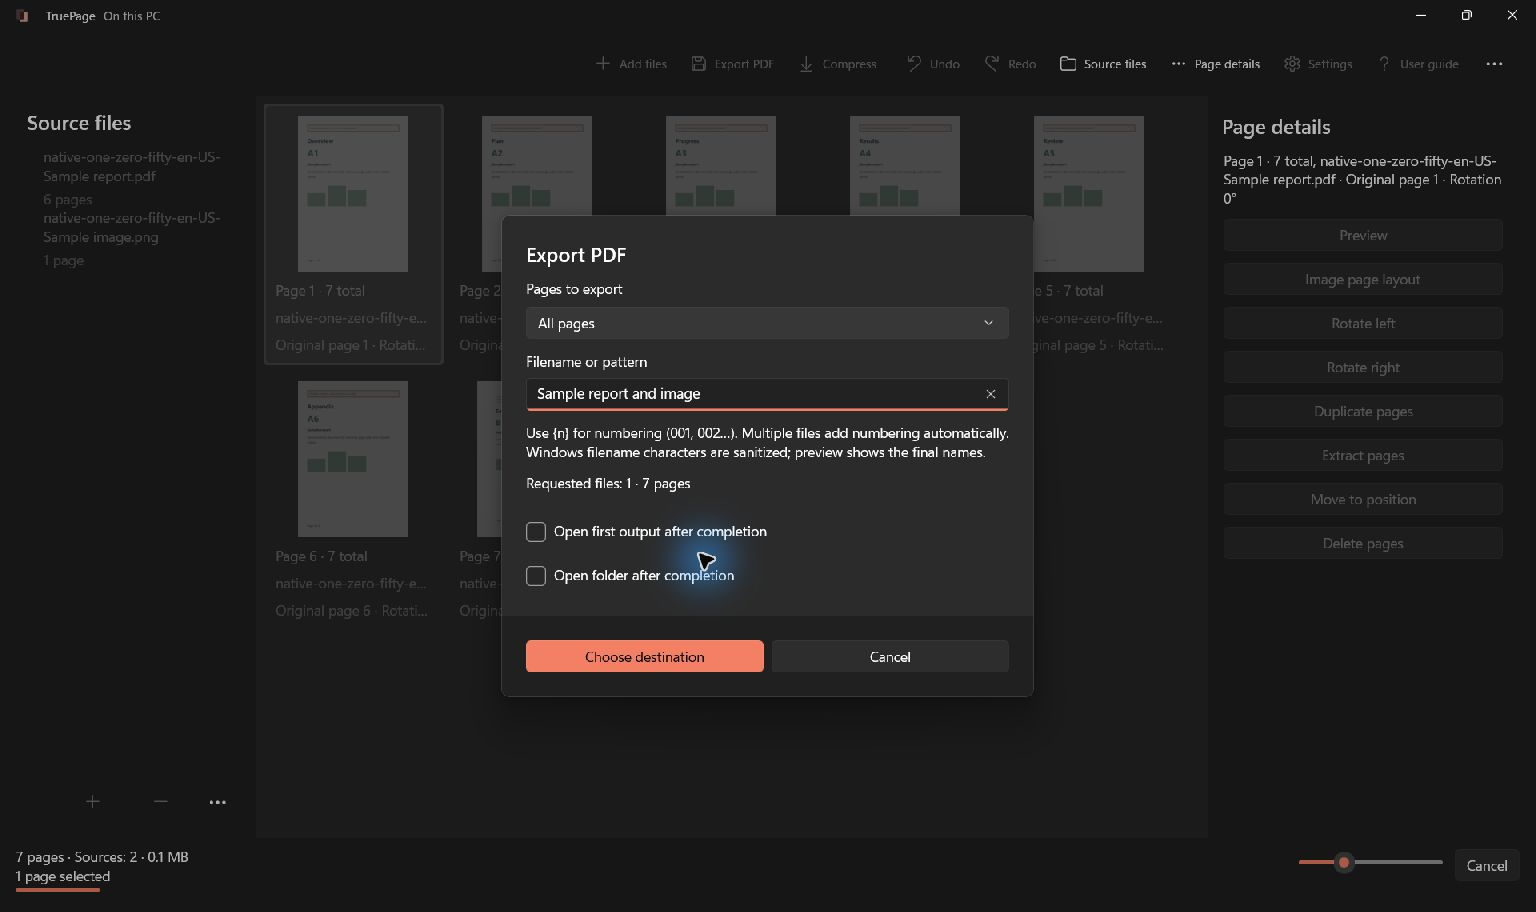
Open the new file from its destination and inspect the same identifying features you checked at the start. Confirm the corners, headings, footers and any content near an edge. This closes the loop between source image, workspace layout and saved result.
For a full walkthrough, see images to PDF. If your source is an existing PDF and only its orientation is wrong, follow rotating PDF pages and saving the changes instead. Choosing the appropriate operation begins with identifying whether you need to place an image, rotate a whole page, or prepare a better source.
Your pages. Your space.
Available now for Windows 11