Turn a set of screenshots into a readable document
Add the screenshot images, arrange them in reading order, choose Fit to keep the whole capture, and export all pages as one PDF. Check small text and remove private details before importing.
Capture the information you actually need
Before importing images, check the source screenshots. Each should include the part of the interface needed to understand its place in the story. A screenshot of an error message without the relevant context can be hard to interpret, while a full desktop capture may include unrelated information and make the useful area unnecessarily small.
Use your normal screenshot tool to capture or prepare the source images. TruePage organizes the resulting files; it is not a screen-recording or screenshot-editing tool. If you need to crop, annotate, or remove information, prepare an appropriate source image before assembly.
Inspect account names, browser tabs, notifications, document previews, and other visible details before sharing. Do not assume that placing a screenshot inside a PDF conceals anything visible in the image. A PDF page can be zoomed, and a small-looking detail may still be readable at a larger scale.
If a screenshot needs redaction, use a suitable separate process and verify the resulting source. Image placement or page cropping is not a substitute for checking what information the final document contains.
Choose clear image sources and keep the originals
Use PNG or JPG files that open correctly and contain the full intended capture. PNG is often a useful source for interface text and sharp edges because it avoids JPEG’s lossy encoding. If you already have a JPG, inspect it rather than assuming its extension alone makes it unsuitable.
Repeatedly saving a JPG at lower quality can introduce visible artifacts around small text. Converting that already degraded image to PNG does not restore the lost detail. Start again from the original screenshot when possible instead of enlarging or re-encoding a poor copy repeatedly.
Keep the original captures in a stable folder while working. Give them names that help identify the sequence, such as 01-start, 02-settings, and 03-result. Filenames are useful cues, but you will still verify the actual order in the workspace after import.
If the screenshots describe a changing application state, confirm that they belong to the same intended example. A clear sequence should not silently mix an old settings screen with a newer result that used different options.
Import and establish the reading order
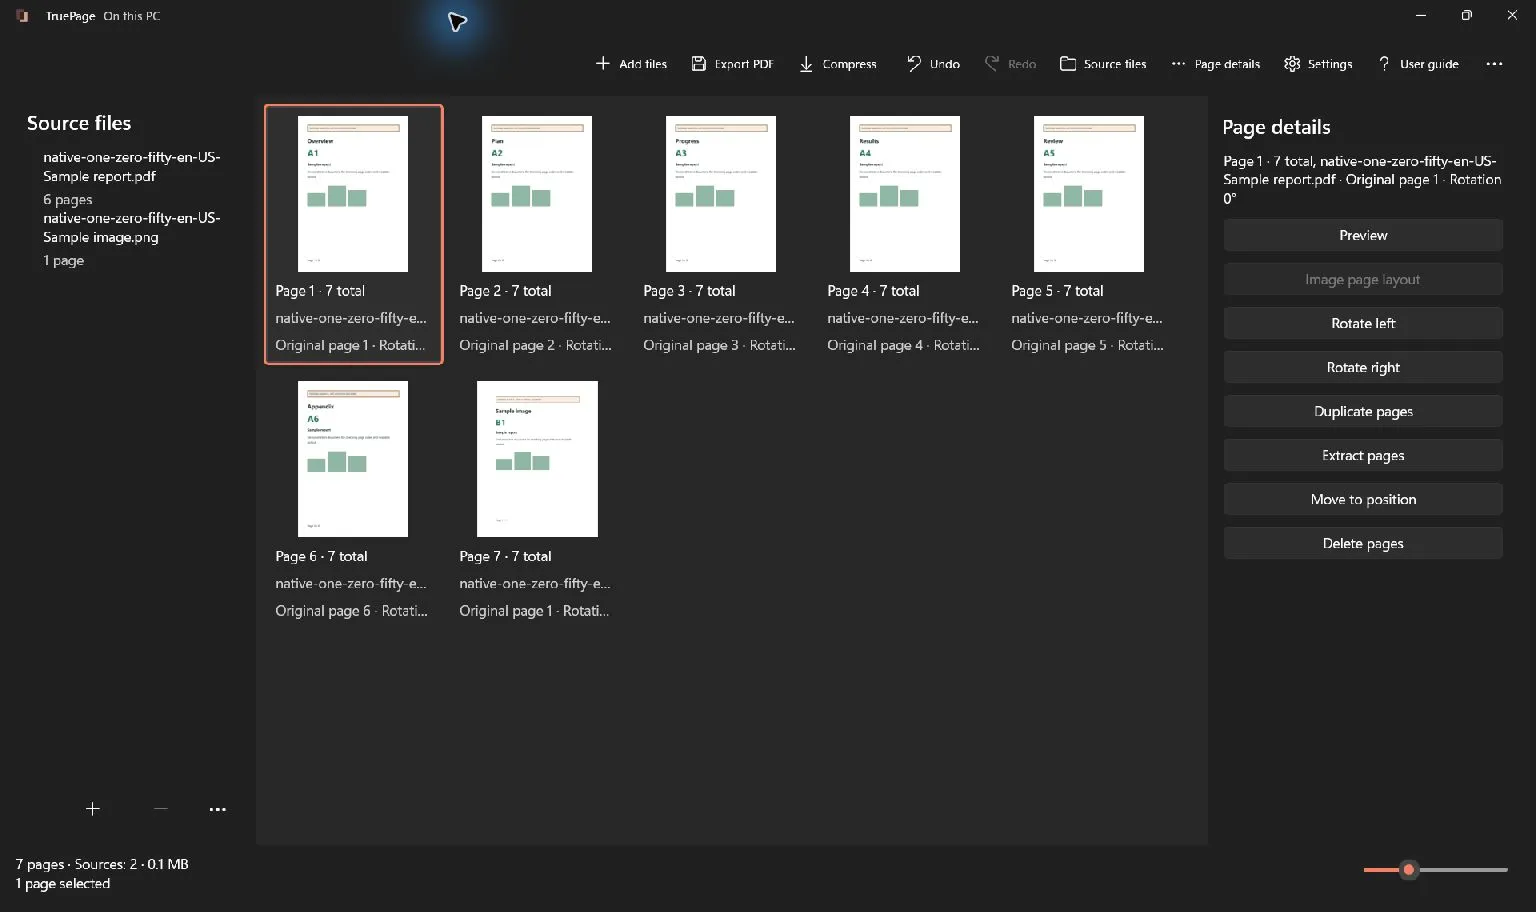
Choose Add files or Ctrl+O, select the supported image files, and wait for their pages to appear. Each image contributes an image page. Compare the number of imported occurrences with your source list and inspect the first and last images.
Do not rely solely on the order in which you selected files in the picker. Read the board and arrange the screenshots into the sequence the reader should follow. Use the visible content as well as filenames, especially if several captures differ only in a small control or message.
Select a page and use Move earlier, Move later, or Move to position. Dragging is convenient when the insertion indicator and destination are visible. For a group that already has the correct internal order, select it and move the group together.
If a capture is duplicated, compare both occurrences before removing one. Similar screens can represent different steps. When the duplication is accidental, Delete pages removes the unwanted occurrence from the arrangement without deleting the original image file.
Choose a page size and orientation
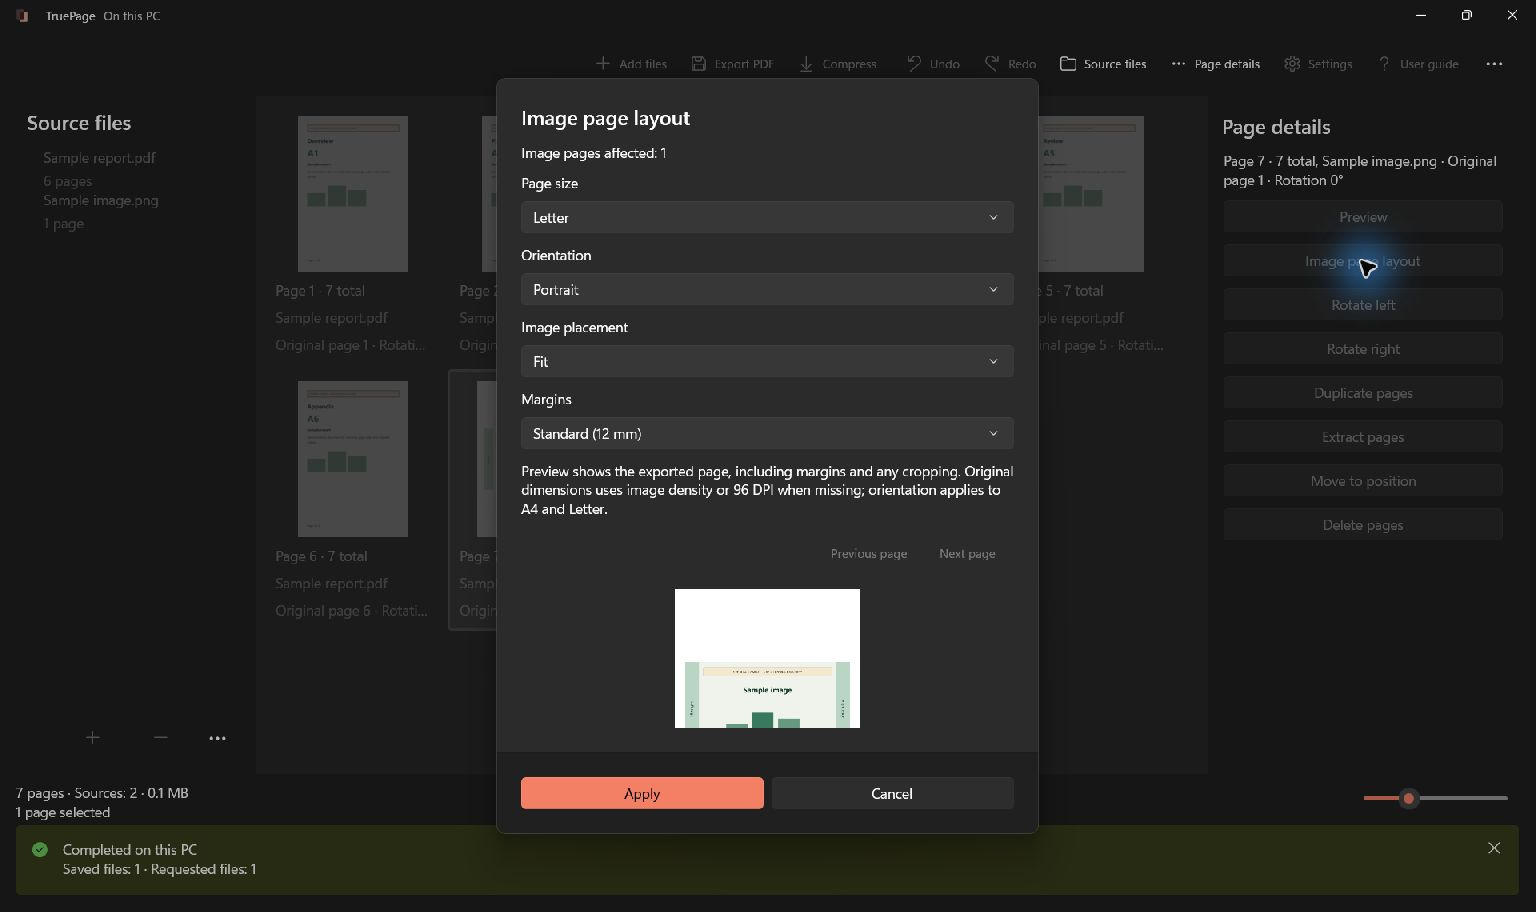
Open Image page layout for the intended image selection. Choose the paper dimensions and orientation before deciding whether the image should fill the page. A wide screenshot may fit more usefully on a landscape page than on a portrait page with large empty areas above and below it.
A4 or Letter can be convenient when the PDF is likely to be printed. Original dimensions can suit material whose natural image shape matters. There is no single paper size that makes every screenshot readable: a very tall capture and a wide desktop capture have different constraints.
Consider the smallest text the reader needs. A full desktop squeezed onto a small portrait page may technically preserve every pixel while presenting the important text at an inconvenient reading size. The goal is not merely to make the image fit inside a rectangle.
Mixed orientations are possible when they serve the material, but review the result as a sequence. Repeatedly turning a device or changing zoom can make a short walkthrough harder to use. Consistency is helpful when it does not sacrifice the actual content.
Use Fit when the full capture matters
Fit keeps the entire image inside the available page area. This is a useful starting point for screenshots with important controls or text near their edges. Adjust the margins and inspect the preview to see the available space.
The retained example shows the native setting using a generic synthetic guide image. Apply the same decision to your actual screenshot: check its top, bottom, left, and right edges rather than only the center.
Fill (crop) fills the available area by allowing some image content to fall outside it. That may suit a decorative photo, but it can remove a menu label, a status message, or the last line of a screenshot. Use it only when the preview confirms that the removed area is unnecessary.
If a screenshot is extremely tall, fitting it onto one standard page may make its text too small. Prepare several useful captures or image sections separately if that better communicates the content. TruePage does not automatically split a long scrolling screenshot across multiple pages.
Understand Center without enlargement
Center without enlargement is another placement option. It can be useful when a small image should not be expanded merely to occupy more of the page. Inspect the preview with the chosen page size and margins to see the actual result.
The retained capture demonstrates this setting with a synthetic receipt, not the task-board screenshot. It illustrates the native placement behavior without claiming that the sample receipt is part of your screenshot document.
Avoid assuming that an image’s on-screen size in another application determines its physical PDF size. Pixel dimensions, placement, and page dimensions all affect the result. A screenshot that looks comfortable in an image viewer can become too small or too enlarged under a different page layout.
Changing placement does not add detail. If the source contains tiny, fuzzy text, a better original capture is usually more useful than testing many layouts that all enlarge the same limited pixels.
Preview the sequence at a realistic reading scale
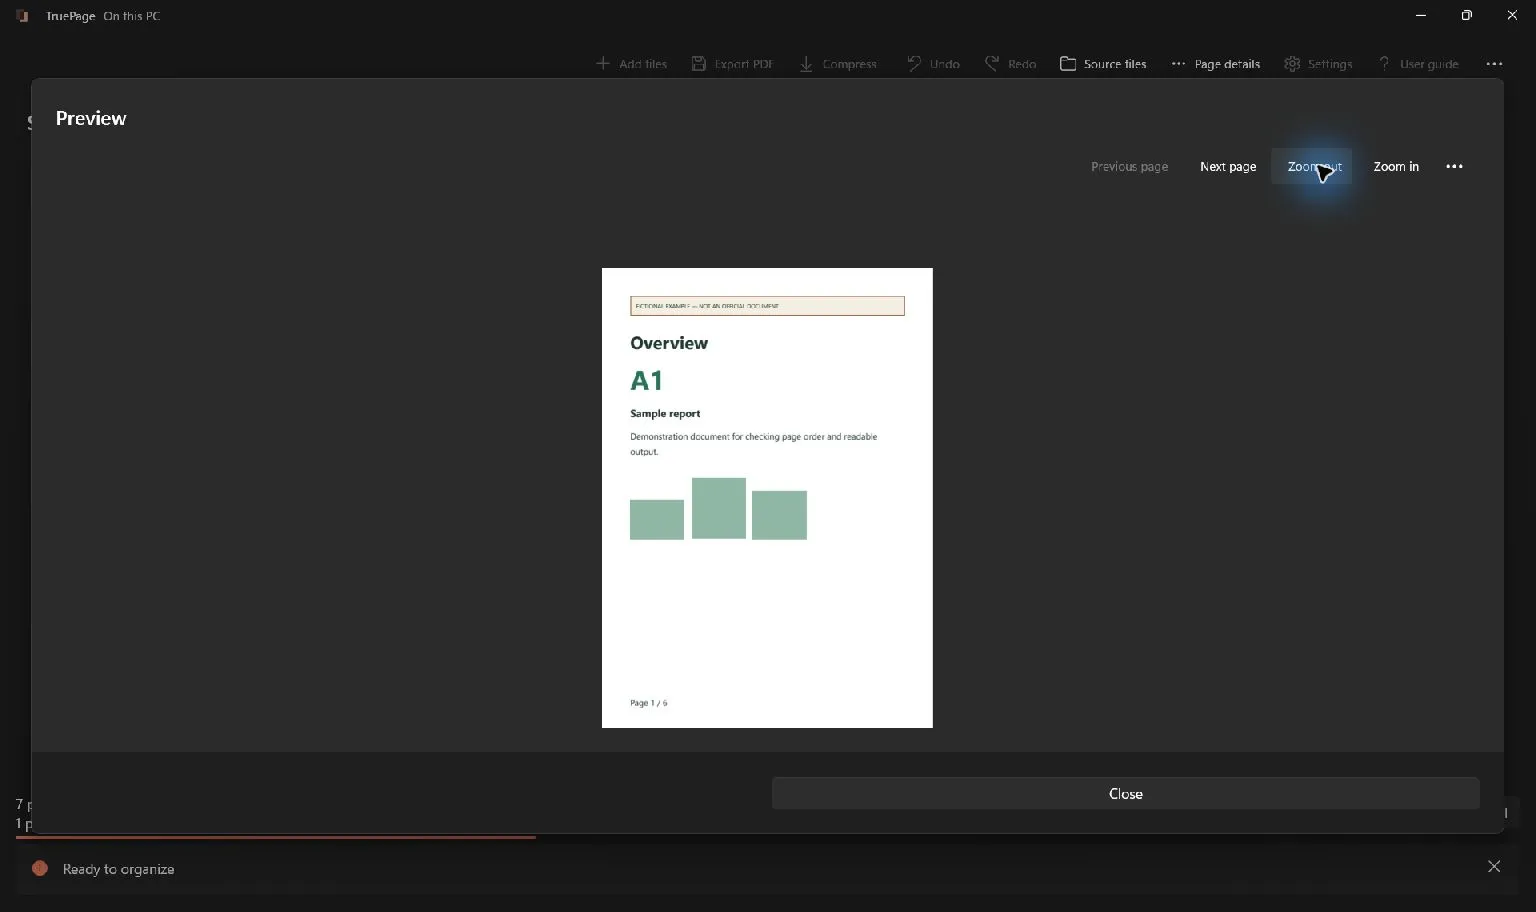
Open Preview and inspect the screenshots in order. Look for clipped edges, sideways pages, uneven scale, and text that requires excessive zoom. Check the page with the smallest important text, not only the most visually attractive page.
Ask whether each image has enough context to stand on its own. If the reader needs explanations between screenshots, prepare those explanatory pages in a writing application and import their PDFs into the same arrangement. TruePage can assemble those pages but does not author the paragraphs for you.
Verify the progression from start to result. A missing intermediate screenshot can make the document confusing even when every individual image is legible. Remove irrelevant repetitions, but retain steps that explain a change the reader needs to understand.
Keep the distinction between image text and searchable text clear. Exporting images as a PDF does not add OCR. If searching or copying text is required, plan a separate suitable workflow and verify that requirement in its final output.
Export and check the saved PDF
Choose Export PDF and select All pages for the complete screenshot sequence. Check the destination, filename, and scope before saving, especially if an image remains selected from the layout step.
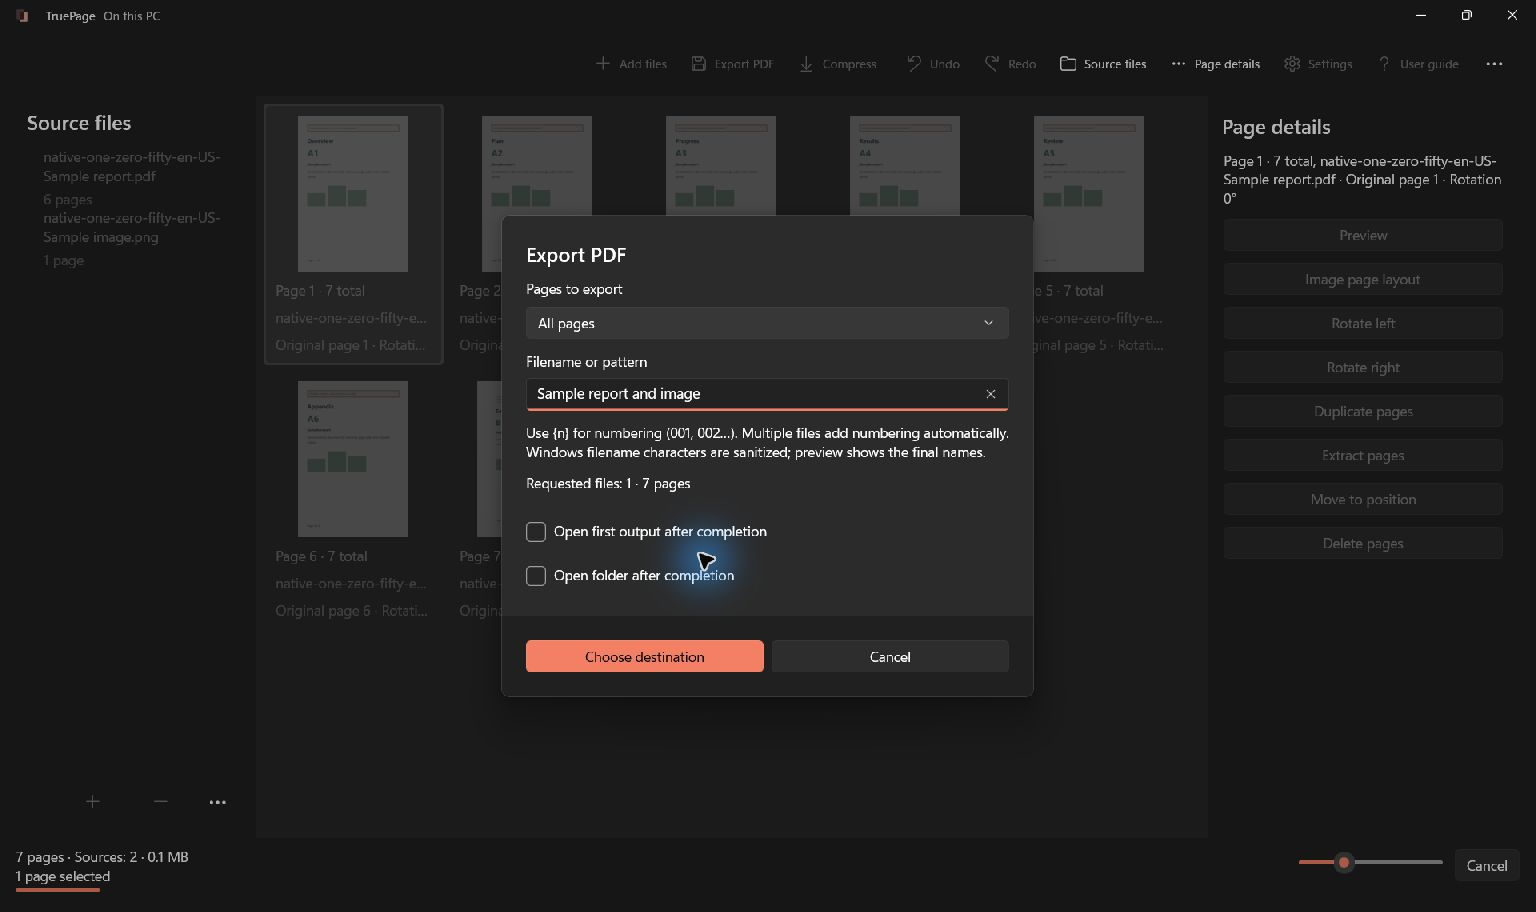
Wait for completion and open the exact exported file. Confirm the count and order, then zoom into the important text on several pages. Review the complete image edges and the smallest details required for the document’s purpose.
If size is a problem, first remove accidental duplicates or unnecessary captures. Apply any separate compression step to the exported PDF, and compare small interface text carefully before keeping the result. A smaller file with unreadable labels does not meet the original goal.
Keep your source screenshots and the checked PDF distinct. For more detail on layout problems, see why images appear cropped in PDFs. For diagnosing lost clarity, read why a PDF looks blurry before changing settings that cannot improve a weak source.

Your pages. Your space.
Available now for Windows 11