Save each chapter as a separate PDF
To split a PDF into chapters in TruePage, identify each chapter’s current page range, choose Export PDF, select Split by ranges, and enter one range per chapter. Review the output names and page counts before exporting. TruePage uses the ranges you supply; it does not automatically identify chapter headings or split by bookmarks.
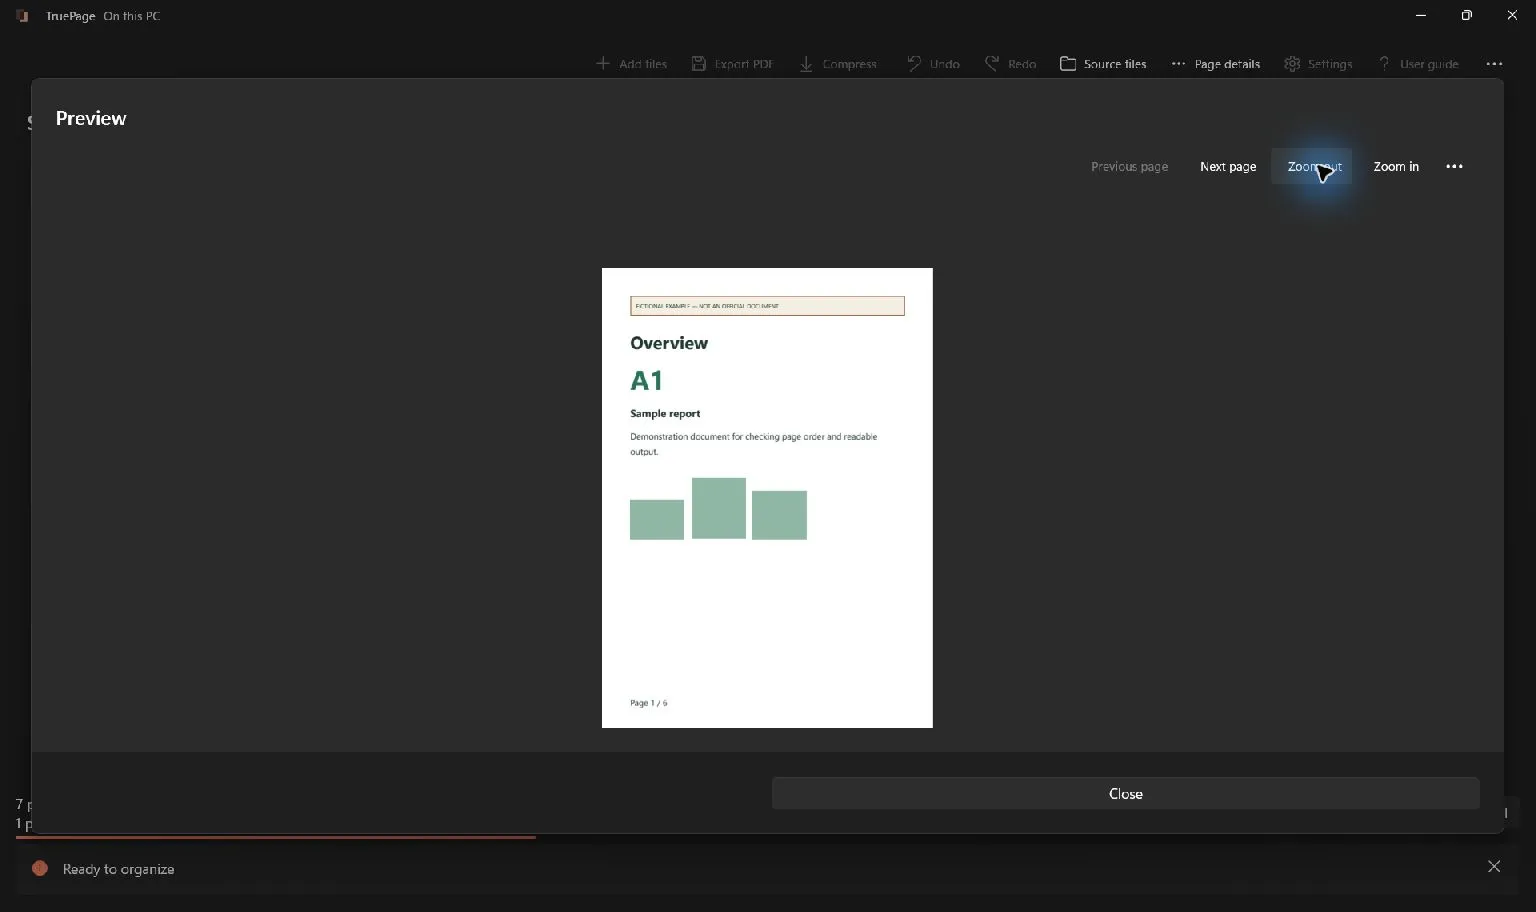
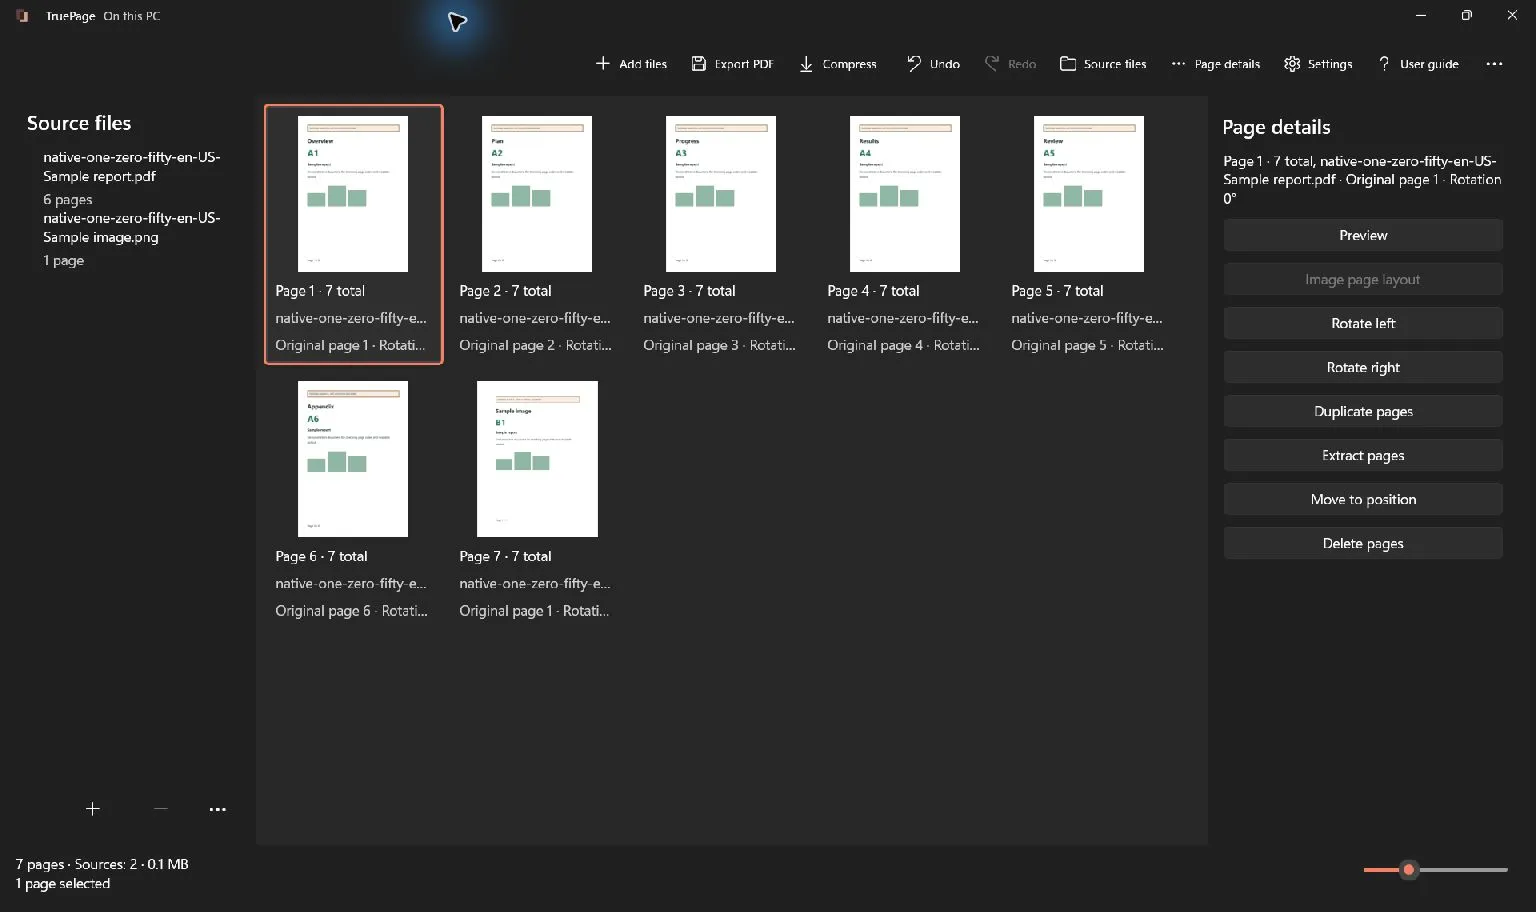
This walkthrough uses a seven-page packet: one cover followed by six numbered content pages. Chapter 1 contains printed pages 1–3, and chapter 2 contains printed pages 4–6. Because the cover occupies output position 1, the correct split ranges are 2-4, 5-7. The result is two three-page PDFs, with the cover excluded.
The same method applies to manuals, course packs and reports when their chapter boundaries are known. The essential preparation is translating those boundaries into actual output positions before entering the ranges.
Map chapter numbers to output positions
Import the source with Add files. Read the first page of every chapter and the pages immediately before the next chapter starts. Note any cover, contents pages, introduction or unnumbered material. All these pages count in the workspace even if their printed numbering uses a different scheme.
For the example, the mapping is simple:
| Content | Current output positions |
|---|---|
| Cover | 1 |
| Chapter 1, printed pages 1–3 | 2–4 |
| Chapter 2, printed pages 4–6 | 5–7 |
The printed number is part of the document’s content. The output position is where that page currently sits in the arranged PDF. Splitting uses the latter. If you reorder or remove introductory pages, update your map before exporting; a previously correct range can become wrong after the arrangement changes.
Decide what happens to introductory pages
Choose deliberately whether the cover belongs in an output. In this walkthrough, neither chapter PDF includes it, so the ranges start at position 2. If the first file should contain the cover and chapter 1 together, use 1-4, 5-7 instead and expect page counts of four and three.
If introductory material belongs in its own file, describe that file with another range. Each comma-separated entry produces a separate output. A chapter’s notes or references may belong with that chapter even if the main text has ended; inspect those pages before selecting its final boundary.
Do not assume every chapter has equal length. A fixed interval can cut across a chapter’s end or pull in the next chapter’s opening page. Use splitting every two pages for documents with a regular, verified interval. Use chapter ranges when the divisions are based on content.
Enter the two chapter ranges
- Finish any arrangement changes and confirm the seven-page order.
- Choose Export PDF and open Pages to export.
- Select Split by ranges.
- Enter
2-4, 5-7using ordinary digits, hyphens and a comma. - Confirm the summary requests two files containing six pages in total.
- Set a recognizable Filename or pattern, such as
chapter-{n}. - Choose the destination and inspect both output entries before exporting.
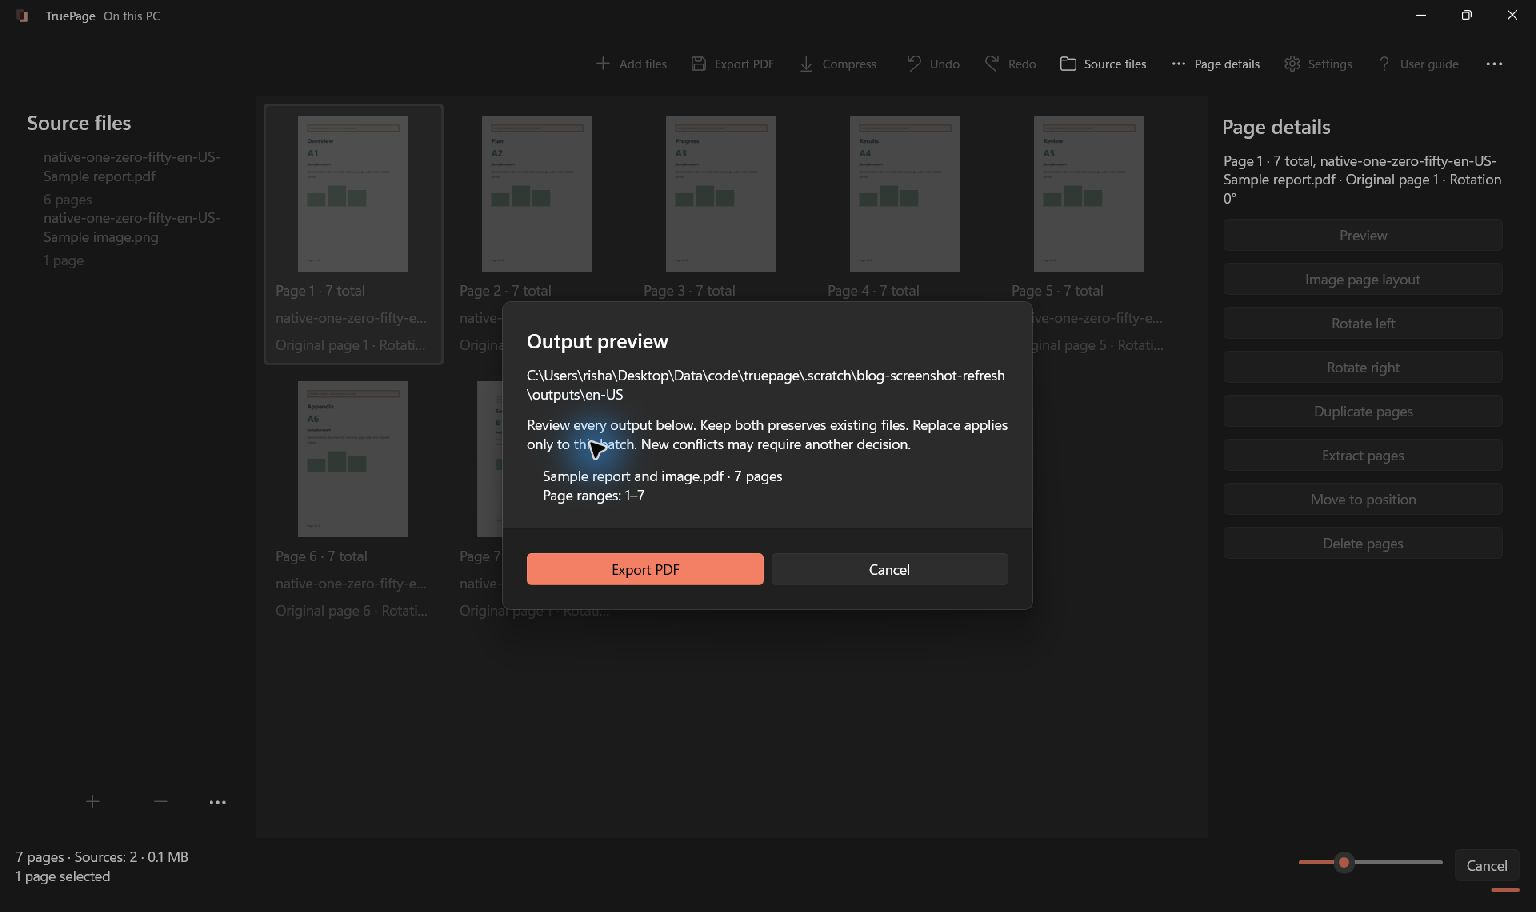
The first range creates the first chapter file; the second creates the second chapter file. The preview shows the actual filenames, including any numbering added to make the batch distinct. The {n} placeholder supplies sequential numbers rather than reading chapter titles from the pages.
Make sure the mode is Split by ranges. Extract by ranges creates one combined PDF from the chosen pages, which is useful for an excerpt but does not create a separate attachment for each chapter. The extraction and splitting guide explains the difference and the accepted range syntax.
Check gaps, overlaps and filenames
Read the range list from beginning to end. A gap means pages are not included in the requested chapter outputs. That is intentional for the cover in this example, but could accidentally omit a chapter’s final notes. An overlap includes a page in more than one resulting file; use it only when that repeated material is intended.
Use current positions starting at 1. Zero, positions beyond the arrangement, reversed ranges and incomplete entries must be corrected. When the app reports an invalid range, compare the entry with your boundary map rather than guessing a replacement number.
Check destination collisions before confirming the batch. Keep both preserves existing files separately. A clearly identified output folder helps distinguish the new chapter set from an older edition with the same titles. If you later rename numbered outputs to chapter names, inspect their contents first so that the names describe the right files.
Open and verify both chapter PDFs
Open each saved file after export. For chapter 1, verify that the first page is printed 1 and the last is printed 3. For chapter 2, verify printed pages 4 through 6. Each file should contain three pages, and neither should contain the cover.
Check complete headings, continuation pages and the transition at each chapter boundary. Correct page counts do not guarantee correct content: two misplaced three-page ranges could still produce the expected counts. Read the actual exported pages, not just the thumbnails remaining in the workspace.
Printed numbering and cross-references are not rewritten by splitting. Chapter 2 can continue to display printed page 4 as its first page. Explain that distinction to recipients when necessary, and preserve the complete original for reference. If a batch is interrupted, inspect any already saved files before retrying. For more on numbering differences, see PDF page numbers versus the page counter.

Your pages. Your space.
Available now for Windows 11