Convert JPG images to predictable A4 pages
To convert JPG images to an A4 PDF in TruePage, add the images, select their pages, open Image page layout, and choose A4, Portrait, Fit and the required margins. Apply the layout, export the complete arrangement, and check the saved PDF. Each imported JPG becomes its own page.
The example uses two fictional 1800 × 2400-pixel JPG documents. Both are placed on portrait A4 pages with Standard (12 mm) margins. The finished PDF should have two pages measuring 210 × 297 mm. The images contain a complete border and small reference text so that clipping and readability are easy to inspect.
Choosing A4 controls the PDF page dimensions. It does not create missing image detail, recognize scanned text, or automatically improve a blurry photograph. Start with clear source images and decide how the whole picture should fit on the page.
Prepare and order the images
Keep the original JPGs and work from their intended versions. Inspect orientation, text and all four edges before conversion. A photograph containing a document may also contain desk space or background; Fit preserves that background because it is part of the image. Prepare a carefully cropped copy beforehand if needed, without cutting off required content.
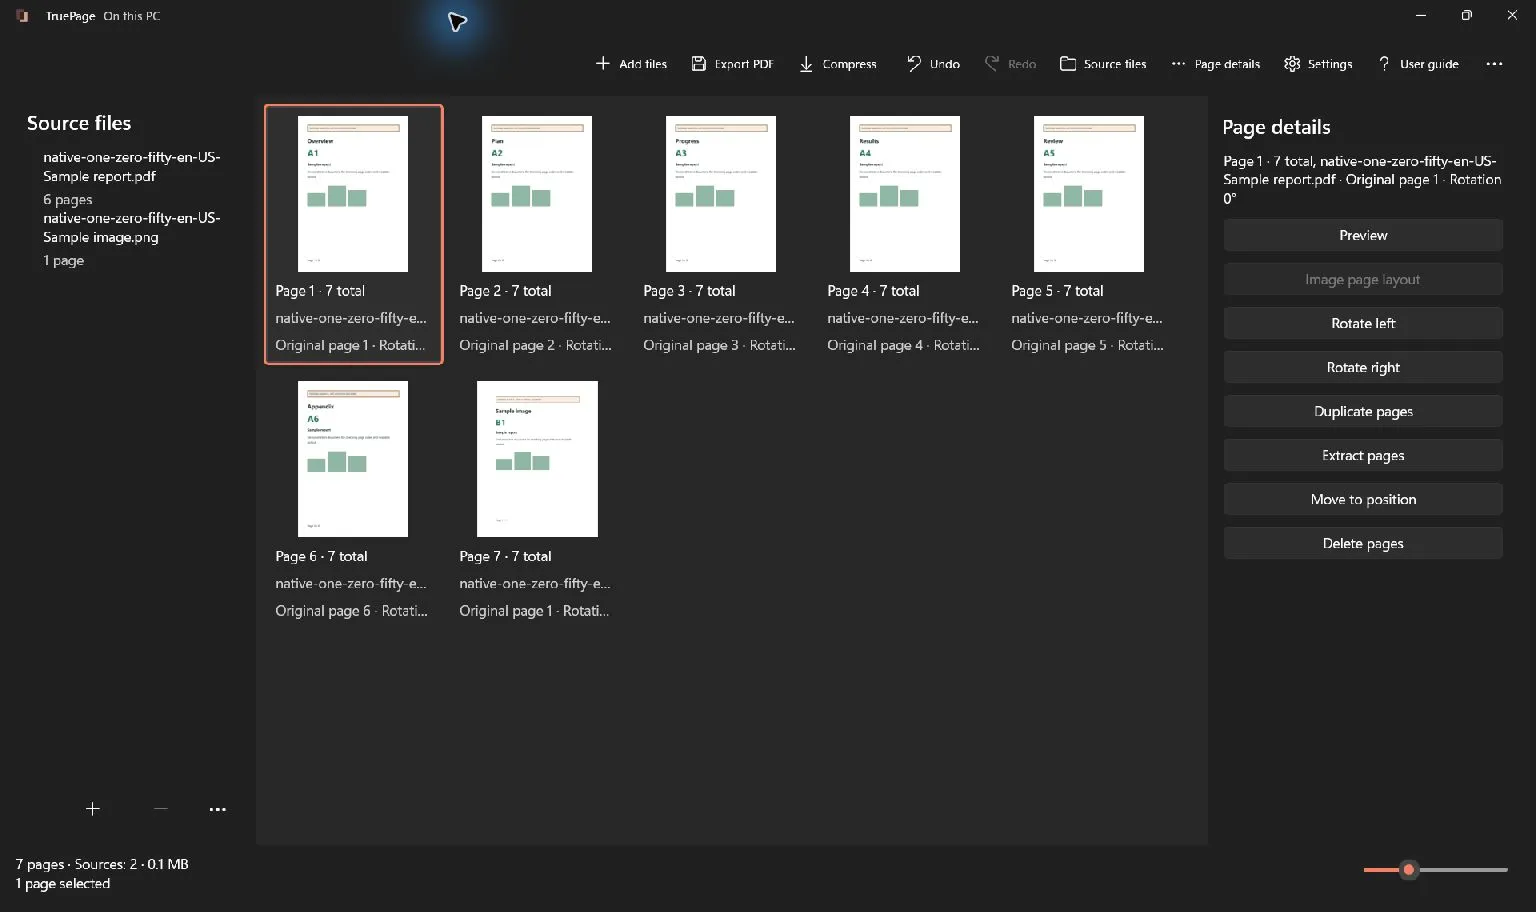
Choose Add files and import the two JPGs. Read their thumbnails and put them in the intended order. If a scan is sideways, rotate the page and inspect it before export. For a mixed set of images and existing PDF pages, remember that image layout changes only the selected image pages.
Supported JPG and PNG images can share one arrangement. This walkthrough uses JPGs to keep the input format explicit. If a source comes from another format, create a standard JPG or PNG copy with a suitable image application before importing it. Renaming the file extension alone does not convert the image contents.
Choose A4 explicitly
- Select both imported image pages and check the selected count.
- Open Image page layout through Page details or the toolbar overflow.
- Set Page size to A4. Do not rely on the initial regional default, which may be Letter.
- Choose Portrait for the demonstration documents.
- Set Image placement to Fit.
- Set Margins to Standard (12 mm).
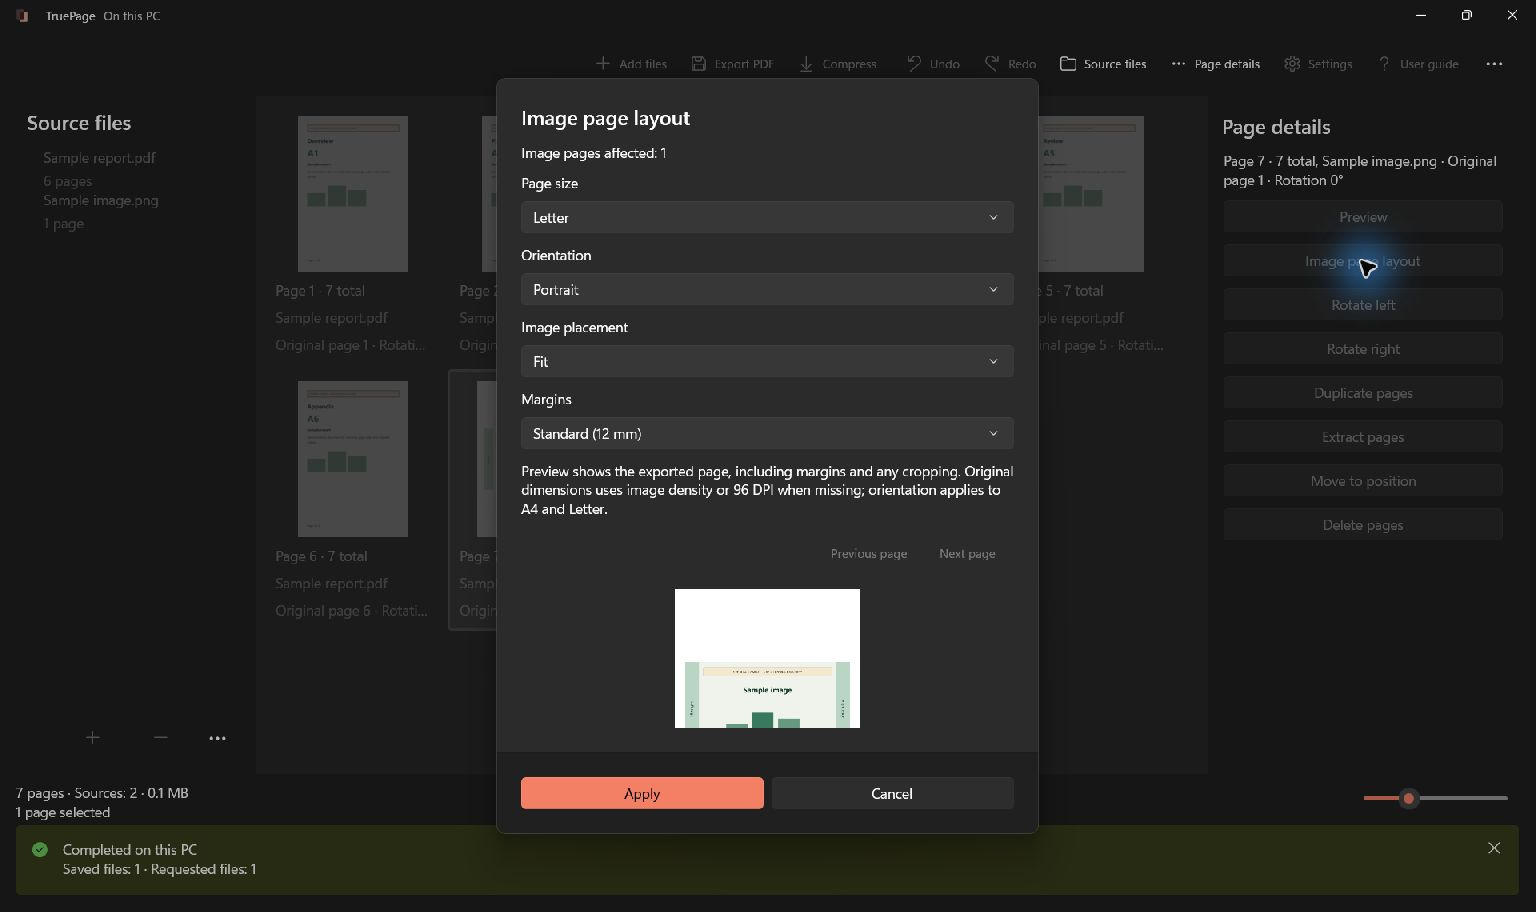
- Inspect both images using the layout preview’s previous and next controls, then select Apply.
A4 portrait is 210 mm wide and 297 mm high. With 12 mm margins on each side, the usable area is 186 × 273 mm. Those margins describe the space between the paper edge and the usable image area. They do not erase a border or white space already present inside the source photograph.
A landscape image can be placed on portrait A4, but it may occupy a short band with empty space above and below. If landscape A4 is more appropriate, select that orientation explicitly. Changing orientation is a layout decision, not an instruction to stretch the image’s proportions.
Keep the entire image visible
Fit scales the whole image into the usable page area while retaining its proportions. Because the example JPG proportions differ from the usable A4 area, some additional white space is expected. That space is usually preferable to losing text or the outer border.
Fill (crop) fills the usable area but can place part of the image outside it. Do not switch to Fill simply because a page looks more complete at first glance. Check dates, reference numbers, signatures and content at every edge. The cropped-image explanation illustrates how placement changes what is visible.
Center without enlargement keeps a small image from being enlarged and reduces an oversized image when necessary. It serves a different purpose from making a document occupy most of an A4 page. Original dimensions also differs from A4: it uses image density metadata, or 96 DPI when that information is missing. Choose the paper size according to the output requirement rather than the source filename.
Export and inspect the actual A4 PDF
Choose Export PDF, select All pages, and confirm one output containing two pages. Review the destination and filename, then export. Keep the new PDF separate from the source JPGs. If an earlier output has the same name, inspect the collision options before continuing.
Open the saved PDF. Check both pages, their A4 dimensions, all four edges and small text at a readable zoom. The layout illustration uses a separate Letter-size sample; it does not show the saved A4 result.
For this tutorial’s sample, verify both pages are A4 portrait and that both source borders remain complete. If your receiving system requires specific dimensions, inspect the saved PDF’s page information with a viewer that reports it. A filename containing “A4” is not proof of the page size.
Resolve common quality and sizing problems
If the output has the wrong dimensions, reopen image layout and confirm A4 was applied to every intended image page. Selecting only one image leaves the others with their existing settings. Selecting existing PDF pages does not convert those pages to A4 through the image-layout controls.
If text looks small, inspect whether the photograph contains unnecessary background or whether a long image has been fitted onto one sheet. Zooming the preview makes inspection easier but does not alter the exported size. If text looks blurry even when correctly sized, obtain a clearer original; increasing the paper size cannot restore detail that the source lacks.
Check the file size separately from page dimensions. An A4 PDF can still contain large image data. Follow the compression guidance when a recipient imposes an upload limit, checking readability after any reduction. For mixed-image arrangements and all layout options, see the images-to-PDF guide.

Your pages. Your space.
Available now for Windows 11