If CEAC rejects a PDF, first check the actual file size and the message shown on the website. For immigrant-visa document scans, the Department of State currently specifies no more than 4 MB per individual file. A smaller PDF will not resolve a website access error, and a successful upload does not establish that a document has been submitted for review. Start by identifying which of those steps failed. Official scanning requirements, CEAC troubleshooting.
This guide covers preparing ordinary scanned supporting documents on Windows: collecting the correct pages, arranging them, exporting a PDF, checking its size, and reviewing the result. Official sources were checked on October 6, 2026. Your case instructions and the current upload screen remain the place to verify what belongs in each document category.
Check whether the failure belongs to the file or the website
Write down the error before changing anything. Does it identify an oversized attachment? Does the website fail before you choose a document? Did the file appear in the account, but the submission button fail? These observations help you choose a useful next action.
The State Department’s troubleshooting page has a notice dated September 23, 2026 about a known CEAC blocking error associated with Cloudflare. Its instruction is to try again later. The same page gives a different-browser suggestion for access problems. These are service and access issues; reordering your document pages would not address them. Check the page again before a later attempt because the notice may change. Current troubleshooting.
For an apparent attachment problem, open the exact file you selected. A filename such as certificate-final-small.pdf is not evidence that it is small, complete, or readable. In Windows File Explorer, right-click it, select Properties, and inspect Size. Use the file’s byte count when a rounded display leaves you close to a limit; “Size on disk” is a different measurement.
Then open the PDF in a reader. If pages are missing or unreadable locally, solve that problem before another upload. If the complete file opens and sits comfortably below the displayed allowance, preserve that version while investigating the website. Changing several things at once makes it harder to identify the cause.
Know what must remain inside the document
The current scanning instructions prefer PDF and also accept JPG/JPEG. They require multipage documents to be uploaded as one file and prohibit zipped files, modifiable PDFs, and password-protected files. Scans must be in color, readable, complete, and oriented correctly. Include a reverse side when it contains writing, a seal, or a stamp. Where a certified translation is required, include it with the original in the same file; the official page explains the interview-country language exception. Scan collected documents.
Keep this distinction clear: one file per multipage document does not mean one file containing every document in your case. A birth record and its associated translation may belong together; another unrelated record may have a different upload category. Read the category instructions before combining them.
Do not remove a reverse side because it looks mostly blank in a thumbnail. Zoom in first. A short annotation near an edge can be the only reason that side is required. Likewise, keep translation certification pages with the translation when applicable. A tidy packet that omits evidence is still incomplete.
This walkthrough uses ordinary scans. If you have an interactive form, a digitally signed file, or a specially structured PDF, follow the issuing software and official instructions for that document. Opening and exporting pages is not a certification that those additional properties survive unchanged.
Build a small document inventory before opening the app
Create two folders: one for untouched originals and one for prepared upload copies. Put scanner exports, photographs, translations, and any later replacements in the originals folder. Give working outputs short names that tell you what they contain, such as civil-record-with-translation.pdf.
For each upload category, note the source files, expected page count, whether a reverse side is needed, and which translation belongs to it. This takes less time than discovering a missing certification page after all the files have been compressed.
A useful inventory entry might read: “Civil record: two original-language pages, followed by two translation pages, four pages in final PDF.” That is an illustrative grouping, not a universal requirement for a particular civil document. Your actual record might have one page, several pages, or additional instructions.
Avoid renaming every revision simply final.pdf. Keep a distinguishable prepared copy and record which one you reviewed. If you later replace a source scan, rebuild the relevant output and check it again; an earlier successful review does not cover newly changed pages.
Arrange the pages in TruePage
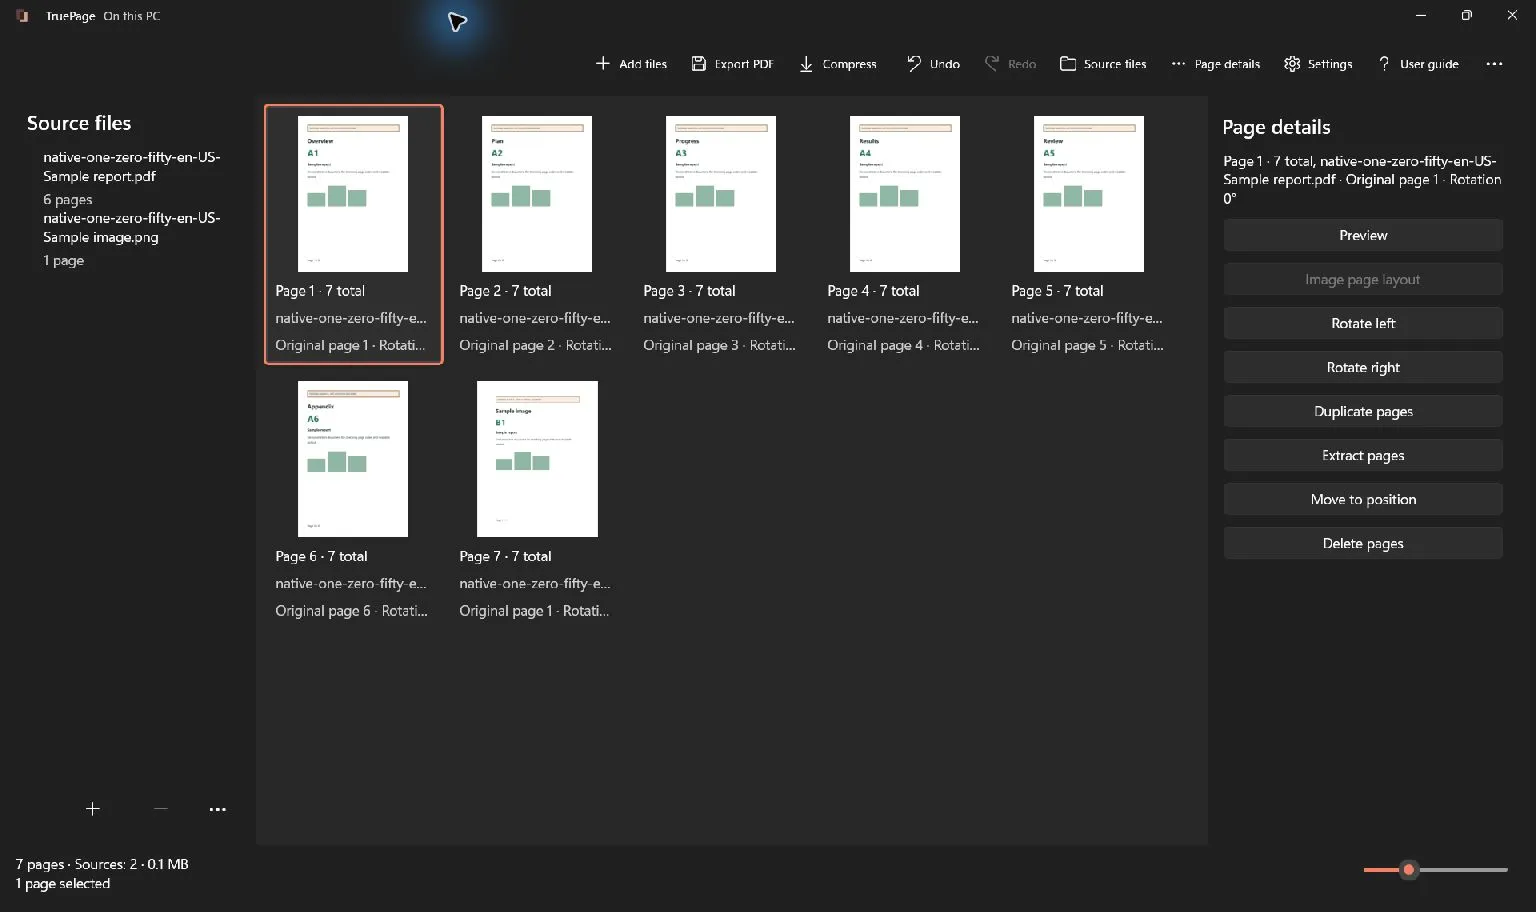
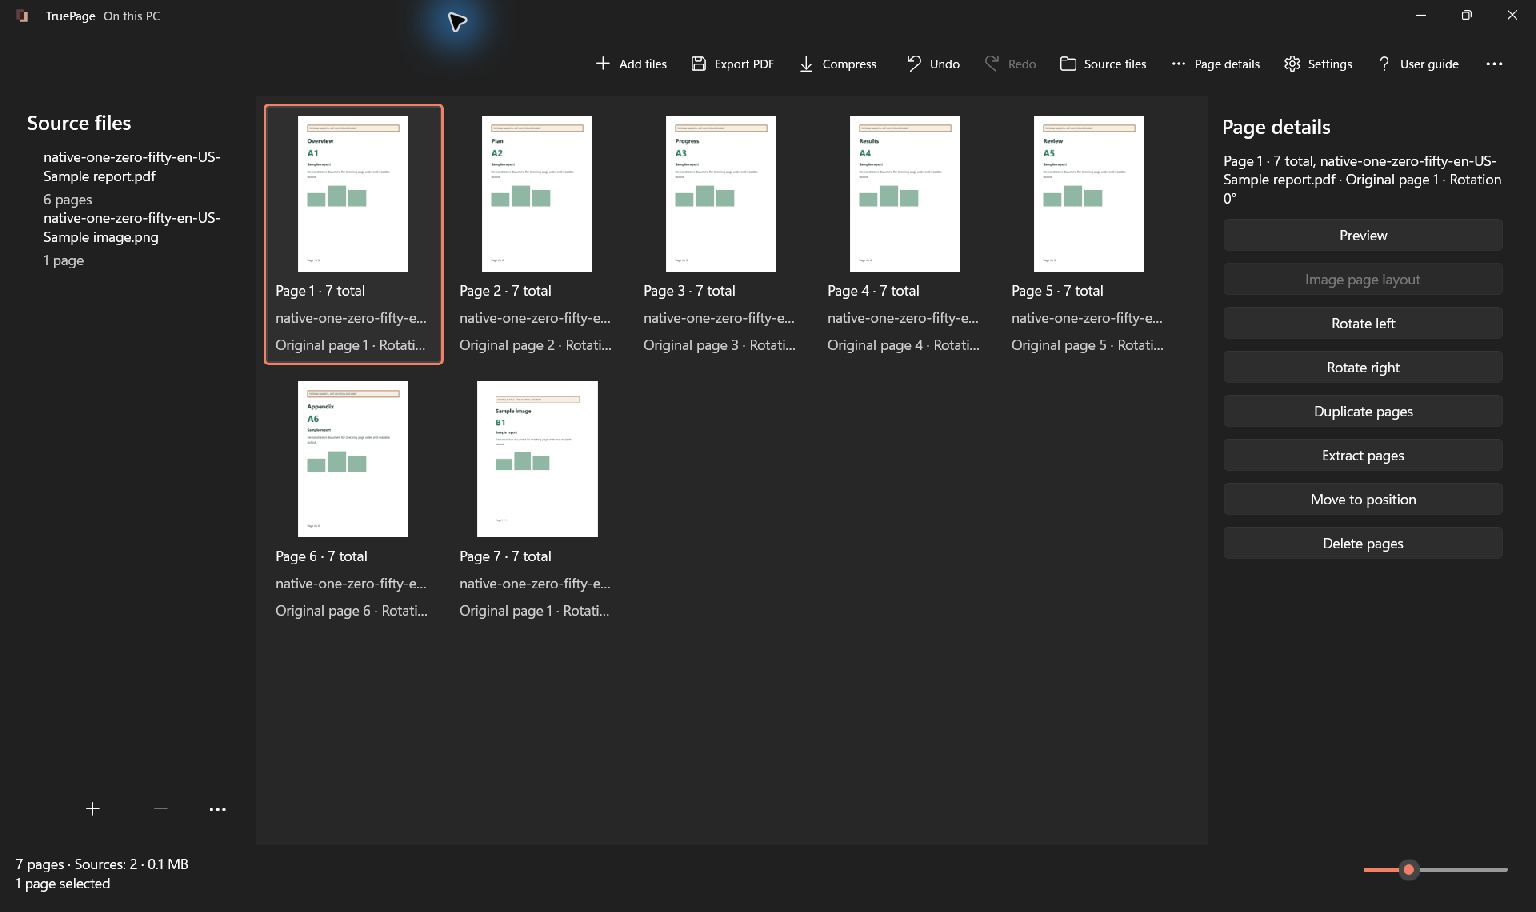
Choose Add files and select the compatible PDFs or JPG/PNG images for one document group. A PDF contributes its pages; each imported image becomes a page. Check the resulting page count against the inventory before you start moving anything.
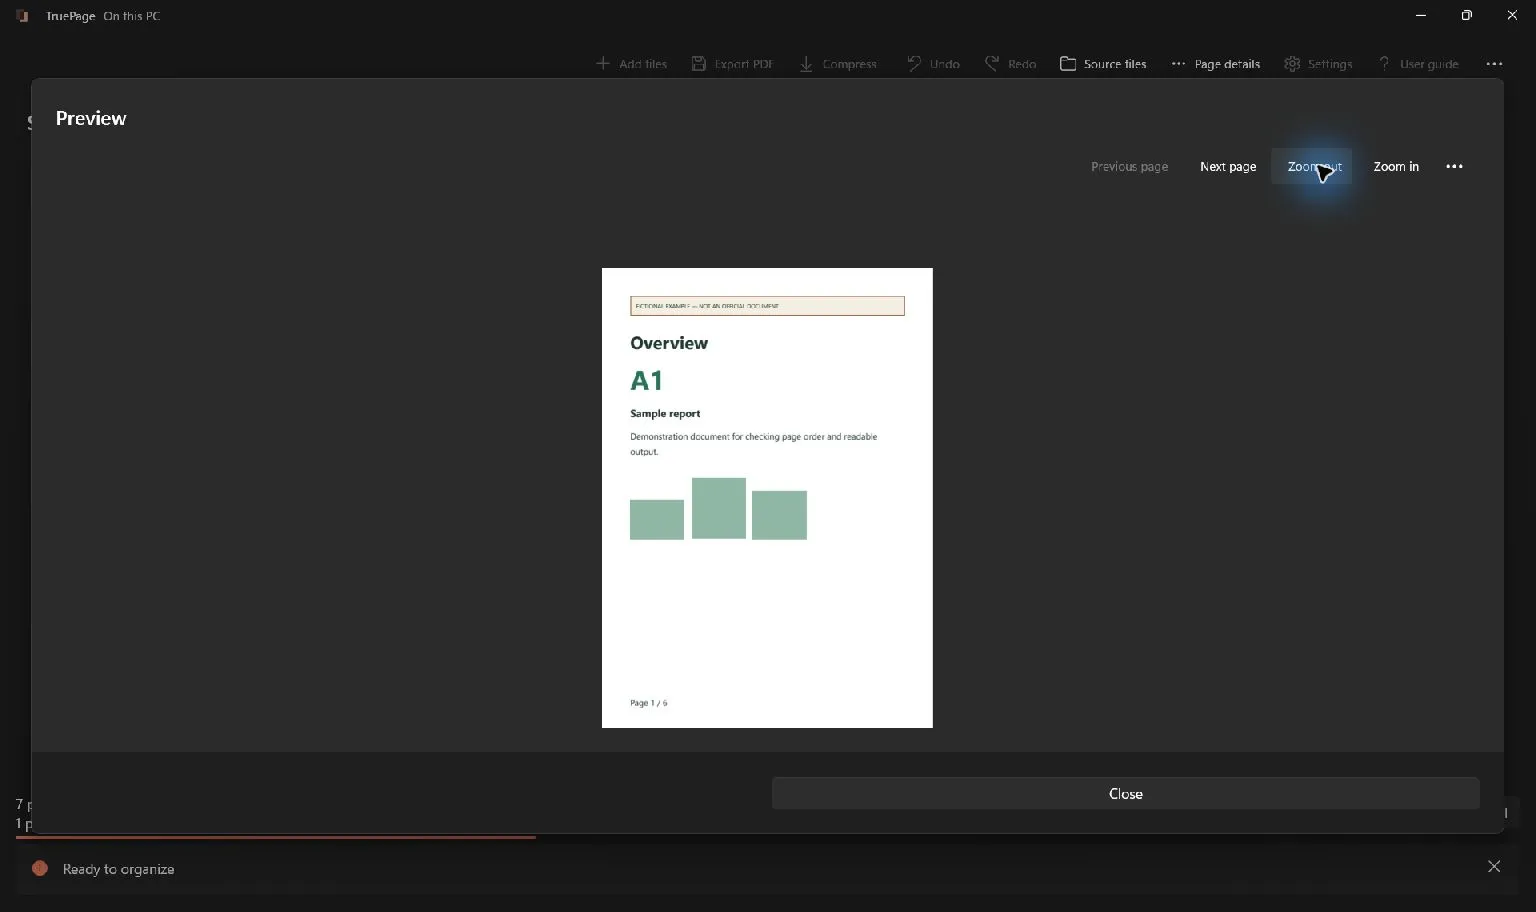
For this hypothetical exercise, imagine six pages divided among several supporting-document groups. The illustrations use separate fictional guide documents to demonstrate the controls. The exercise is not an instruction to upload all six pages into one CEAC category: prepare the output for each group according to its own requirements.
Open Preview for the original record, the reverse side, and the translation. Check page edges as well as the main text. A photograph can show the heading clearly while cutting off a stamp at the bottom. If a capture is blurred or incomplete, take another scan or photograph of the original; compression cannot recover information that is absent.
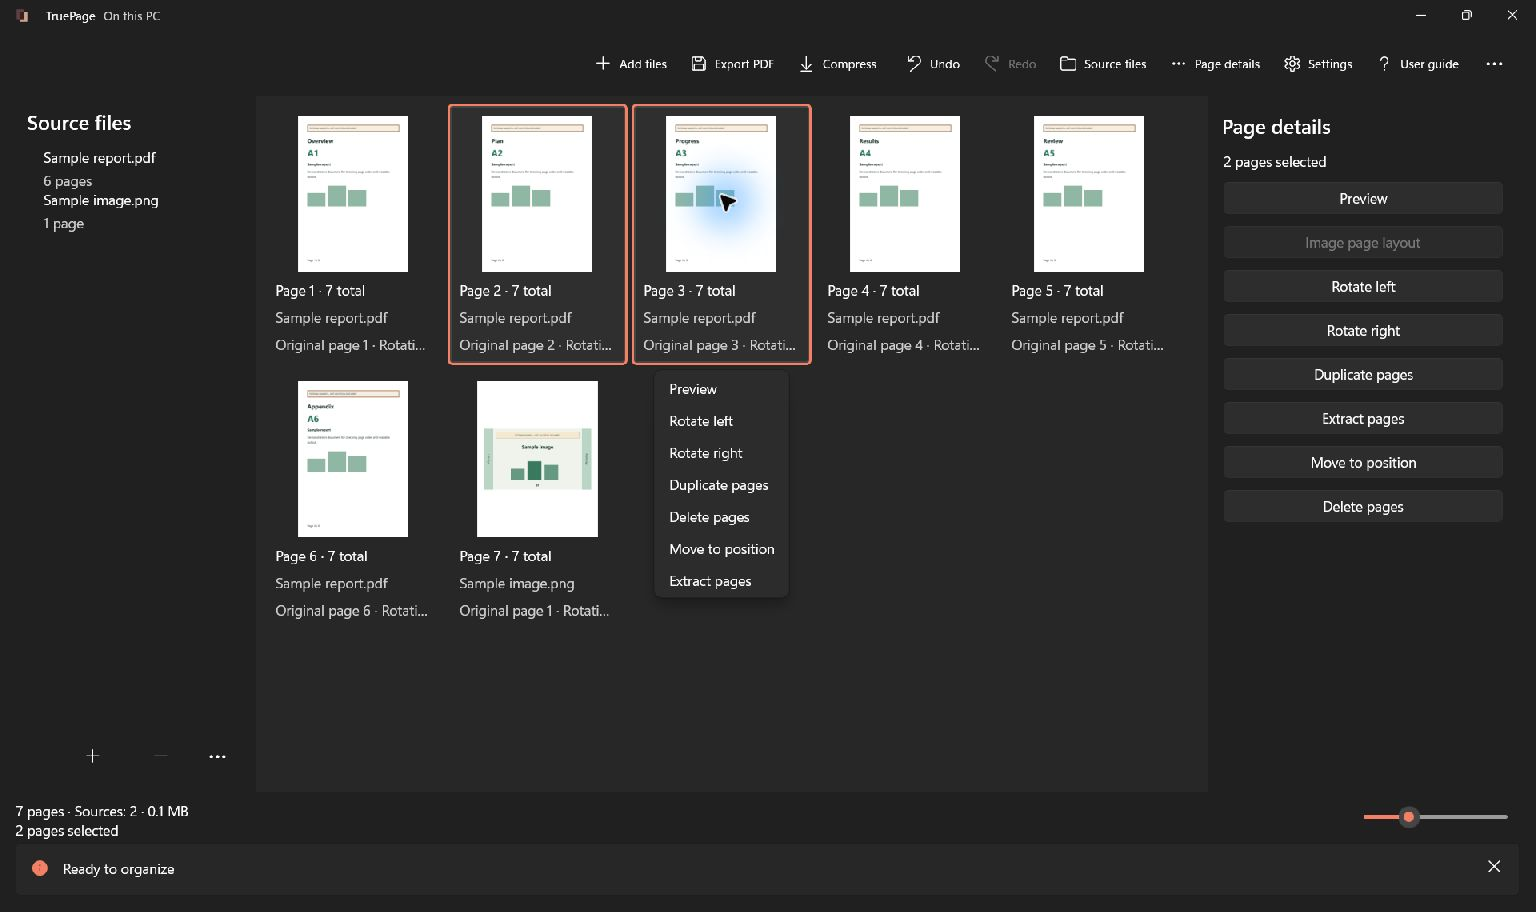
Use page selection and dragging to place each group in its intended sequence. A useful order for the illustrative four-page group is original pages first, then the corresponding translation pages. If you move several pages together, inspect their internal order after the move. Use Undo if the result is wrong.
Rotate sideways pages into reading orientation. Do not remove an unwanted page until you have checked that it is a duplicate or outside the document group. The workspace counter describes current output positions; it may differ from page numbers printed on the source.
Export the arrangement before compressing it
Choose Export PDF, then All pages for a workspace containing only the intended document, or Selected pages for a carefully checked group within a larger workspace. Verify the page count, filename, and destination before confirming. Save to the prepared-copies folder so the original scans remain easy to find.
Open the exported PDF. Confirm that the pages are present in the expected order, correctly oriented, and associated with the correct translation. This is the first point where you have a saved file representing your arrangement. A workspace thumbnail is not the file you will upload.
This sequence matters because Compress processes an entire source PDF. It does not apply the ordering, deletion, or rotation edits currently visible on the board. To compress your arranged document, select the newly exported PDF as the compression source. Choosing an earlier scanner export would process that earlier file instead.
For detailed selection and destination controls, see the PDF export guide. If you have several document groups, export and name them separately, checking each one before continuing.
Reduce size only as far as readability allows
Check the exported file’s size first. A document already comfortably within the allowance may not need compression. There is no benefit in introducing a new revision solely because a compression button is available.
When reduction is necessary, choose Compress and select the exported document. Start with Safe optimization, which reduces PDF overhead without intentionally changing visible quality. Review the measured result. If it remains too large, you can evaluate Smaller file, which may recompress eligible images and change scan detail.
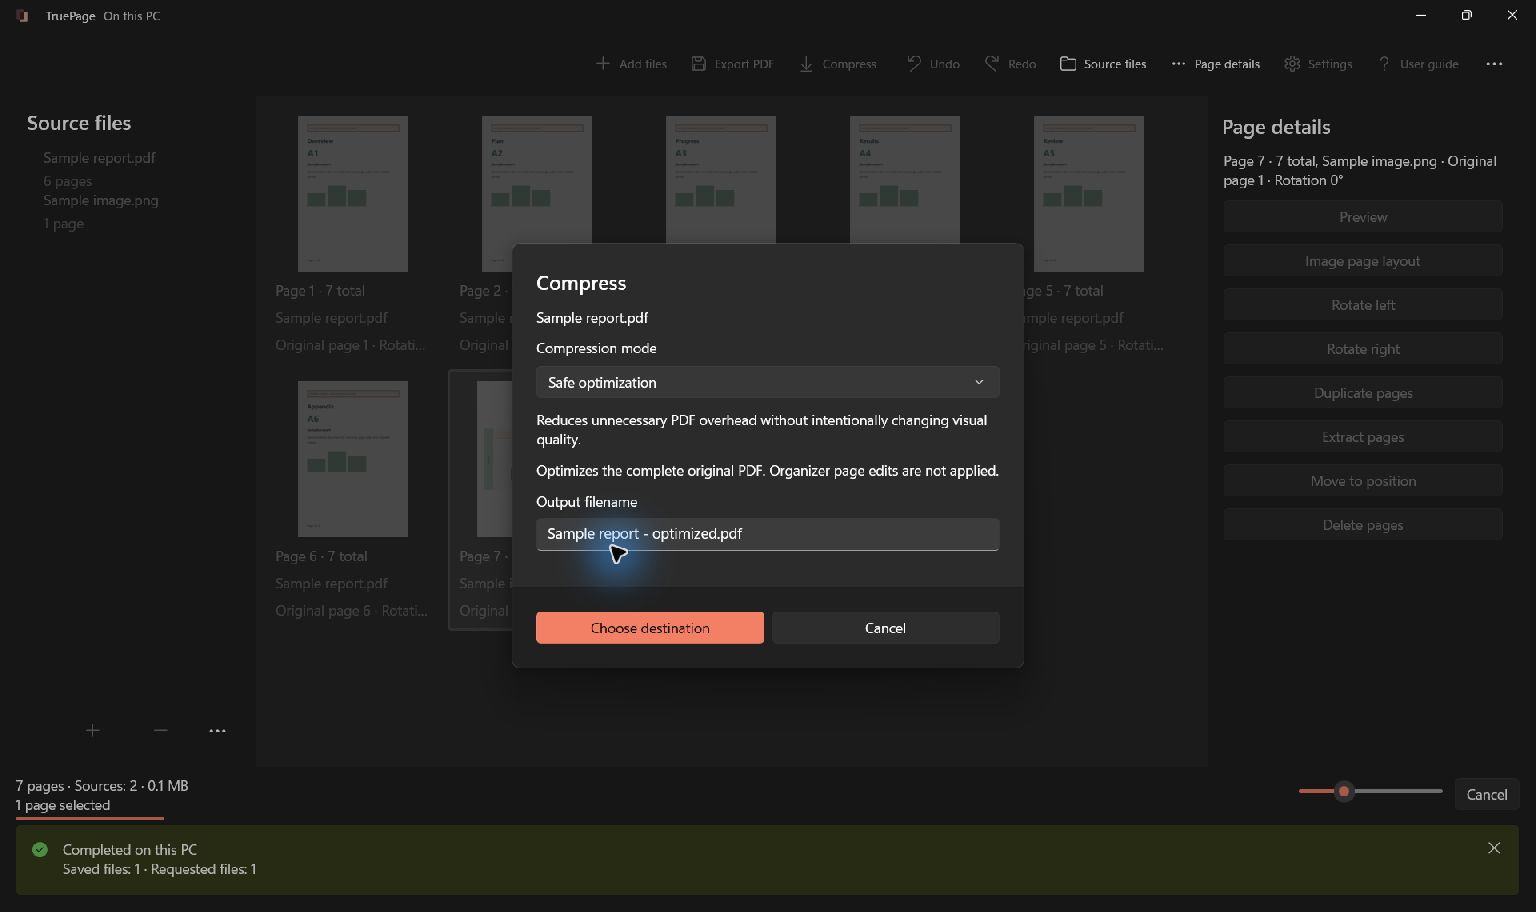
Compare small text, dates, handwritten entries, seals, and thin lines at equivalent zoom. A large heading can remain attractive after the smaller details become ambiguous. If a date could be read as two different years, choose a better scan or retain a higher-quality output.
The result dialog provides representative previews, not an exhaustive review of every important area on every page. After choosing Save new file, open the saved result and check the full document. Compression adds no OCR and cannot make blurred text legible.
There is also no promised percentage reduction. Some PDFs contain little eligible image data; others grow after rewriting. Keep original declines the candidate. If the result is larger, retaining it would not solve an upload size problem. The compression guide explains the review and saving choices.
A worked example with a clear stopping rule
Consider a hypothetical four-page record-and-translation PDF. Suppose its exported size is 5.6 MB. Safe optimization produces 5.4 MB; Smaller file produces 4.2 MB. Both outputs are still over the current 4 MB allowance, so neither becomes a suitable upload copy merely because it is smaller.
Those numbers illustrate the decision process; they are not measurements from the pictured documents or an app benchmark. The stopping rule is practical: save an upload candidate only when its actual size is within the applicable allowance and all required content remains readable and complete.
If further reduction damages a seal or signature, return to the source capture. A new scan with better lighting, straighter placement, and less unnecessary surrounding background can be more useful than repeatedly recompressing the same degraded image. Keep the complete document edges visible. Check any changed capture against the physical original.
If the full document cannot meet the limit while remaining readable, consult the official instructions or NVC’s contact route. Do not split a required multipage document into unrelated files simply to bypass the rule, omit a translation, or substitute a ZIP archive.
What retained measurements actually demonstrate
A separate synthetic development benchmark on October 3, 2026 used JPEG quality 85. Its saved outputs illustrate both a useful reduction and a result that grew:
| Synthetic fixture | Original bytes | Safe optimization bytes | Smaller file bytes |
|---|---|---|---|
| Noisy image-only scan | 846,704 | 844,267 | 324,204 |
| Mixed 50-page document | 3,252,355 | 3,222,979 | 4,009,161 |
These are retained development-test measurements, not the hypothetical six-page packet, the current illustrations, or evidence of CEAC acceptance. The larger result shows why a mode name cannot replace measuring the output. Compare your actual size and inspect readability before saving. The measurement CSV records the retained file sizes and provenance.
Troubleshoot the remaining problem systematically
The upload says the file is too large. Verify that the chooser selected the reviewed copy, not the original beside it. Check Properties again. A revised filename can coexist with a much larger file if a save did not complete or a different output folder was used.
The upload refuses the format. Check the actual extension and open the file locally. Changing .png to .pdf only changes the name. Export a real PDF from compatible source material, then review it. An interactive or protected source may need a different preparation route.
The saved PDF asks for a password. Compression preserves an encrypted source’s protection. Therefore compressing a password-protected PDF does not make it suitable for a service that prohibits password protection. Obtain the appropriate upload copy through an authorized workflow and verify it independently.
The correct file is present but submission is stuck. Check the account’s document statuses and current official troubleshooting. A file sitting in the account is a different state from completed submission. Keep a note of the category and filename so you can verify the same document without creating confusing duplicates.
The website is blocked or unavailable. Preserve the prepared files and error details. Follow the current official service guidance; endlessly reducing a PDF is not a useful response to an access failure.
Final check before leaving CEAC
- Verify the current limit and instructions for the document category.
- Confirm the reviewed file is the exact file chosen for upload.
- Keep every required page, relevant reverse side, and associated translation.
- Check color, orientation, page edges, small text, seals, and signatures.
- Ensure the prepared PDF has no password prompt or unintended interactive content.
- Confirm the account’s submission state and preserve the result of the submission step.
Keep originals and the reviewed upload copy until you know which revision was used. If you need a broader final-file review, the PDF submission checklist covers filenames, page counts, and opening the exported result.
Official sources and maintenance
The State Department scanning page owns the file and scan requirements summarized here. The troubleshooting page owns current service-error instructions and the NVC inquiry route. Both were checked on October 6, 2026. Recheck them when preparing a later submission, particularly if an older guide mentions a different size limit.

Your pages. Your space.
Available now for Windows 11